erikgreen
Captain
- Joined
- Jan 8, 2007
- Messages
- 3,105
Re: Lund Nisswa Restoration
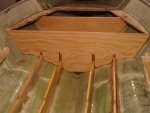
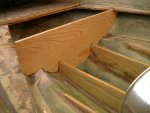
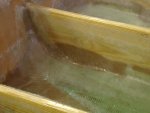
Good box.
The peanut butter will be fine. Even using wood flour, only the wood particles that have surface exposed to the water (are not fully epoxy covered) will have any rot happen... so only the first layer of wood will show any color change, and not even that unless you do a really poor job mixing it.
Cabosil of course won't have any problems, nor milled glass.
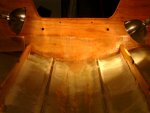
You are allowed to move the drain plug if you want... just make sure you don't go too close to the bottom in case the hull cracks between the drain hole and the bottom of the boat... some boats sit exactly on that part of the hull on the trailer or when beached.
Erik
Good box.
The peanut butter will be fine. Even using wood flour, only the wood particles that have surface exposed to the water (are not fully epoxy covered) will have any rot happen... so only the first layer of wood will show any color change, and not even that unless you do a really poor job mixing it.
Cabosil of course won't have any problems, nor milled glass.
You are allowed to move the drain plug if you want... just make sure you don't go too close to the bottom in case the hull cracks between the drain hole and the bottom of the boat... some boats sit exactly on that part of the hull on the trailer or when beached.
Erik


")