1968 Holiday Restoration w/pics

Azlo

Senior Chief Petty Officer
Joined
Jun 21, 2009
Messages
706
Re: 1968 Holiday Restoration w/pics

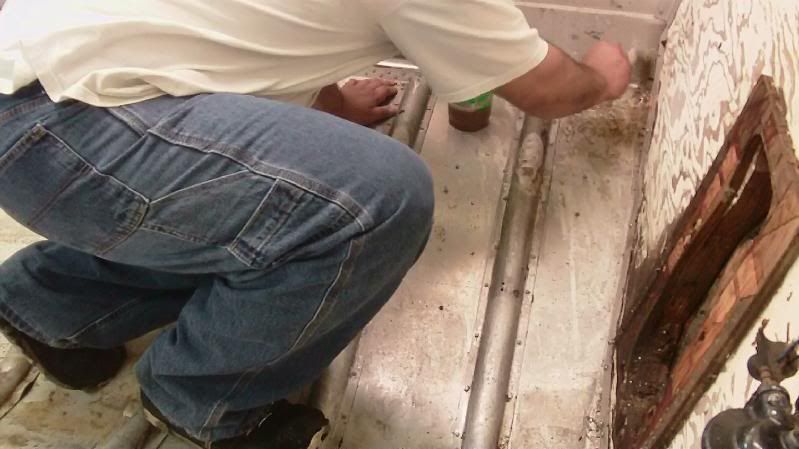
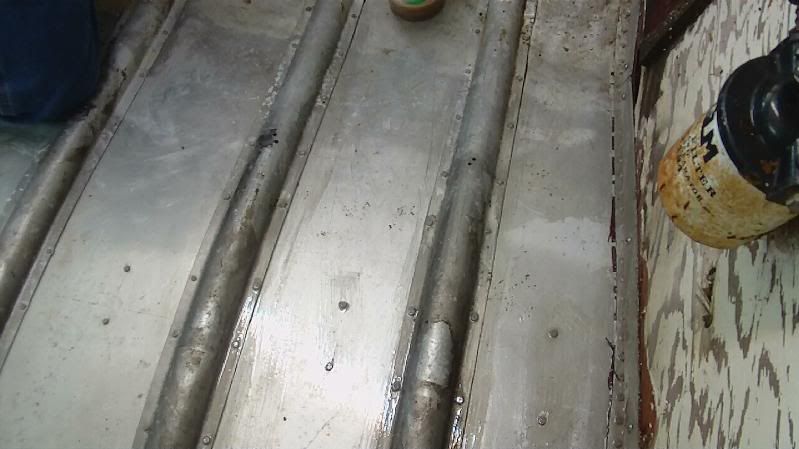
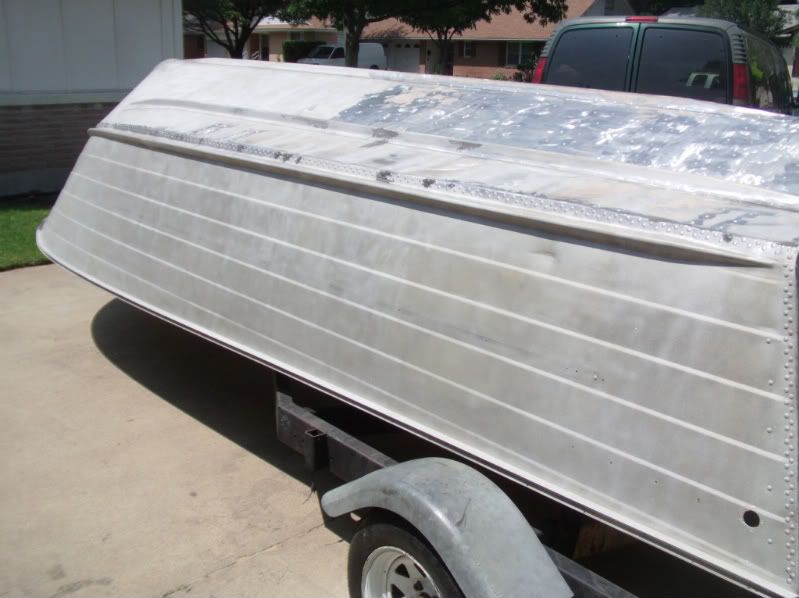
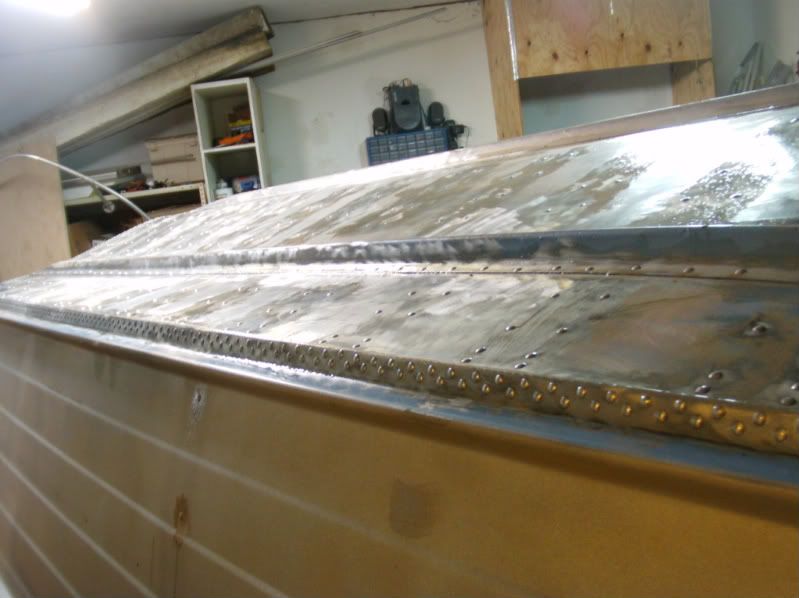
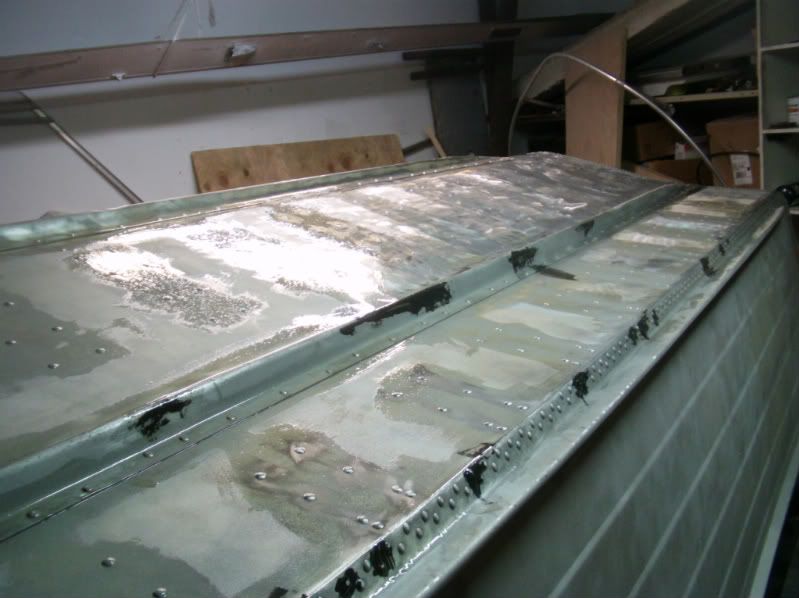
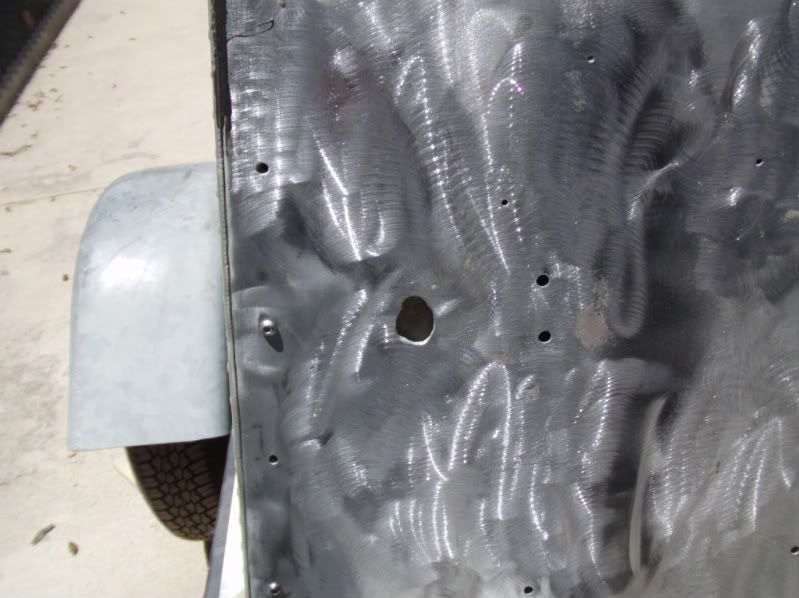
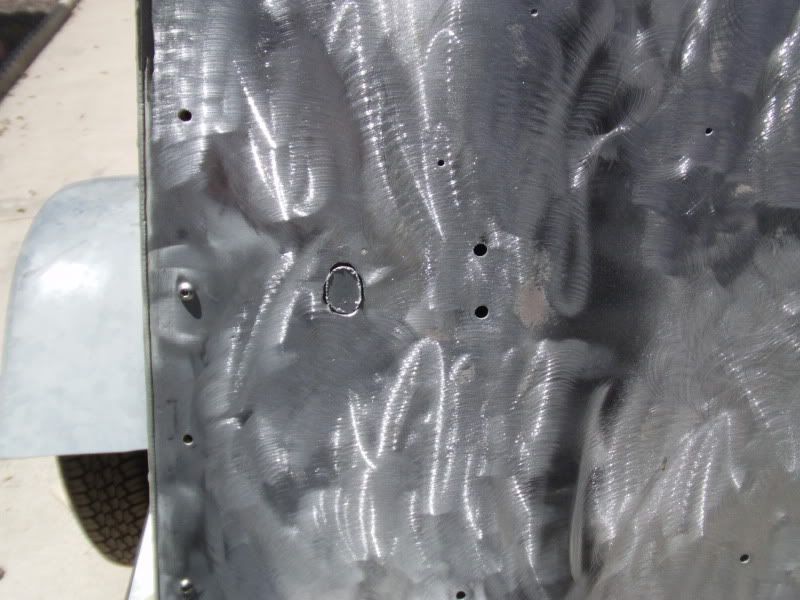
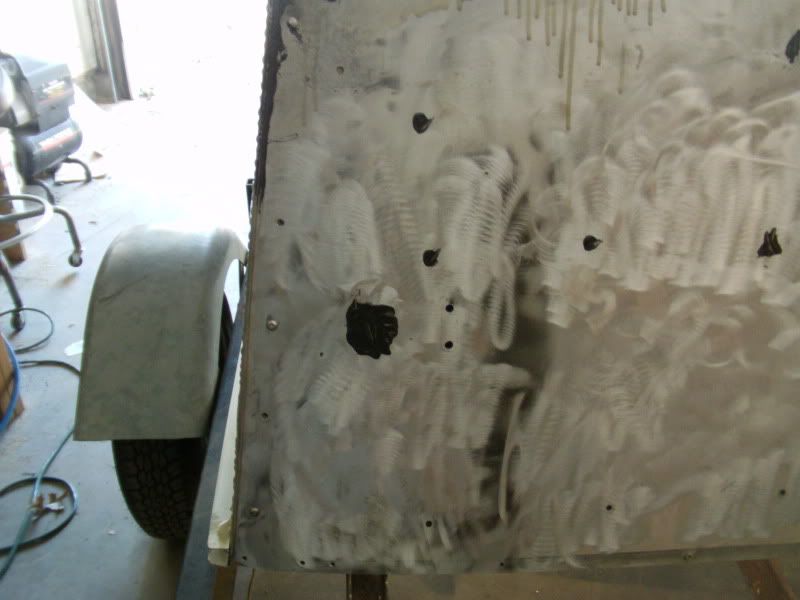
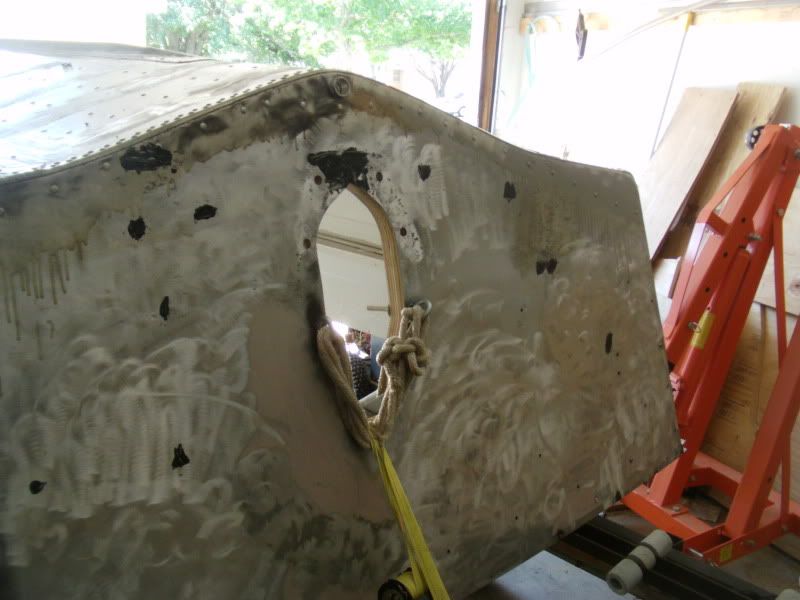
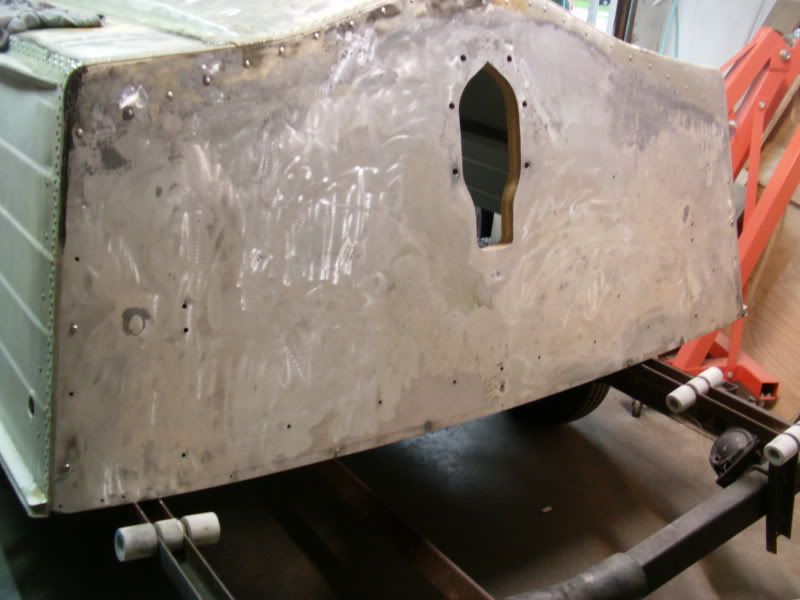
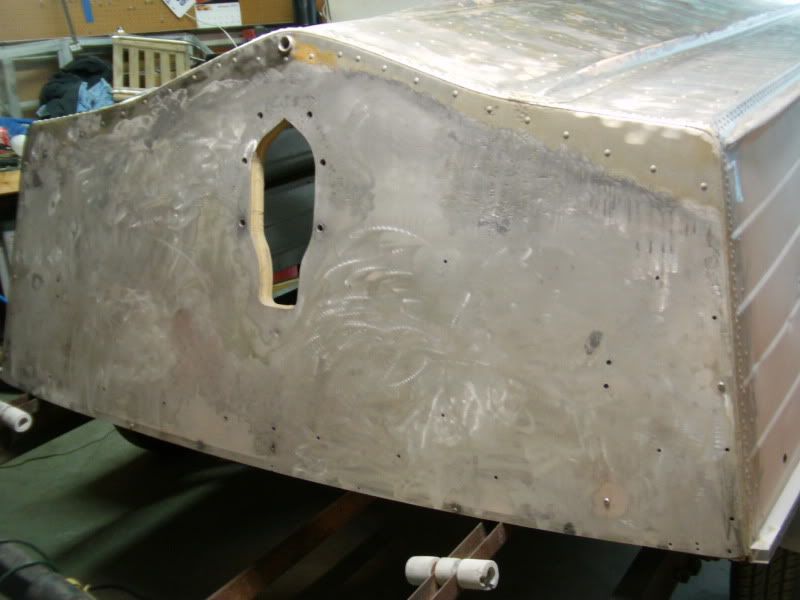
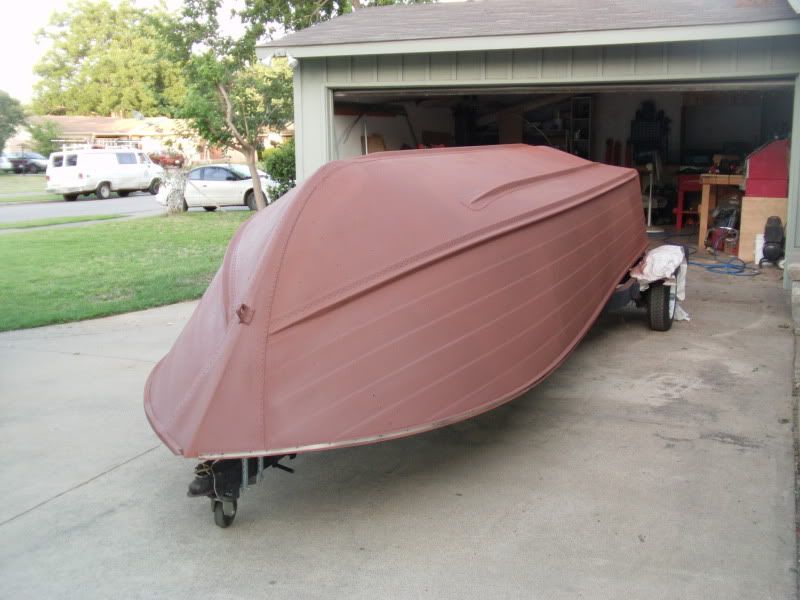
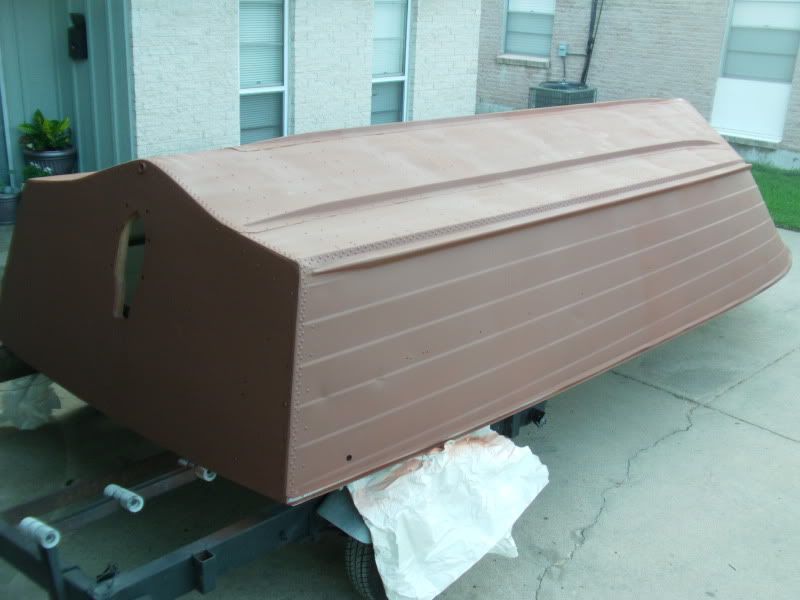
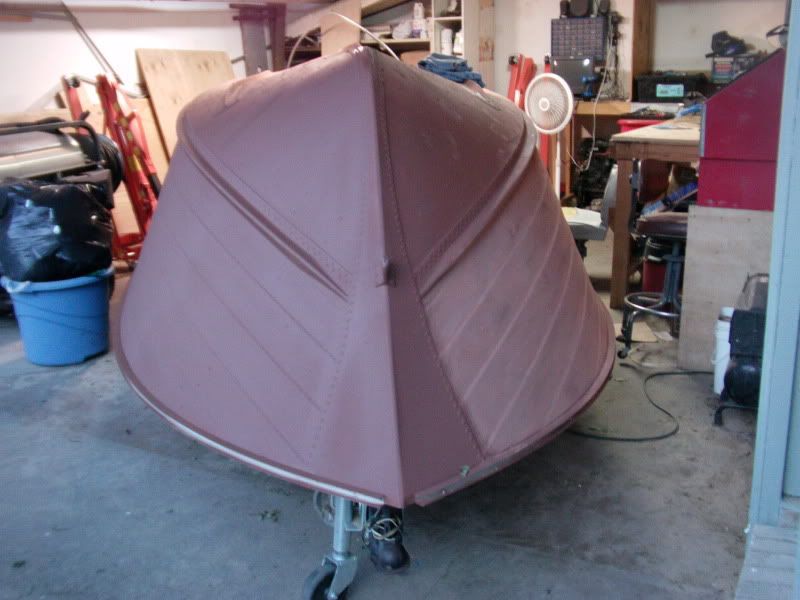
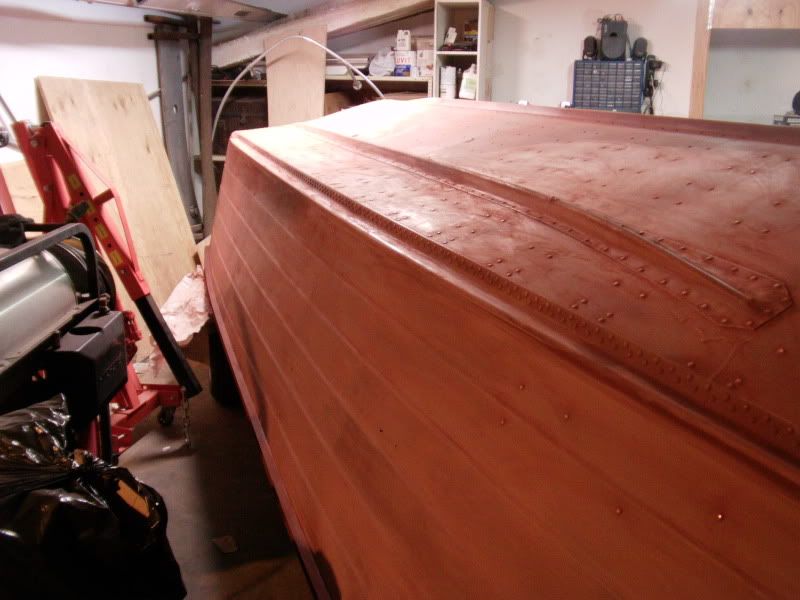
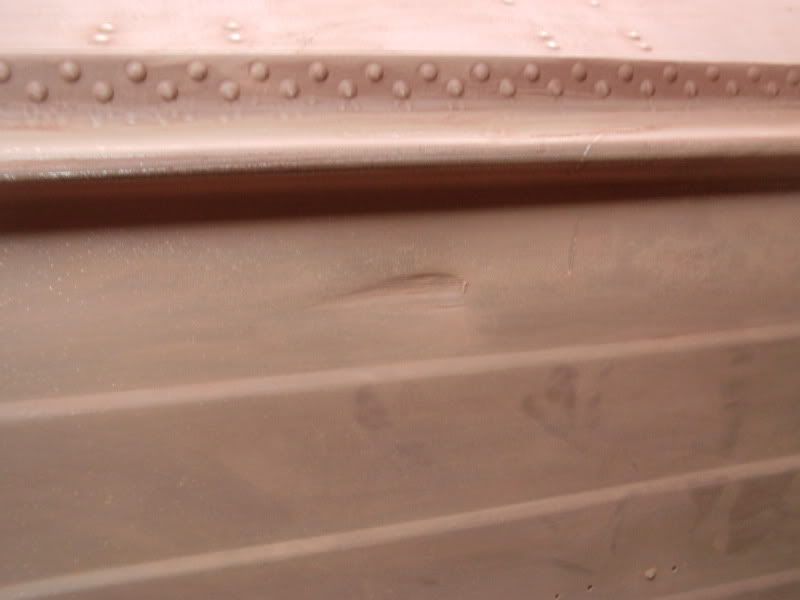
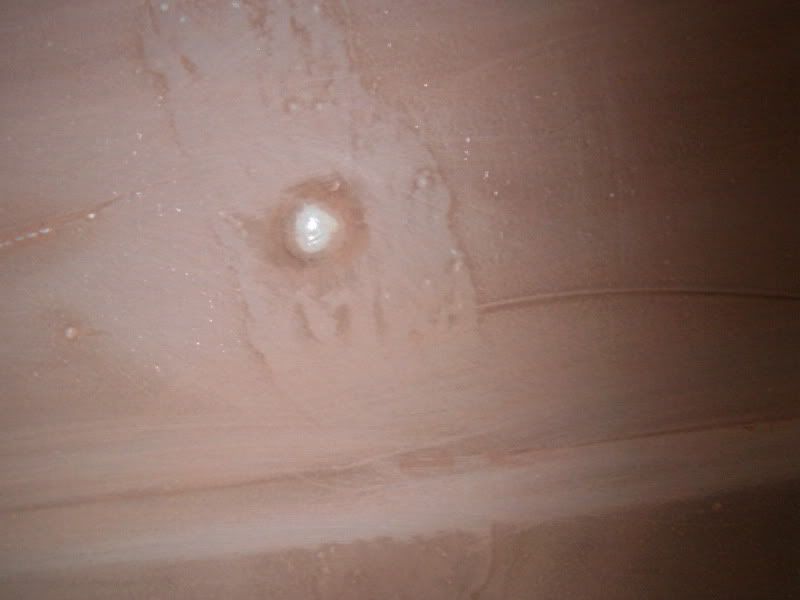
So today i spent a little time with my tin. Clean surfaces were there are pits and then applied tex marine.

DSC00344.jpg


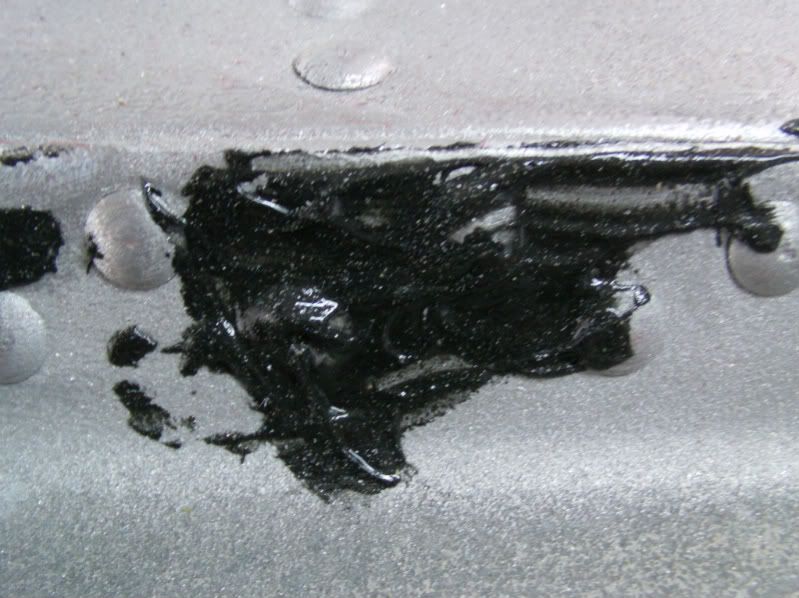
Once it cures, hopefully tomorrow, I will apply gluv it all over the rivets & seams. Kind of un-orthodox but it keeps my mind at piece.
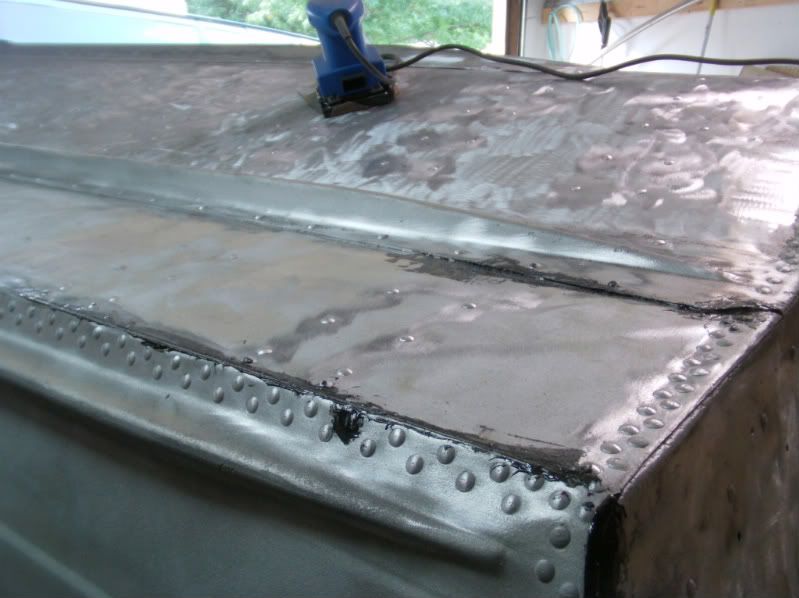
DSC00341.jpg
 

Azlo

Senior Chief Petty Officer
Joined
Jun 21, 2009
Messages
706
Re: 1968 Holiday Restoration w/pics

You know Sprintst i will concetrate my energy on top coat. The bottom all I really care is that it doesnt fall off. but sides & top i do want shiny, me like shiny. :p
 

sprintst

Commander
Joined
Apr 18, 2009
Messages
2,066
Re: 1968 Holiday Restoration w/pics

I thought exactly the same. Wanted tough bottom paint and a real shiney topside.
 

Andy in NY

Commander
Joined
Oct 25, 2007
Messages
2,109
Re: 1968 Holiday Restoration w/pics

i would gluvit from the inside... same seal, but you wont see it.
 

Azlo

Senior Chief Petty Officer
Joined
Jun 21, 2009
Messages
706
Re: 1968 Holiday Restoration w/pics

Finally the gluving. It took me an hour to gluv my tin can. Though I used up the whole quart, im thinking about ordering another quart & giving it a second coating. Pretty easy stuff to apply and no toxic odor that i noticed. I wish they had a spray form, now that would make things easier.

Yeah ANdy I did gluv the inside, but I had an extra 60$ to throw away. Just kidding, to me its just piece of mind. Just knowing and seeing the bare seams outside just made me spend the extra focus.

2-1.jpg


But yeah your right gluvit should be applied in the inside.


5.jpg
 

Azlo

Senior Chief Petty Officer
Joined
Jun 21, 2009
Messages
706
Re: 1968 Holiday Restoration w/pics

I keep reading all this posts of launching & boating, auuugh. What motivation. I know im gonna make a 10 min blockbuster on youtube when I launch. Oh well for now Pics will do.

DSC00352.jpg


Gonna clean with water & then mineral spirits for degreasing. & then Gluvit.

DSC00355.jpg
 

Azlo

Senior Chief Petty Officer
Joined
Jun 21, 2009
Messages
706
Re: 1968 Holiday Restoration w/pics

Soooo back again. Ok had time to apply the Gluvit. Now I have a Tank, Unsinkable. Sealed not just the inside, No!! Also from the outside. Waste of money?....yes Piece of Mind Yes. A fool..... why hell yes.

DSC00358.jpg


Used also the Tex marine and the gluvit... the black spot is the tex mex marine.

DSC00362.jpg
 

Azlo

Senior Chief Petty Officer
Joined
Jun 21, 2009
Messages
706
Re: 1968 Holiday Restoration w/pics

A very nice saturday, but hot it is 96 here in texas. To my surprise the gluvit that i have brushed has not dryed!!. It has been a week. Well some spots have dried and other are still tacky. I was gonna prime but cannot since the gluv it is still tacky. So i took advantage and filled some holes with tex marine. Specifically this big hole.

DSC00368.jpg


The PO had a big ***** bolt covering it. SOoo ....

DSC00374.jpg


i cut this piece to fit the hole.

DSC00367.jpg


Almost perfect fit.

DSC00388.jpg


Filled it with tex marine along with the other pits & little holes from old screws. Only left the holes for the swim platform.

DSC00391.jpg


Now for some sanding & cleanup some of the xcessive gluvit
 

sprintst

Commander
Joined
Apr 18, 2009
Messages
2,066
Re: 1968 Holiday Restoration w/pics

Nice job over doing it. At least you know you did everything you could to keep it waterproof.

If you really want to over do it you can use the 2 part epoxy Interlux NE2000high build primer and VC performance epoxy on the bottom. It fill all seams, nooks, crannies and I don't think I could even scratch it with a nail. The paint itself is slick as well so trailering it should be a breeze.
 

Azlo

Senior Chief Petty Officer
Joined
Jun 21, 2009
Messages
706
Re: 1968 Holiday Restoration w/pics

Over doing it right. I think im just gonna concetrate launching this thing. But @ the same time the other side of my brain says "over do it".
 

Azlo

Senior Chief Petty Officer
Joined
Jun 21, 2009
Messages
706
Re: 1968 Holiday Restoration w/pics

Gluvit still not dry. So I did dome more body work where it was needed.

DSC00418.jpg


Noticed how a lot of the tex marine got sanded. It filled the holes & pits nicely.

DSC00419.jpg


I see small dents but i dont think they will show under water.
Gluvit sanded to even out smoothly in.
80% of the stuff got sanded off.
 

tinkertinker

Seaman
Joined
Jun 8, 2007
Messages
50
putting crossmembers ON TOP of the stringers

putting crossmembers ON TOP of the stringers

Azlo,

I've looked at your pics about a hundred times now! Thanks.

I'm thinking of using aluminum crossmembers, perhaps 1x1 or 1x2 square aluminum tube, but running them straight from port to starboard on TOP of the stringers. That would raise the whole sole up 1", but avoid integrating (and weakening) the crossmembers into the stringers just to keep them at the same top height as the stringers.

Is there something I don't see that would make this impossible?

not:
===|==|===

but:
============
| |
 

Azlo

Senior Chief Petty Officer
Joined
Jun 21, 2009
Messages
706
Re: 1968 Holiday Restoration w/pics

Hi Tinker.

The way you explained it , its not impossible. But if you dont like the idea of the having the floor raised an 1" you can cut 1" notches on the stringers to lay the square tubing across. The stringer would not be weakened do to the fact that you are adding reinforcement. The trick is that there should not be any space in between the gaps after you lay the cross members on the notch you just cut. You get me? Plus you have the floor to keeps things together.

If you decide to just run cross members and the floor raised an 1" than you do have to consider the changes you will have to make like your gunnels (side boards) will not fit, your dog house would be taller, just to name a few. But not impossible.

But either way, your tin will be reinforced better that what it was from the factory.
 

Azlo

Senior Chief Petty Officer
Joined
Jun 21, 2009
Messages
706
Re: 1968 Holiday Restoration w/pics

Saturday was a great day for for the zinc chromate. Was gonna spray it lightly but sprayed it more than usually.

DSC00421.jpg


Will spray a high build primer but now I see parts that I need sand & refine & then will spray the high build primer to fill in the small stuff.

DSC00426.jpg


Looks like a coffin dont it.

On a side note... i was wearing a respirator when i spray this dangerous stuff. But noticed that i got really sick that night. I threw up three times! Then diarrhea hit, almost like food poisoning. Has anybody had this experience?

I can almost hear the jokes coming.
 

Azlo

Senior Chief Petty Officer
Joined
Jun 21, 2009
Messages
706
Re: 1968 Holiday Restoration w/pics

Upon reading about zinc chromate i have read that if u cover the metal full with zinc that it can peel??:eek:
Of course u have your other side that says that it will not if u sand the primer you will ok. Any comments, I would love to hear them.
 

sprintst

Commander
Joined
Apr 18, 2009
Messages
2,066
Re: 1968 Holiday Restoration w/pics

I has a respirator that I think had both a 6006 or 6003 VOC cartridge and an N-95 particulate filter that fits on top of the VOC cartridge.

I still felt like someone kicked the sh*t out of me.

Glad it's done. The hull looks great.
 

Azlo

Senior Chief Petty Officer
Joined
Jun 21, 2009
Messages
706
Re: 1968 Holiday Restoration w/pics

Really Sprintist, yeah im thinking thats what it was the Zinc. Lesson learned.

Anxious to work on a Monday afternoon after work. Pulled out the red tin & performed some sanding.

DSC00431.jpg


For some reason i find this therapeutic. Maybe it was the primer dust getting to me.

DSC00435.jpg


While sanding i did noticed a lot more runs from the gluvit. Will have to feather edge it. Meanwhile I been looking for high build primer from rusteolium but dont think they make some do they? ? ?
 

Azlo

Senior Chief Petty Officer
Joined
Jun 21, 2009
Messages
706
Re: 1968 Holiday Restoration w/pics

.......more sanding.

DSC00441.jpg


Decided to go ahead and also fix the dents.

DSC00447.jpg


I also created more work for me when decided to also put gluvit on the outside. Gonna sand these little burgers. But just the side ones. Bottom no one will see.

DSC00443.jpg


From the previous pics remember the hole on the transom?

DSC00445.jpg


I answered my own question on the high build primer from rusteloum. Found it at autozone.
 

sprintst

Commander
Joined
Apr 18, 2009
Messages
2,066
Re: 1968 Holiday Restoration w/pics

That thing is going to be sick with your attention to detail. In the end if you listen to your instincts you'll be much happier than looking back later and saying I should have sanded this or that more.

Looking good...
 
Top