


ezmobee
Supreme Mariner
- Joined
- Mar 26, 2007
- Messages
- 23,767
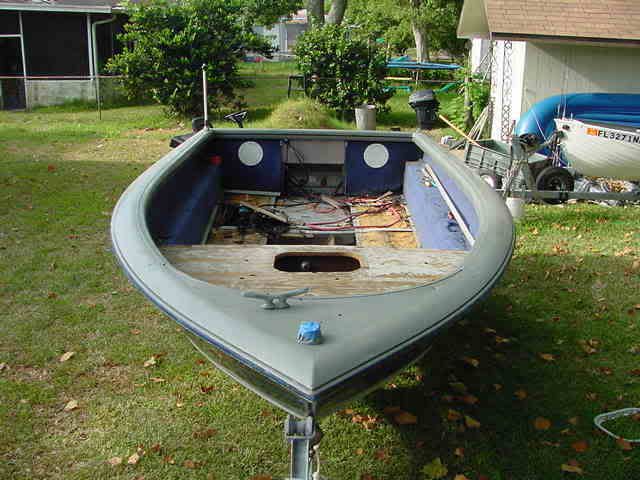
Re: Start of BlueFin 1700 restore
No real official answer.....but you aren't going to have a "sealed" bilge anyway (I assume you have an access area in the stern.....you won't have the poured in foam in there anymore....so there won't be any harm in anything under there getting wet. So why seal it? I personally wouldn't want the deck touching the sides of the hull for 2 other reasons: I wouldn't want any future flex or movement to somehow cause a dent or crease in the hull (probably a remote chance) but also cuz if there is some movement between the deck and hull join, it's going to sqeak like he!! and drive you crazy.
No real official answer.....but you aren't going to have a "sealed" bilge anyway (I assume you have an access area in the stern.....you won't have the poured in foam in there anymore....so there won't be any harm in anything under there getting wet. So why seal it? I personally wouldn't want the deck touching the sides of the hull for 2 other reasons: I wouldn't want any future flex or movement to somehow cause a dent or crease in the hull (probably a remote chance) but also cuz if there is some movement between the deck and hull join, it's going to sqeak like he!! and drive you crazy.


")
