New member Richline Tin Restoration

Jigginglow

Petty Officer 2nd Class
Joined
Dec 27, 2014
Messages
106
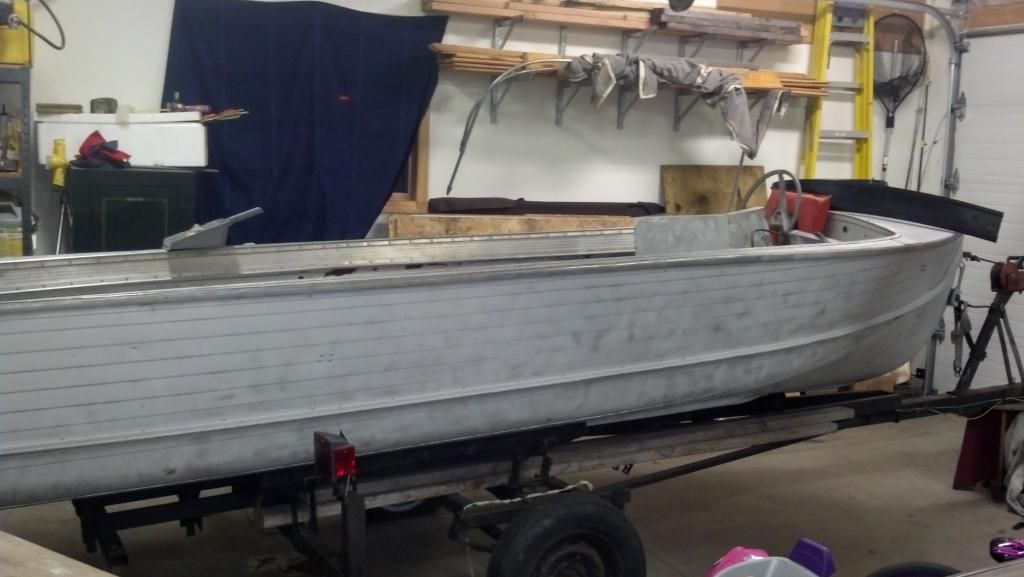
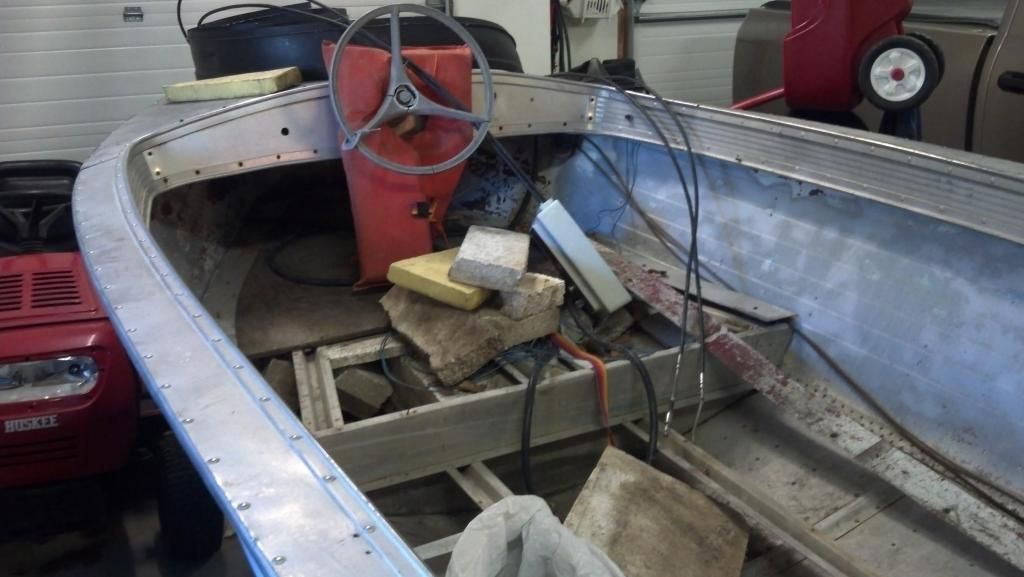
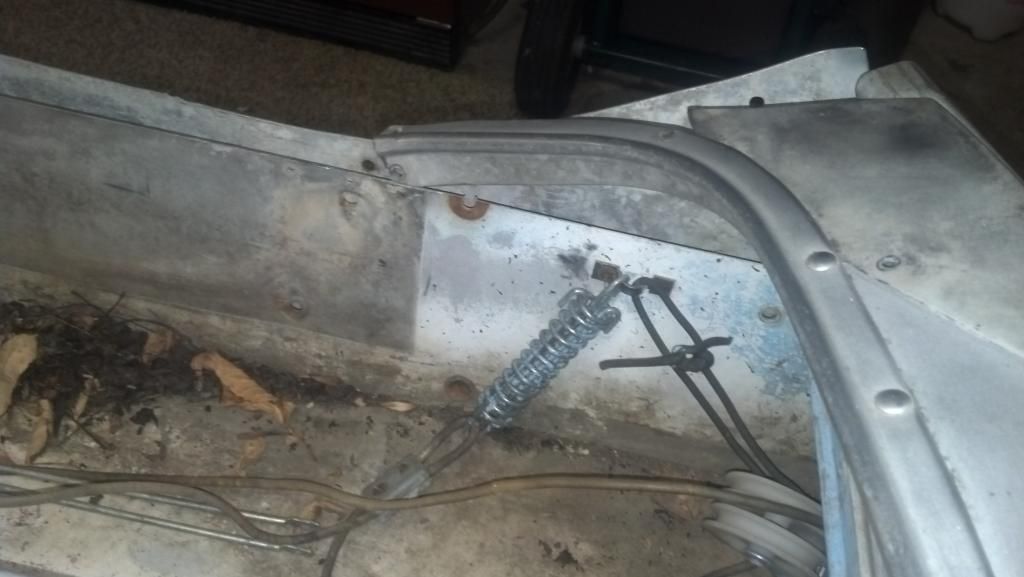
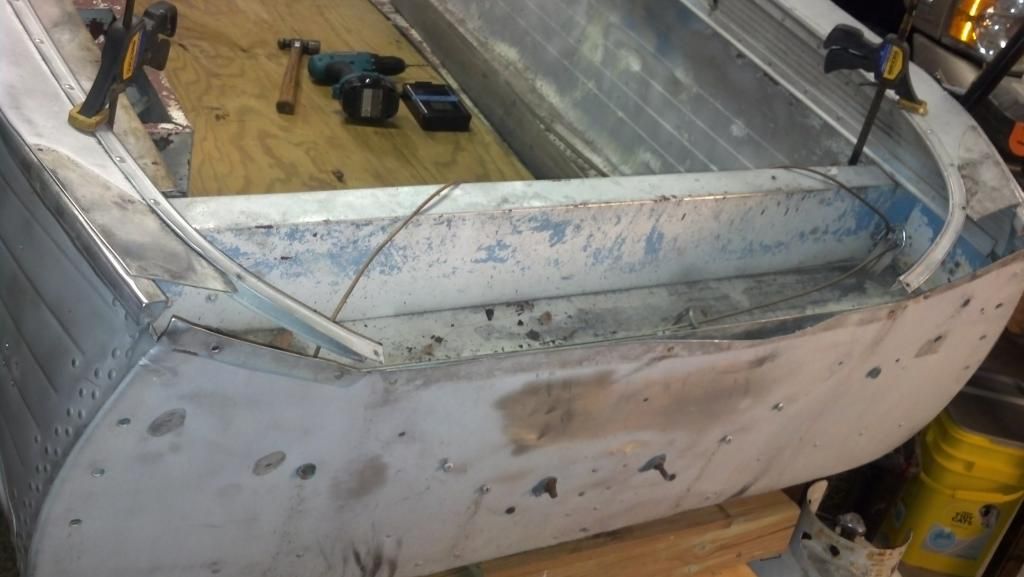
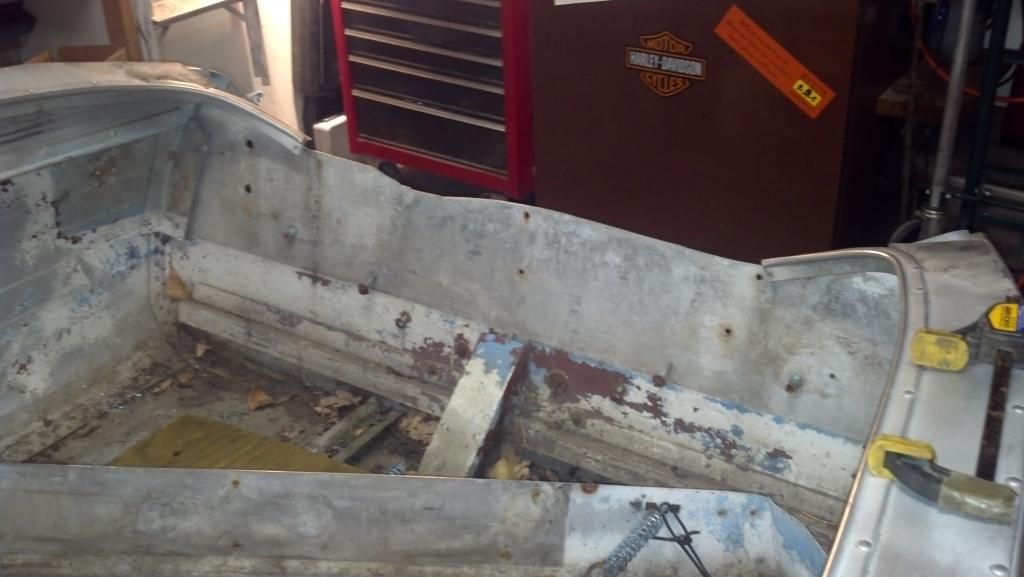
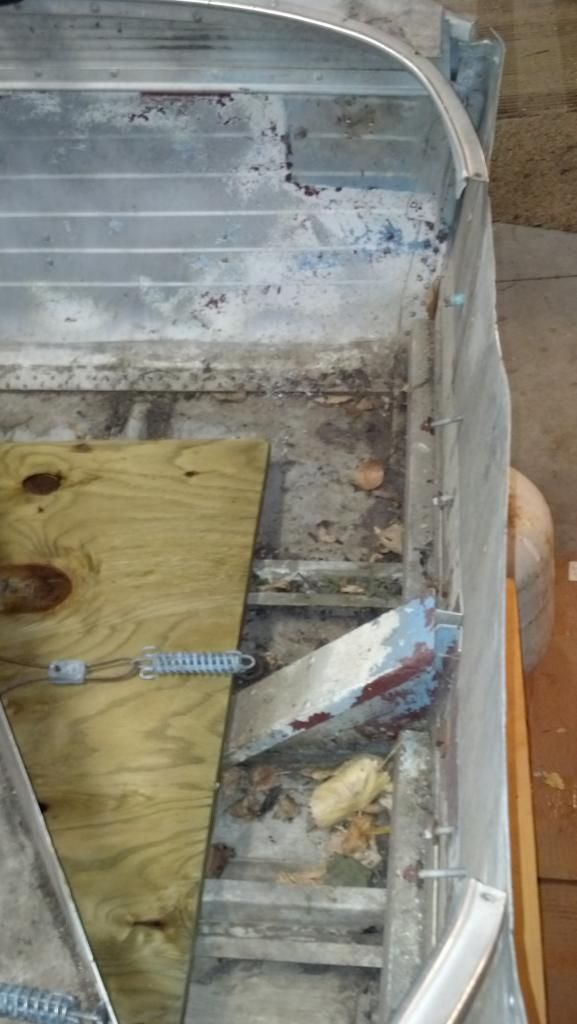
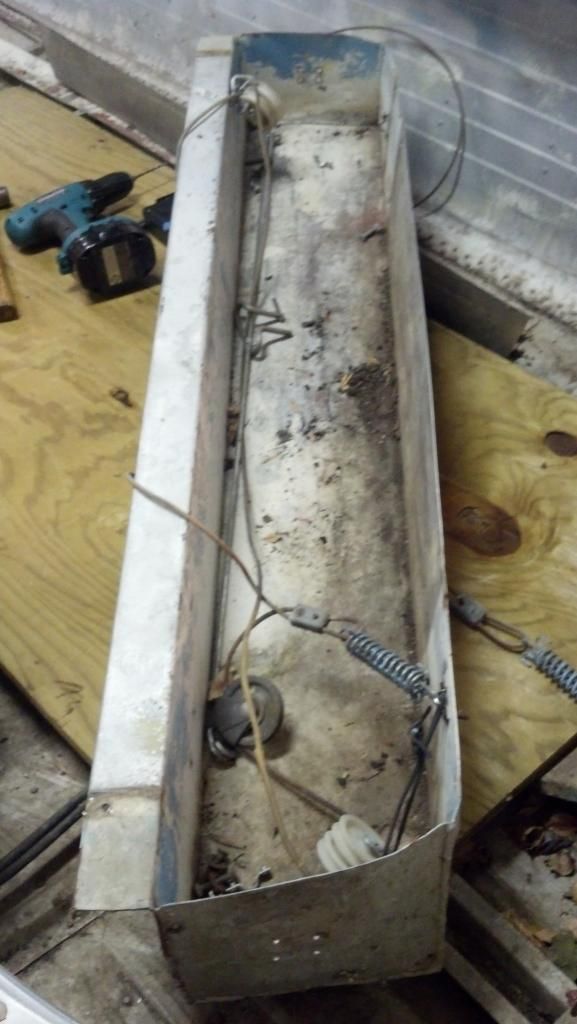
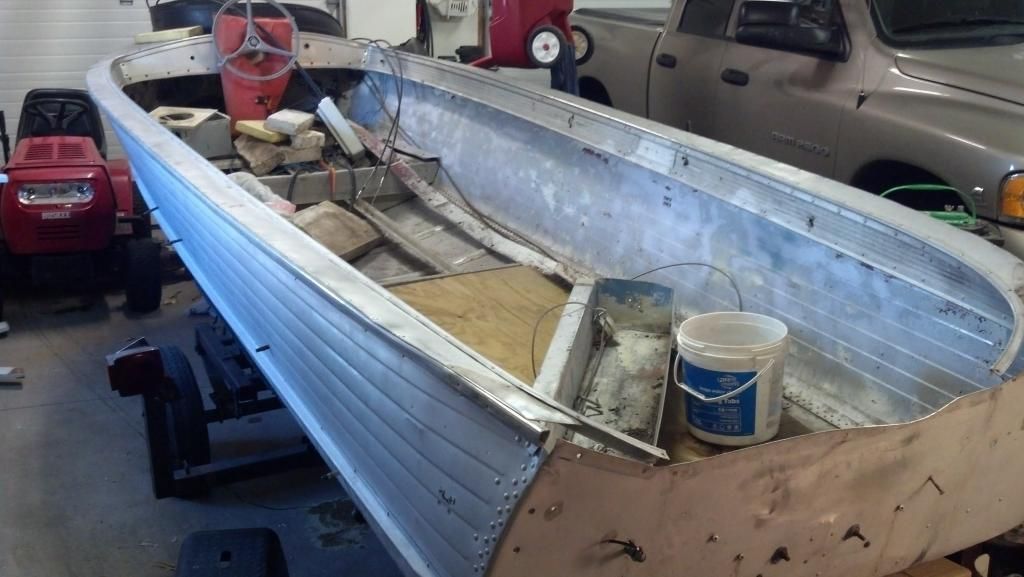
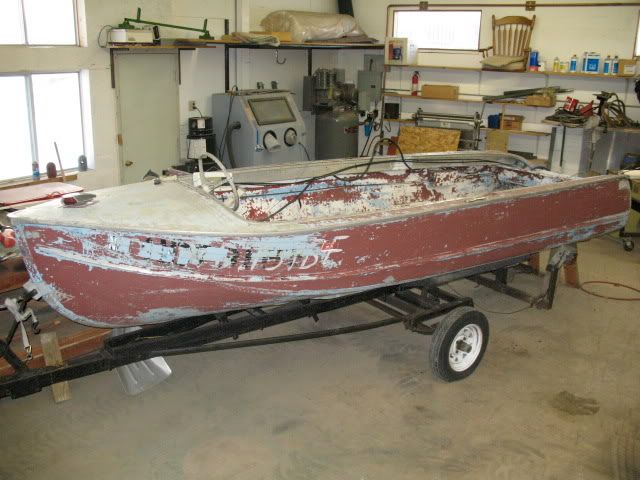
Here she is. I wrote a big long narrative to start this thread but one way or another it got lost so I'm going to simply post a pic or two and return for comment later when I'm on my desktop confuser. It is a 16' Richline, 16' length and 5' beam. Stay posted for further info. I may have to make another effort on the picture posting. Thanks for looking.


IMG_1502.jpg
 
Last edited:

Jigginglow

Petty Officer 2nd Class
Joined
Dec 27, 2014
Messages
106
Picture challenged, sorry. This is an early picture when I was prepping it for the soda blaster.


This boat is very straight under all the wrotten wood.


Transom on the other hand.....
 
Last edited:

Jigginglow

Petty Officer 2nd Class
Joined
Dec 27, 2014
Messages
106
I had chipped the transom out long ago. It needed to go as it was dry rotted and unusable. This is where I need to ask you all for help. I would like to use exterior grade plywood and glass over it.
imagejpg1-2.jpg
[/URL]
 

Jigginglow

Petty Officer 2nd Class
Joined
Dec 27, 2014
Messages
106
I measured the vacant spot and 3/4" fits pretty snug. I'm hoping to still be able to put a layer or two of glass on and make it fit.
imagejpg3.jpg
[/URL]
 

Jigginglow

Petty Officer 2nd Class
Joined
Dec 27, 2014
Messages
106
Overhead view....the piece that says rf and rr actually caps it and accommodates another external transom (if that is what you wanna call it). I bolted it on there so I could recall how everything goes back together long ago. I haven't measured that yet. This whole area seems pretty insignificant in terms of strength. I'm really wondering what a safe HP will be to strap on this girl!
imagejpg2.jpg
[/URL]
 

Jigginglow

Petty Officer 2nd Class
Joined
Dec 27, 2014
Messages
106
The splash well had to come out to fit the replacement transom. I removed the cap referred to earlier and everything is free to move after removing only five rivets on each side( you can see the 4 in a bunch and the one underneath the break going upwards) and 2 copper thru fittings. Yes that's right, only ten rivets hold the splash well in place.
imagejpg1-3.jpg
[/URL]
 

Jigginglow

Petty Officer 2nd Class
Joined
Dec 27, 2014
Messages
106
The brass thru fitting, one on each side had to go. You see it right below the spring assembly. The best tool for the job was my little Wizarrd cut-off wheel.
imagejpg2-1.jpg
[/URL]
imagejpg3-1.jpg
[/URL]
 

Jigginglow

Petty Officer 2nd Class
Joined
Dec 27, 2014
Messages
106
The factory didn't cut a very clean line on that rear sheet. Nothing a little filing can't fix.
imagejpg1-5.jpg


imagejpg1-6.jpg


Splash well standing alone.

imagejpg2-3.jpg
 
Last edited:

Jigginglow

Petty Officer 2nd Class
Joined
Dec 27, 2014
Messages
106
Rivet buck tail maintenance. There was some very shoddy rivet work on this girl. The buck tails were gigantic and took some extra effort to remove them without making the hole too big.
imagejpg2-4.jpg
[/URL]

imagejpg1-7.jpg
[/URL]
 

Jigginglow

Petty Officer 2nd Class
Joined
Dec 27, 2014
Messages
106
Wrong size Clecos required use of some old license plate inventory!

imagejpg2-5.jpg
[/URL]
 

Jigginglow

Petty Officer 2nd Class
Joined
Dec 27, 2014
Messages
106
imagejpg1-8.jpg


I like putting the parts back in their place as i go...
I
imagejpg1-9.jpg

imagejpg2-6.jpg
 
Last edited:
Top