chevymaher
Commander
- Joined
- Mar 29, 2017
- Messages
- 2,938
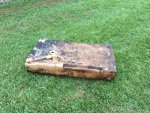
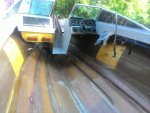
I ground all the old tab out till it was the original shape of the hull. I got some before and afters if that helps.


I ground all the old tab out till it was the original shape of the hull. I got some before and afters if that helps.


I ground all the old tab out till it was the original shape of the hull. I got some before and afters if that helps.

Yep... called Moeller Marine (the company that made the tank) and it is an anti-siphon valve. Found it, a fuel sender gasket, and the steering cable on Amazon.
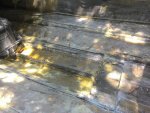
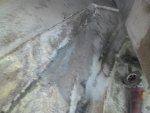
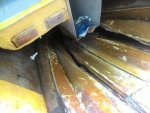
Found some more rotten decking under the rear bench and towards the stern. Pulled out more foam that looked dry until I got down to fiberglass. Same issue on the starboard side as on the port side with the cutouts in the bottom of the stringers. Wet foam in there too. John at Larson suggested drilling 1/4” holes diagonally through the tops of the stringers down to the hull, and tenting the boat with a dehumidifier in it for awhile. Looking for a cheap dehumidifier now.
Found some more rotten decking under the rear bench and towards the stern. Pulled out more foam that looked dry until I got down to fiberglass. Same issue on the starboard side as on the port side with the cutouts in the bottom of the stringers. Wet foam in there too. John at Larson suggested drilling 1/4? holes diagonally through the tops of the stringers down to the hull, and tenting the boat with a dehumidifier in it for awhile. Looking for a cheap dehumidifier now.