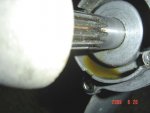
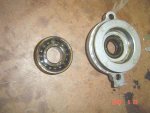
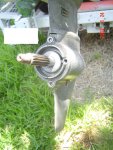
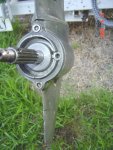
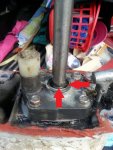
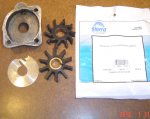
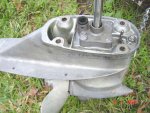
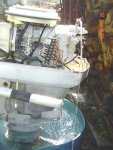
CAp -- don't believe your motor uses an O ring up at the top of the driveshaft, but can check a parts diagram. That red RTV sealant has no place, though, and should be removed -- also up at the motor if you can peek and reach up there to get the stuff out. I wouldn't remove the powerhead just to get at it, but driveshaft splines should be clear (no grease either). It looks like the PO was a believer in sealants (stuff around the impeller housing and wear plate looks like better gasket sealant, anyway.) Black Permatex gasket maker/sealant is good, if using anything -- not sure your manual would call for anything. Can get a replacement shaft seal for the top of the housing, but would leave it in place if it's intact. There shouldn't be any sealant there either.
wickware -- would be curious to hear what your surface head temp is after installing that tell tale (more curious to hear what the running temp is both with it, and with the hose pinched off). Diversion of cooling water may be negligible, but have never seen before and after temps with DIY installations -- good chance to get an infrared temp gun too (good purchase if concerned about running temps).