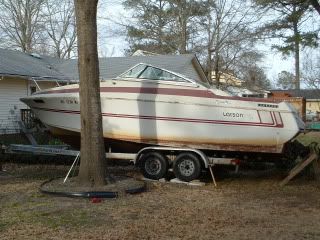
Re: 83' Larson 8500 current project 1
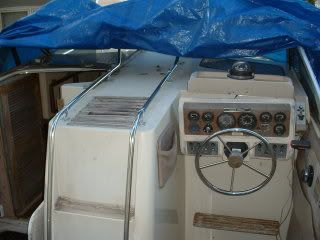
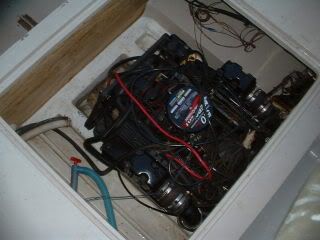
The eventual stripping of the boat revealed a few manufacturing flaws that I planned on correcting. First was the wiring. I am an electrical nit-picker and I just knew my biggest hurdle would be re-wiring this beast. Just eight dash-mounted switches and toggles controlled all the electrical functions of the boat, including 4 flourecent lamps, 4 reading lights, 2 radios, a fridge, a fan, a spotlight, all the nav lights, pumps, etc, etc. It was scary looking at the mass of tangled wires under the instrument cluster and below decks.
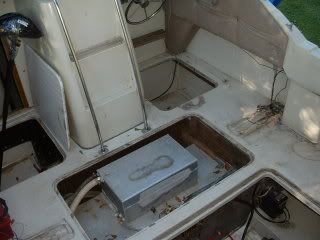
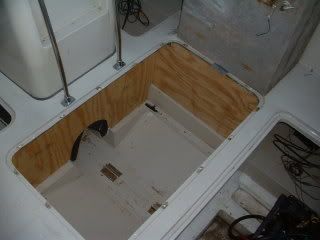
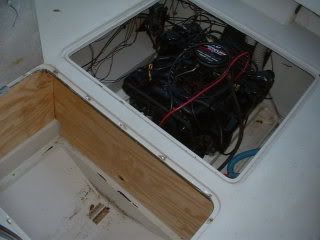
Next were the rotted bulkheads isolating the fuel tank from the storage bays below deck. There are four sheets of ply wedged and bolted to form a box right in the center of the hull. Water seeps below decks through the floor hatches and accumulates where the wood bulkheads meet the fiberglass deck. The hardest part was removing the cube-shaped, 75 gallon fuel tank living in this compartment, but once out, the process was simple.
I used sturdy 3/8? ply and sealed it with 2 coats of epoxy. The edges where these panels meet the deck are ?flared? to form a pronounced rise. I wedged the panels in place, secured them with screws into the upper and lower flares, and then to each other. The box that was formed is extremely sturdy and now, pretty much waterproof. Where the wood panels meet the lower flare, I ran a significant bead of sealer, creating four watertight compartments. They are only connected to each other via the floor drains that empty out to the engine bilge.
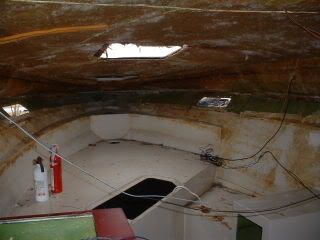
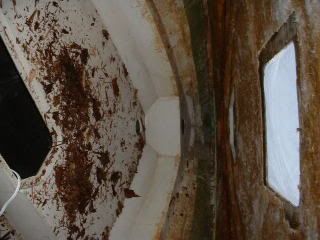
There was another water-damaged area in the berth. The overhead hatch opening was cut a bit generously at the factory and left a ??+ gap surrounding the hatch sealing trim that over the years, caused the caulk to shrink and allowed moisture inside. Since the wood sandwiched between the glass? remained wet long after it got soaked, when I started probing and scraping it, it fell out looking like the mulch under my trees. My shop vac worked overtime on this area and I had to replace the filter after I finished clearing out the hull. It was so NASTY! I had to cut very odd sized strips to fix the overhead hatch issue and it was the hardest to date due to the thick glass? deck above and the foam and glass? sandwich below. The repair will not win any beauty contests, but it?s firm and waterproof now.
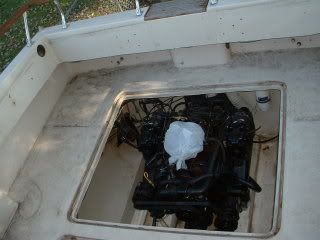
At some point in the boat?s life, a PO repaired the stringers supporting the engine. At first I couldn?t tell, but when I got close, I noticed a brighter shade of white paint in the bilge area. They sound and feel solid, but when they were repaired, the drain holes (what probably led to the rotting of the original stringers) were filled in, leaving no way to drain out any water that accumulates in the low areas of the stringers. At least they are sealed tight.
http://s77.photobucket.com/albums/j68/jklnhyde/?action=view¤t=1235964331.jpg