


Splat
Lieutenant
- Joined
- Jul 20, 2008
- Messages
- 1,366
This came up in another thread, so I thought it may be relevant to post some ideas I'm working on.
Two things, excuse the super crude mock up, and excuse the super cluttered garage. It's a never ending work in progress.
I always liked the look of those custom switch panels with the lite up legends, but they are very proud of them$, plus they mostly have to be custom ordered. SO I decided to experiment a bit and see if I could come up with a viable solution.... Hey I like to tinker.
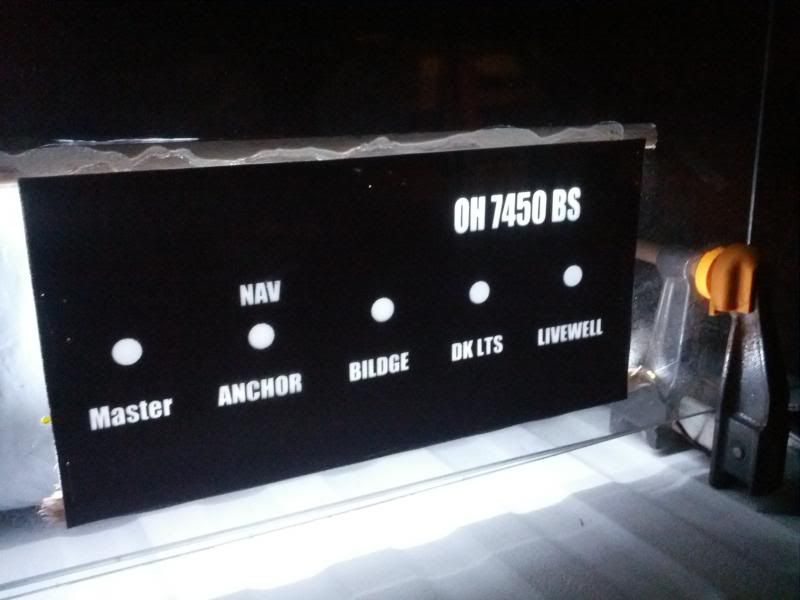
I used photoshop to design a panel then printed it out with a laser printer on frisket paper. Frisket is just like tracing paper, it's water resistant, and allows light to pass as it is semi-opaque.
I mounted the printed frisket paper printed side forward to a piece of .093 lexan, I than sandwiched it to a piece of .230 lexan as a backer. I simply used clamps to hold the mock up together for proof of concept, however the finished product will be sandwiched and epoxied together to eliminate any condensation forming between the panels. I plan to use a thinned out epoxy brushed on, then lay the frisket, rub out any air bubbles, apply more epoxy and lay the thicker panel on top to cure. this will create a incredibly durable panel.
The thicker lexan panel in the rear is important. This allows more room between the led's and the back of the frisket paper, thus allowing the beams of the individual led's to diffuse.
On back of the rear panel I simply attached some strip led's to a few blocks I had laying around, and power them up.
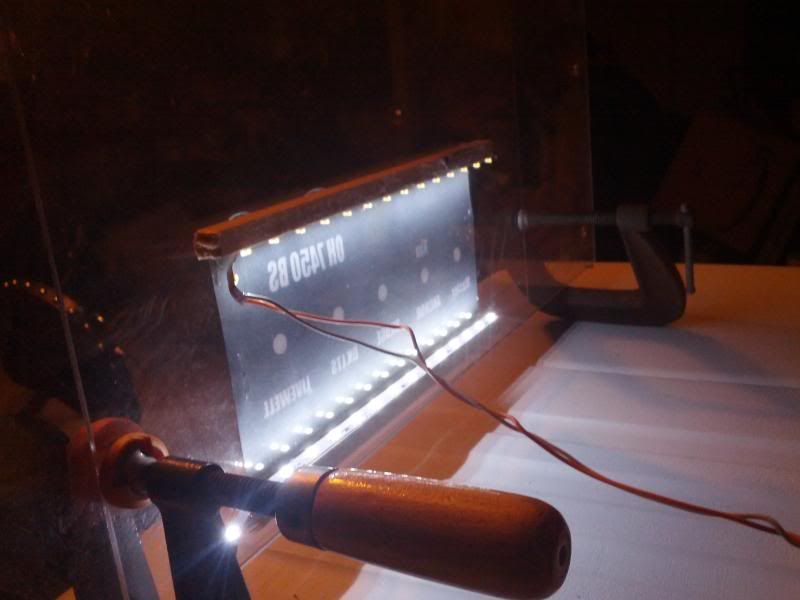
Obviously the finished product will be cleaned up, and trimmed, like I said Proof on concept.
Total cost will be somewhere around $10 plus cost of switches.
Hope this gives some people some ideas for a DIY.
Bill
Last edited: