This is my first boat.
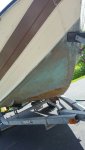
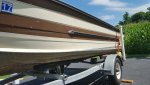
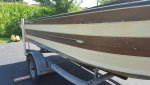
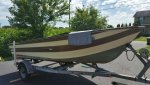
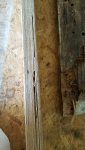
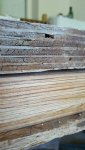
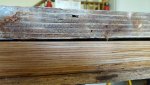
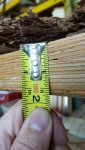
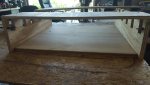
Picked this thing up for $350 with a good running engine (bad lower unit) and a nice Sea Lion trailer. Its been a learning process so far but I'm getting things accomplished. Ran into a major transom skin issue but got that almost all buttoned up. I'm now in the process of building a new transom and got my floors cut out/in.
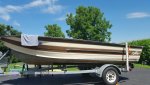
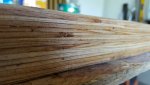
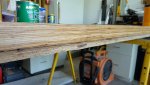
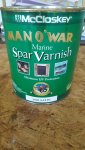
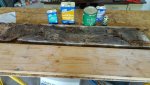
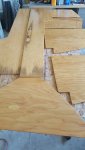
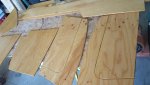
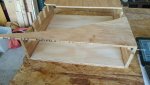
Also cut all new wood for interior pieces, spar varnished them and am going to cover them with marine carpet instead of vinyl. I also replaced all foam. I'm just about to start coating the floors (out of the boat) and getting the carpet attached to the interior trims. Would love some feedback on any of this stuff as I'm going at this alone and am spending hours on forums and watching vids.
Picked this thing up for $350 with a good running engine (bad lower unit) and a nice Sea Lion trailer. Its been a learning process so far but I'm getting things accomplished. Ran into a major transom skin issue but got that almost all buttoned up. I'm now in the process of building a new transom and got my floors cut out/in.
Also cut all new wood for interior pieces, spar varnished them and am going to cover them with marine carpet instead of vinyl. I also replaced all foam. I'm just about to start coating the floors (out of the boat) and getting the carpet attached to the interior trims. Would love some feedback on any of this stuff as I'm going at this alone and am spending hours on forums and watching vids.
Attachments
-
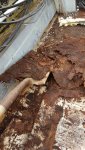 photo247276.jpg113.1 KB · Views: 1
 -
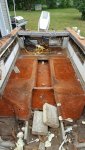 photo247278.jpg103.5 KB · Views: 1
 -
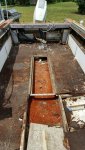 photo247282.jpg91.3 KB · Views: 1
 -
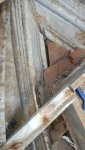 photo249030.jpg147.4 KB · Views: 1
 -
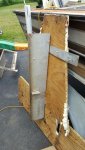 photo249032.jpg112.7 KB · Views: 1
 -
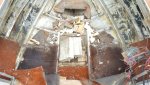 photo249035.jpg364.2 KB · Views: 1
 -
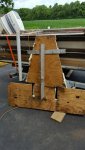 photo249036.jpg115.5 KB · Views: 1
 -
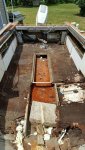 photo249037.jpg95.7 KB · Views: 0
 -
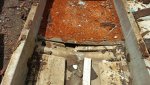 photo249040.jpg87.5 KB · Views: 0
 -
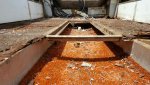 photo249043.jpg121.7 KB · Views: 0
 -
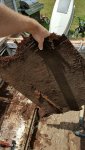 photo249044.jpg122.7 KB · Views: 0
 -
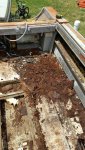 photo249045.jpg96.2 KB · Views: 0
 -
 photo249046.jpg98.7 KB · Views: 0
 -
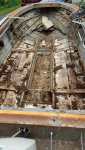 photo249048.jpg103.2 KB · Views: 0
 -
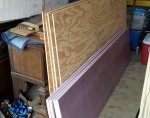 photo249050.jpg119.1 KB · Views: 0
 -
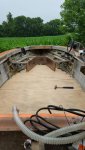 photo249054.jpg137.1 KB · Views: 1
 -
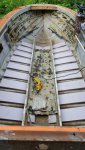 photo249055.jpg119 KB · Views: 1
 -
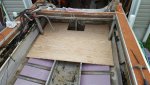 photo249056.jpg126.7 KB · Views: 1
 -
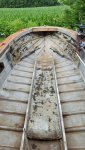 photo249057.jpg99.6 KB · Views: 0
 -
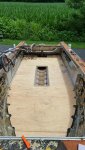 photo249058.jpg116 KB · Views: 1
")