Refinished my 1989 Johnson GT100 with pics

Status
Not open for further replies.

tlocus73

Seaman
Joined
Aug 18, 2008
Messages
51
Hello,
Just a bit bored, so decided to upload a couple of my refinished outboard pics.
For the cowl, I took off all old stickers/decals (were badly faded and scratched). Sanded lightly, wet sanded, used Johnson paint, clear coat and ordered some 3rd party decals.
Pretty happy with the results :)
Will buff out the clear coat a bit to make it 'glossier'.


t
 
Last edited:

tlocus73

Seaman
Joined
Aug 18, 2008
Messages
51
Here are a couple of before/during refinishing and removing some light oxidation from lower unit.


Woodonglass

Supreme Mariner
Joined
Dec 29, 2009
Messages
25,929
Really nice Job! Did you Clear OVER the decals or before sticking them on???
 

tlocus73

Seaman
Joined
Aug 18, 2008
Messages
51
Really nice Job! Did you Clear OVER the decals or before sticking them on???
Thanks,
Clear coat before adding the decals. After about 3-4 coats of the Johnson Platinum color paint (wet sanding in between from 400, 600 then 1500), I let the color paint dry for a few days then added 2 coats of clear coat, also wet sanding 1500 between those.

After clear coat dried I added the decals. I put the decals on the 'wet method', which is about 16oz water with a few drops of dish soap(makes it easier to move around and place).

I was thinking of adding an additional clear coat over it all decals, etc.. but was advised not to by the decal rep/tech person. He told me one customer put clear coat over the decals and ruined them...but not sure, may depend on what type of clear coat.

He also mentioned the vinyl is made by 3M and has UV protectant already in them.

Hope that helps,

thomas
 
Last edited:

sheboyganjohn

Senior Chief Petty Officer
Joined
Aug 2, 2005
Messages
753
Excellent job. I have a collection of outboards in the basement to restore. One of these days I will get to them, an old Martin is tops on my list. A bit smaller then what you did.
 

appleo

Petty Officer 1st Class
Joined
Jul 19, 2012
Messages
388
Hi. Can you tell how you prepped and primed the bare parts?
 

tlocus73

Seaman
Joined
Aug 18, 2008
Messages
51
Hi. Can you tell how you prepped and primed the bare parts?

Sure,
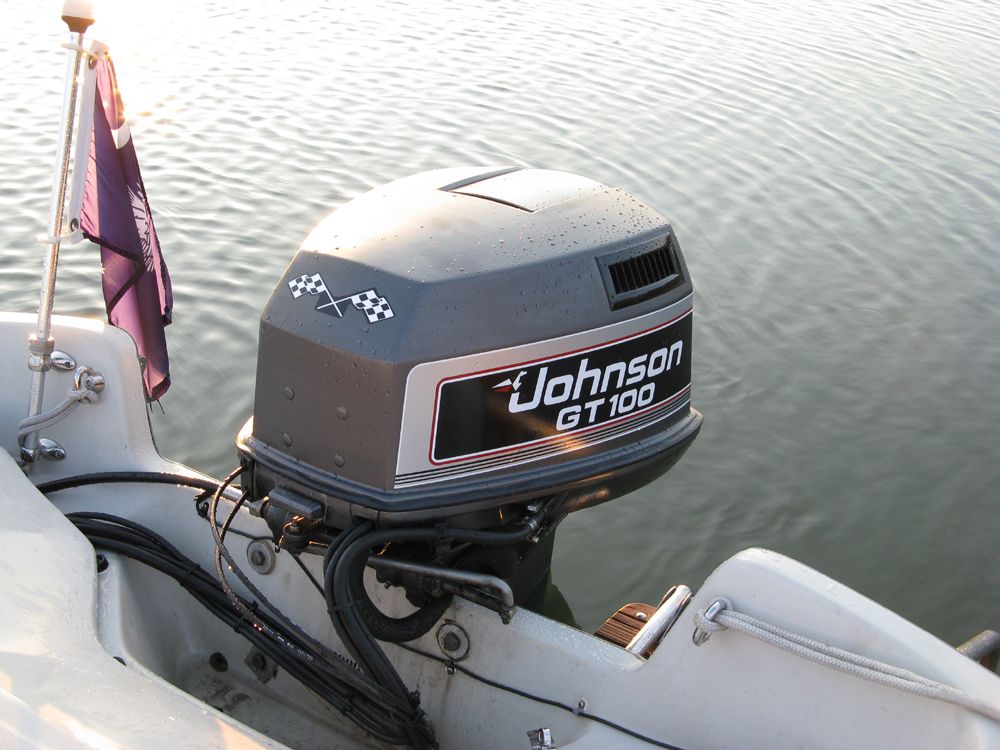
For the engine cowl/cover I first taped off the rubber weather stripping all around the bottom perimeter(blue painters tap). Also removed all the vents/louvers handles on cowling.
I used stripeze to totally remove all existing/old coats of paint on cowling. ***beware that even if you tape off the decals the stripeze will work into the decals removing the adhesive and possibly ruining it. I had ordered a new set of decals, so for me it didn't matter.
Use a sturdy putty type knife to peel off old paint being careful not to gouge the cowling.
Completely rinse away the stripeze, etc..

I then used my orbital sander with 180 grit disc and sanded all flat areas of cowling. DO Not use the orbital sander to sand any edges as it will take the cowling material off really fast and uneven.
With 180 grit paper, I sanded all the edges and corners by hand.

Rinse off and check and see how smooth and even it's getting.
Once you're happy with it, get a good spray primer. If your final color is dark, use black primer and if your final color is light or white use a white primer.
Let dry for 30 min. to an hour (depends on spray primer drying times).
I then use my sanding block with wet/dry sandpaper, 400 grit, wet cowling and sandpaper and only sand flat areas. Take same type of wet/dry sandpaper 400 grit and sand edges and corners by hand.

You may see low or high spots now. I repeated the above adding a second coat of primer and used the wet/dry 400g again.

I let mine dry out for a good day before starting to paint the actual color enamel.

Use new blue masking tape around base rubber seal.

Spray on color paint...light coats always.
Then let dry for a couple of hours (again all depends on paint you use).
Wet sand with 600grit this time and using sanding block for flat areas and you hands for edges and corners.
Let it dry out.
Forgot to add, you can wipe it down with something like denatured alcohol right before painting.

Do again until happy with the look/ and or coats of paint. Right before last coat of paint I use 1500grit wetdry sandpaper.

Let dry for at least 2-3 days.

Wet sand lightly with the 1500 grit.
Now spray on your clear coat. If doing more than 1 coat of clear coat use the 1500grit in between each coat.

Let dry...if you have new decals wait a few days...maybe 3 before placing them on the cowl.
Eventually you can buff it down to bring out color and gloss.

There maybe other ways of doing it...hope this helps.

Thomas
 

wandcb

Recruit
Joined
Sep 13, 2022
Messages
1
Hello,
Just a bit bored, so decided to upload a couple of my refinished outboard pics.
For the cowl, I took off all old stickers/decals (were badly faded and scratched). Sanded lightly, wet sanded, used Johnson paint, clear coat and ordered some 3rd party decals.
Pretty happy with the results :)
Will buff out the clear coat a bit to make it 'glossier'.


t
Hi. I recently bought a 1989 Lund 1750 Tyee aluminum boat with a 1989 Johnson GT100 engine. I would like to paint the engine and the cowling but I am not sure what color the darkest color on the cowling is, it seems to be Black. I bought Charcoal/GT for the lighter color (newest part # 0777173, it was previously #771281) and it was a perfect match.
I have been unable to determine the dark color on the cowling or it's part number. Could you tell me what color you used, bought from where and the part number? Any help is appreciated.
Thank you.
....Wayne Blackburn
 

Attachments

  • Boat -3.jpg
    Boat -3.jpg
    2.3 MB · Views: 5
Last edited by a moderator:

Baylinerchuck

Commander
Joined
Jul 29, 2016
Messages
2,739
Hi. I recently bought a 1989 Lund 1750 Tyee aluminum boat with a 1989 Johnson GT100 engine. I would like to paint the engine and the cowling but I am not sure what color the darkest color on the cowling is, it seems to be Black. I bought Charcoal/GT for the lighter color (newest part # 0777173, it was previously #771281), and it was a perfect match
I have been unable to determine the dark color on the cowling or it's part number. Could you tell me what color you used, bought from where and the part number? Any help is appreciated.
Thank you.
....Wayne Blackburn
This guy hasn’t been around since 2015, so doubt you’ll get answer.
 
Last edited by a moderator:
Status
Not open for further replies.
Top