lundnisswa
Petty Officer 1st Class
- Joined
- Mar 2, 2008
- Messages
- 245
Re: Lund Nisswa Restoration
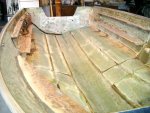
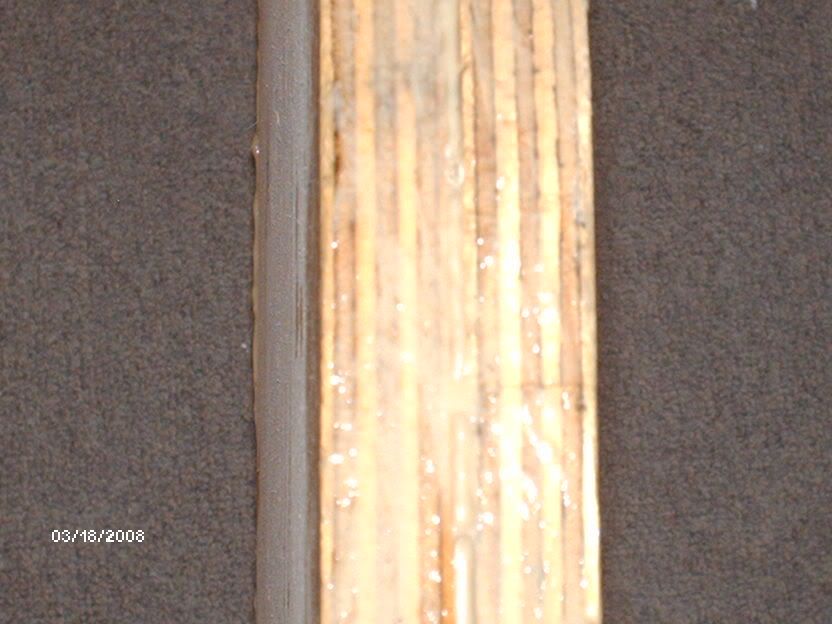
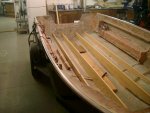
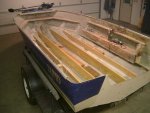
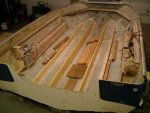
Stringers are fitted, embarrassed to say that it took me two days to get those suckers in there level.
There are a ton of factors to deal with when fitting these, the thing that got me the worst was the dimensional lumber was cupped, and I had no extra width to cut it square. If there is a next time I do this I just may go the plywood route.
I want to start waterproofing by applying Epoxy to these cut stringers, do I thin it or not? How many coats, within a certain time period or not?
So in your guy's experience, a quality wood flour/mixed with epoxy-resin to a peanut butter consisitency will provide a quality "Stick" to the floor?
How about chopped strand glass, will that do anything for the peanut butter?
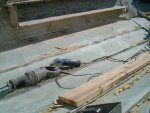
Now for some good weather so I can grind some more.
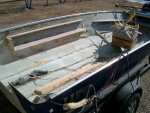
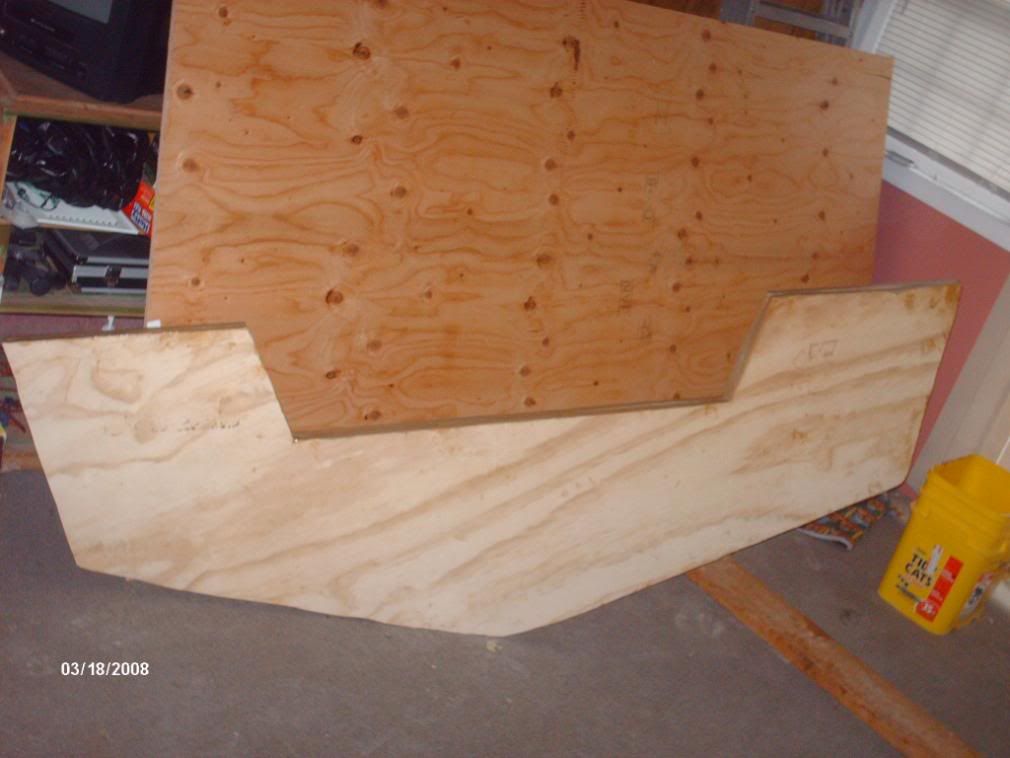
Next thing is to get the three bulkhead templates made.
Am ready to Rock-N-Roll as soon as the Marine plywood gets here next week, Hope it is Dry.
Have all the fiberglassing materials I believe is needed, I suppose I should practice some layups on scrap wood, since I have never done this, could practice those fillets too if I build a Mock-up.
Lund.
Stringers are fitted, embarrassed to say that it took me two days to get those suckers in there level.
There are a ton of factors to deal with when fitting these, the thing that got me the worst was the dimensional lumber was cupped, and I had no extra width to cut it square. If there is a next time I do this I just may go the plywood route.
I want to start waterproofing by applying Epoxy to these cut stringers, do I thin it or not? How many coats, within a certain time period or not?
So in your guy's experience, a quality wood flour/mixed with epoxy-resin to a peanut butter consisitency will provide a quality "Stick" to the floor?
How about chopped strand glass, will that do anything for the peanut butter?
Now for some good weather so I can grind some more.
Next thing is to get the three bulkhead templates made.
Am ready to Rock-N-Roll as soon as the Marine plywood gets here next week, Hope it is Dry.
Have all the fiberglassing materials I believe is needed, I suppose I should practice some layups on scrap wood, since I have never done this, could practice those fillets too if I build a Mock-up.
Lund.
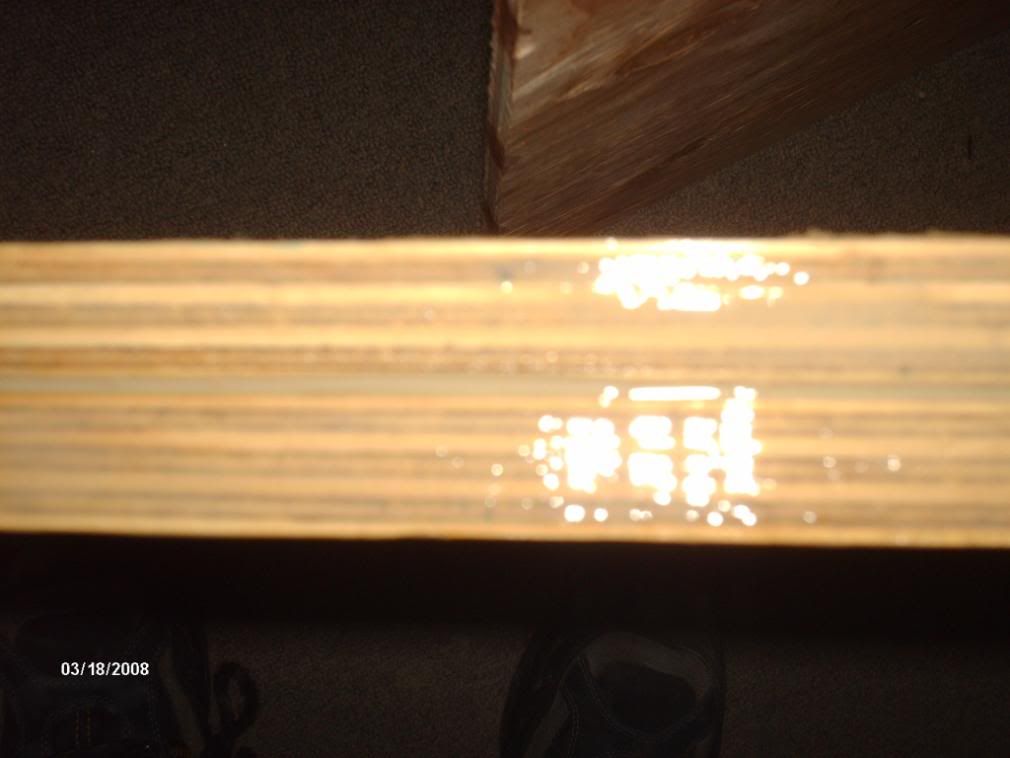
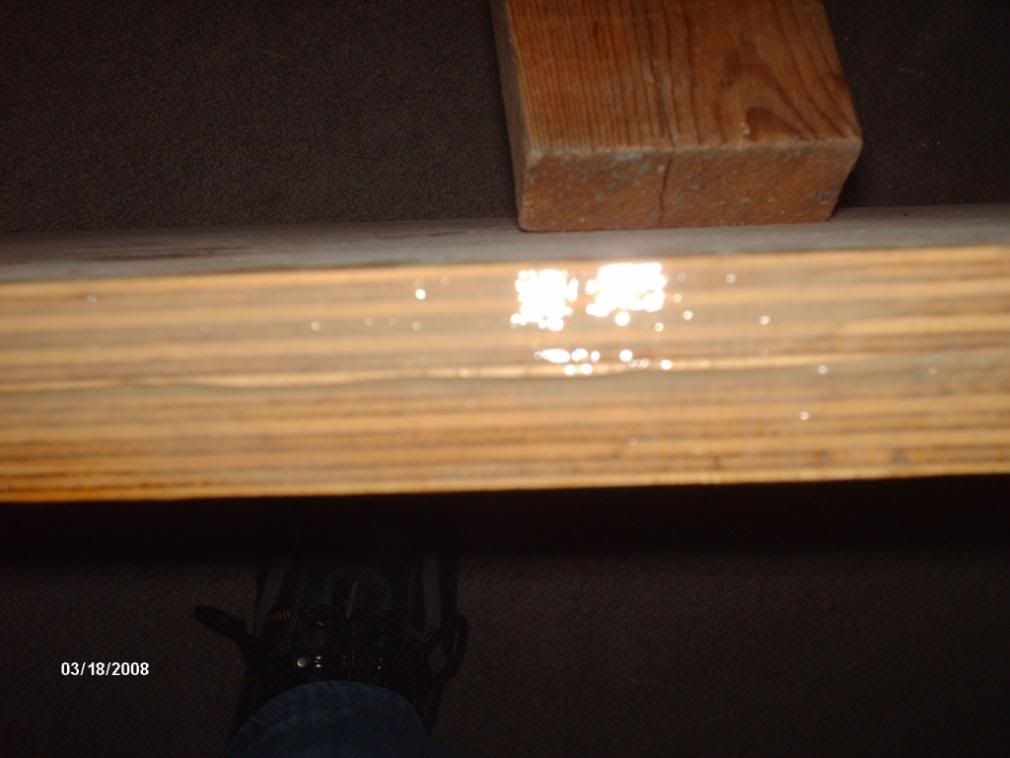
") It's more important to cover the end grain than anything else BTW.
It's more important to cover the end grain than anything else BTW.