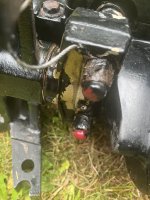
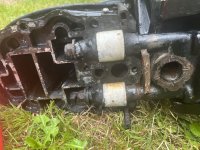
I'm gonna look into the swivel pin and that area. I had to take the whole motor apart because the trim motor was completely corroded. I'm having to peel it off to try to salvage the pump, which i think is good. the lip at the top of the pump housing is a little nicked, but the orings and the mating surface inside seem good. I'm gonna see if I can salvage that and if not, gonna buy a pump and motor.While you have it apart, check the swivel pin for binding. If those two bushings get corroded the motor will be hard to steer, and if it is all together, you will hate yourself. Ditto on the top and bottom rubber motor mounts.
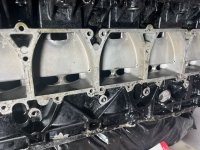
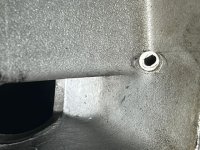
See if you can thru drill the broken water cylinder head water jacket cover. The old IL motors (early 70s) had thru holes and nuts. My '77 water jacket cover bolts were tapped, but you could drill thru the casting on the upper ones and put a nut on it, as the casting had a "pocket" for it.
Ive already commited to getting a time cert. I looked at the back side for a nut and it was pretty tight to get anything in there.