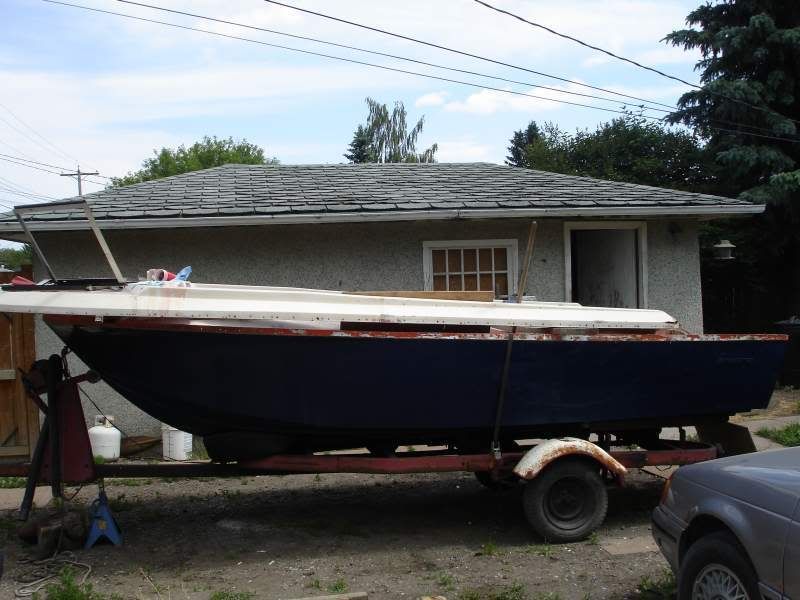
Re: 16' CalGlass rebuild attempt started.
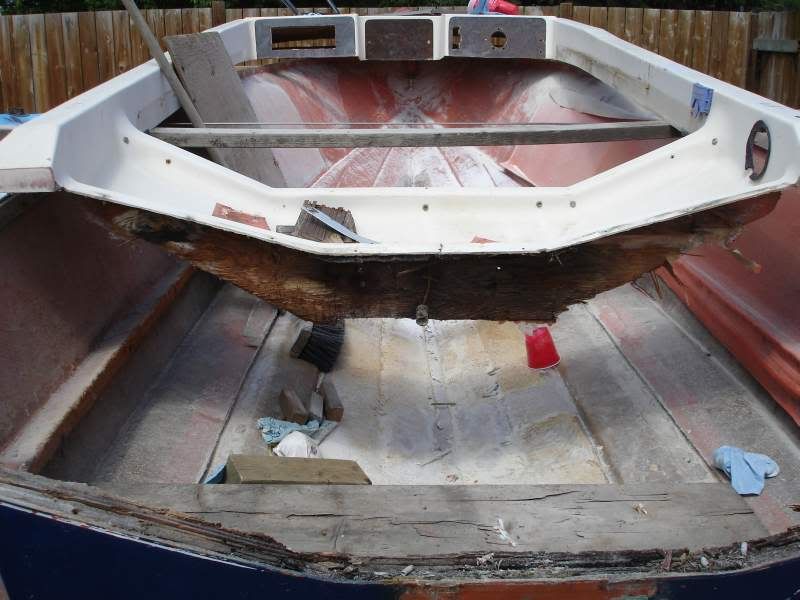
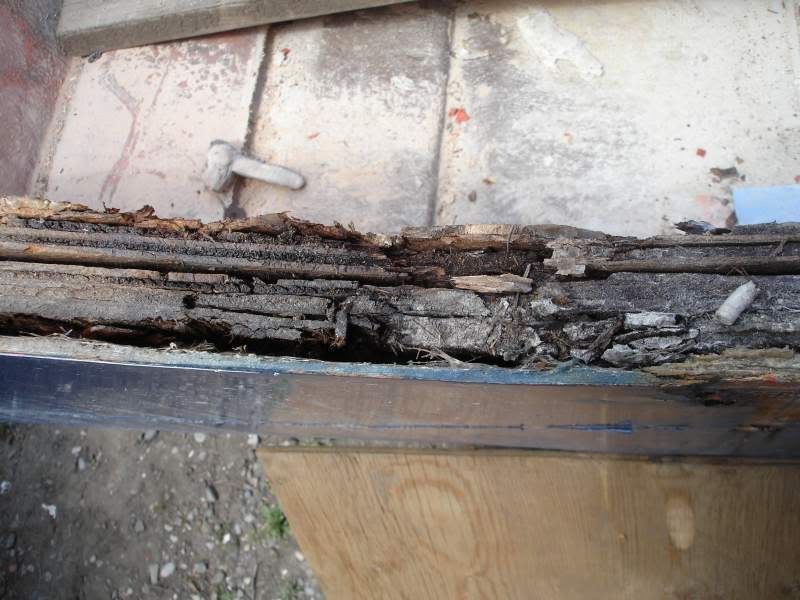
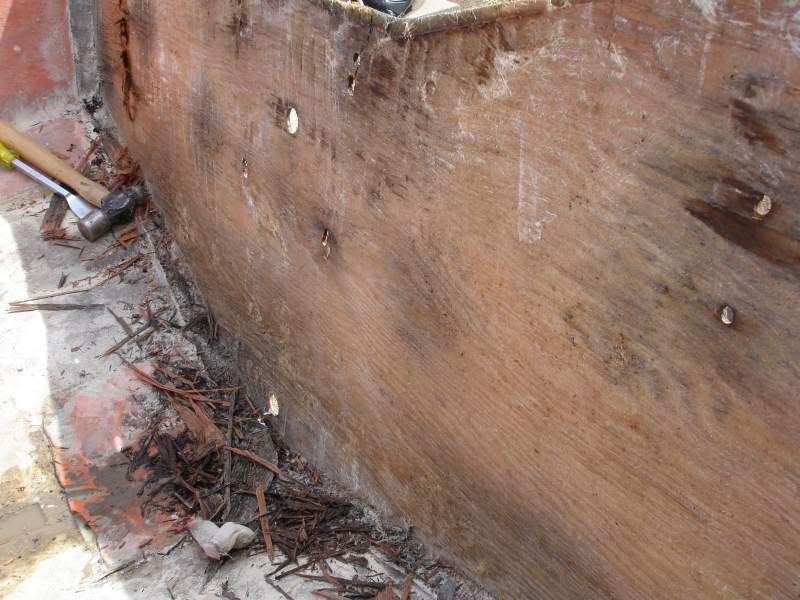
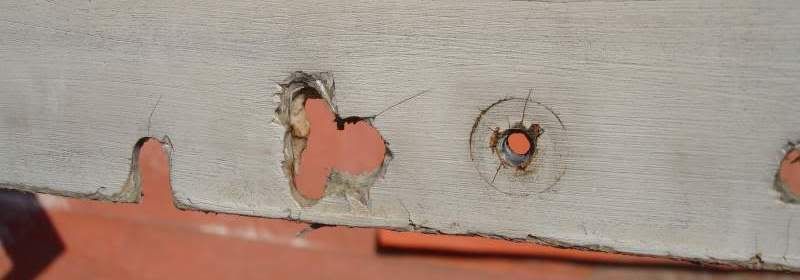
If I had any doubt the transom needed to be changed out, I didn't anymore once I saw this:
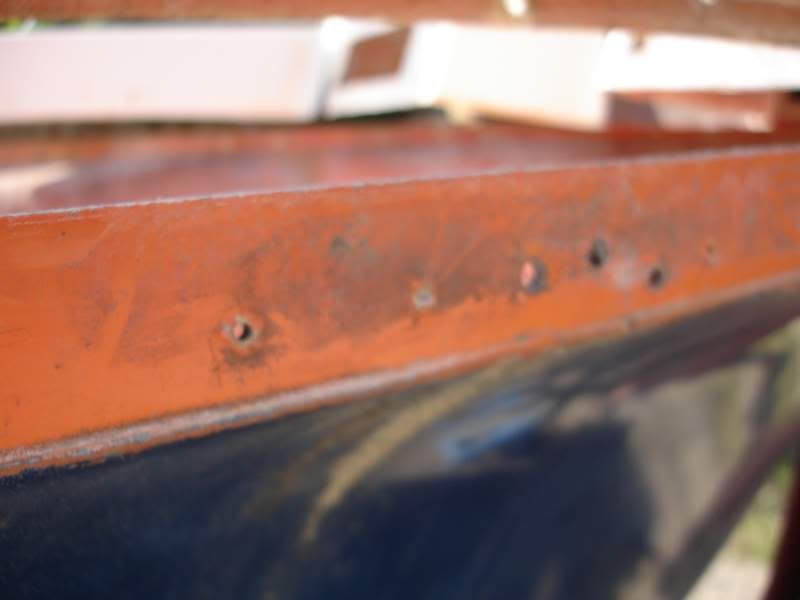
So, after the cap was removed, I crawled in there with my handy dandy 5" makita and cut away the glass surrounding the transom. The wood wasn't a real tight fit to the skin around the edges, so it was real easy to sink the blade in there and cut it out. This part went very quickly too, probably no more than 15 minutes to go all the way around it.
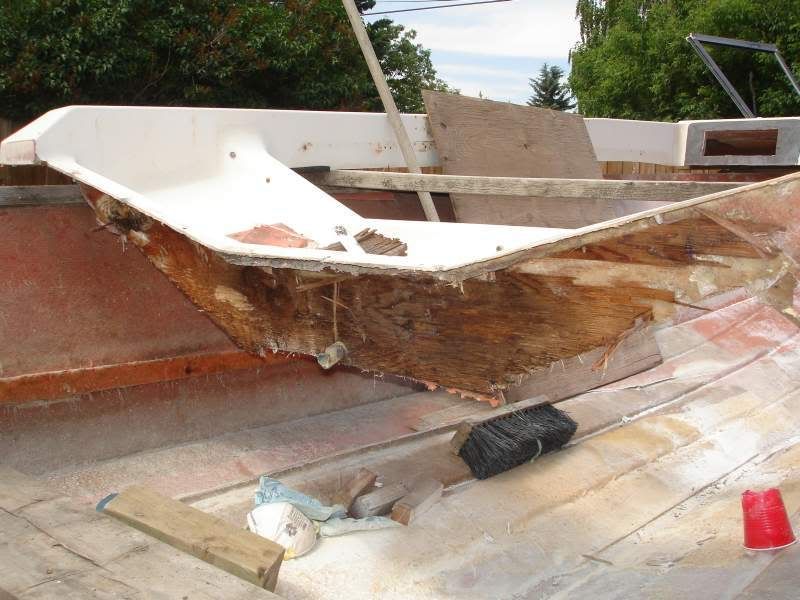
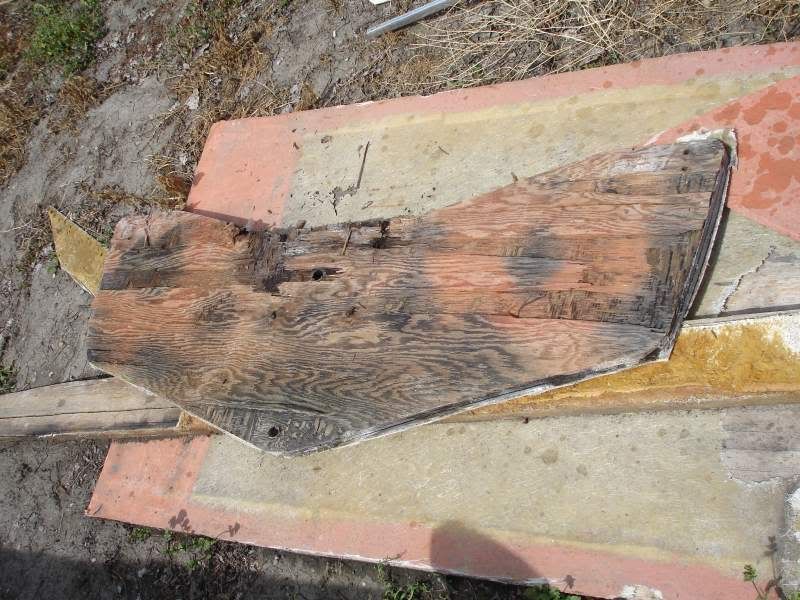
The wood was fairly well attached to the skin against the stern though, that took some elbow grease and those 2 prybars again. Was kind of entertaining to watch the wood when I pried on it - was just like a sponge (and about at firm as one too), everytime I leaned on the bar, the water would get squeezed out and literally run down the gap I was making with the bars. Ended up delaminating the plywood itself though, but out she came.
I'm glad it came out in one piece the way it did, that will make it real easy to make a template now.
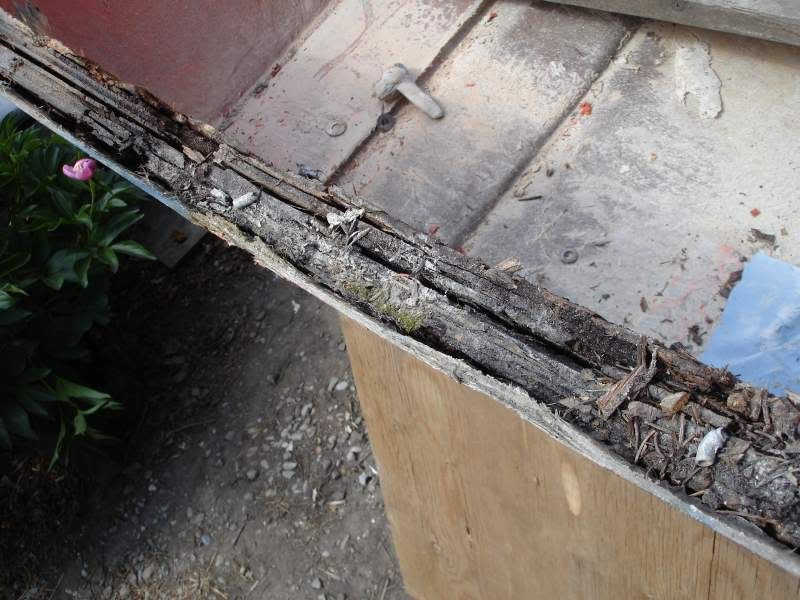
Here's the pile of rotten wood that has come from the boat; Transom, stringer, and floor.
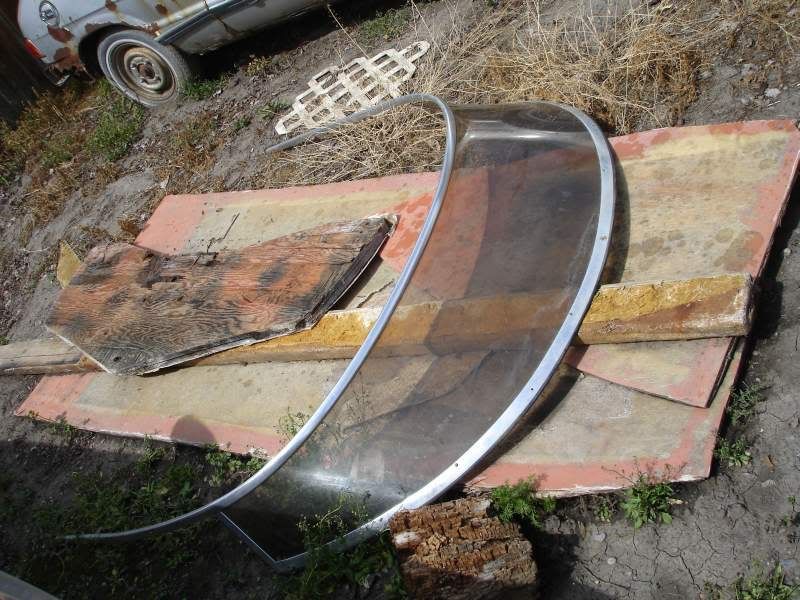
The windshield seen here is not the proper one for the boat (which I do have, btw) this is one the PO was going to put on to make the boat look sportier, but doesn't fit the lines of the boat what so ever. If anyone here wants it, they are welcome to it, just come pick it up. I am planning of just turfing it out to the dump when I take the rest of the wood there in a week or two. So if any of y'all want it, speak up before then.
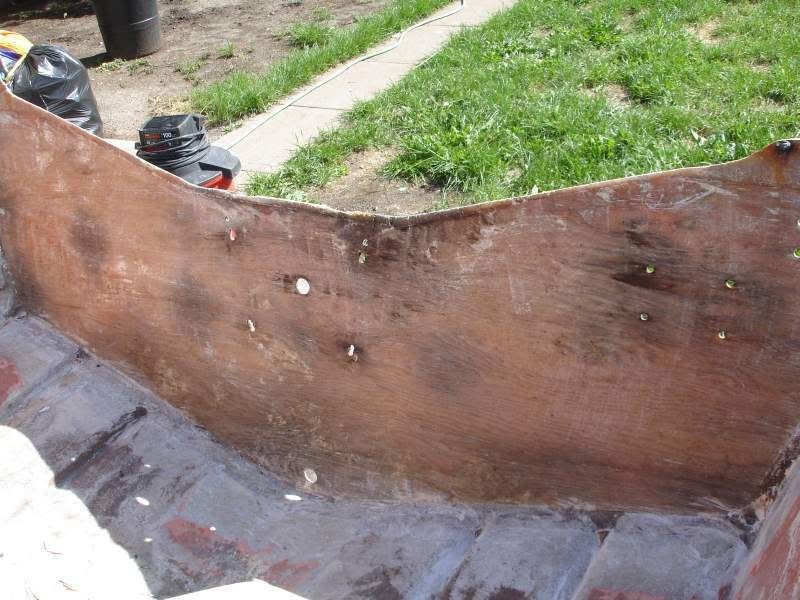
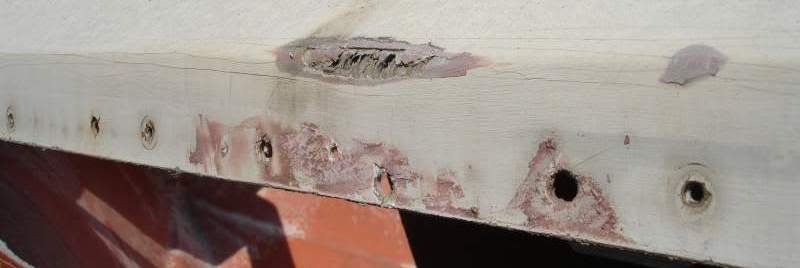
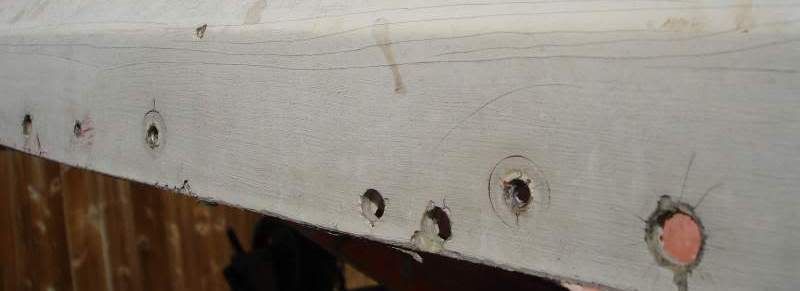
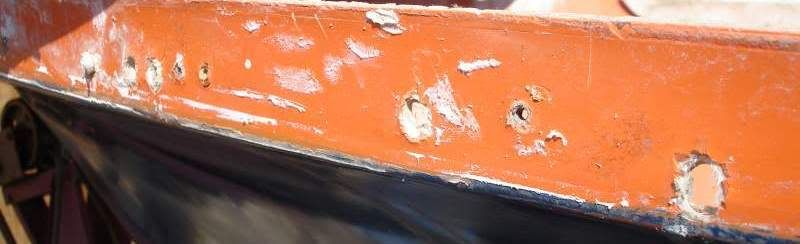
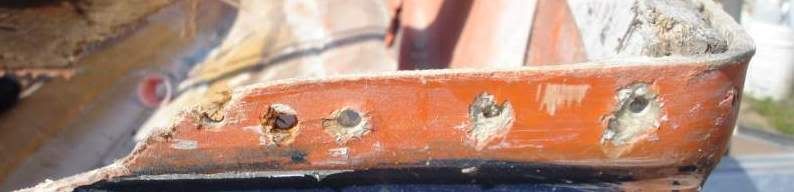
So, here's the skin without the wood, a little more prep and she'll be ready for the new wood.
I spent a little better than an hour with a scrapper and a small hammer, and removed pretty much all the remaining wood from the skin. I was planning to cut, laminate, and glass the transom tomorrow, but I am going to wait a bit longer for it to dry first, so take tomorrow off from the boat.
I am going to wait to finish cleaning up the skin too. I'll wait until the new wood is ready to glass in, then I am not spending a couple of hours cleaning it up, only to have to 'ruff and scuff' it again when it is time to put it in.