1969 Sea Ray SRX Pachanga Build Thread

Propellerhead

Petty Officer 3rd Class
Joined
Nov 15, 2013
Messages
94
Re: 1969 Sea Ray SRX Pachanga Build Thread

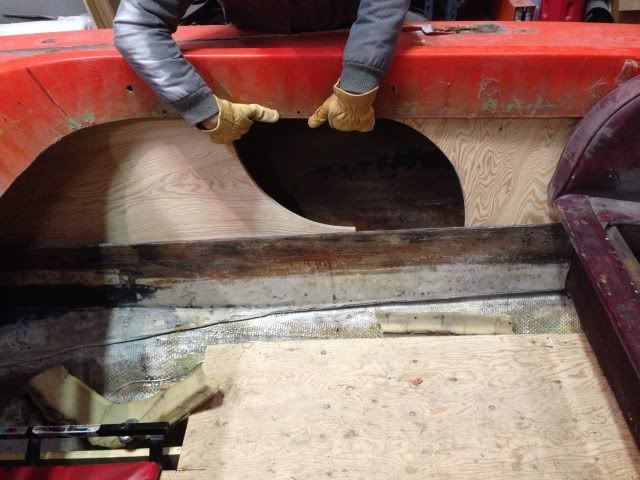
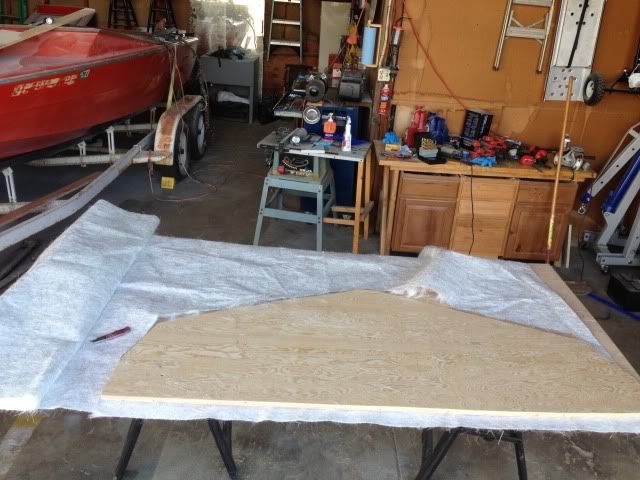
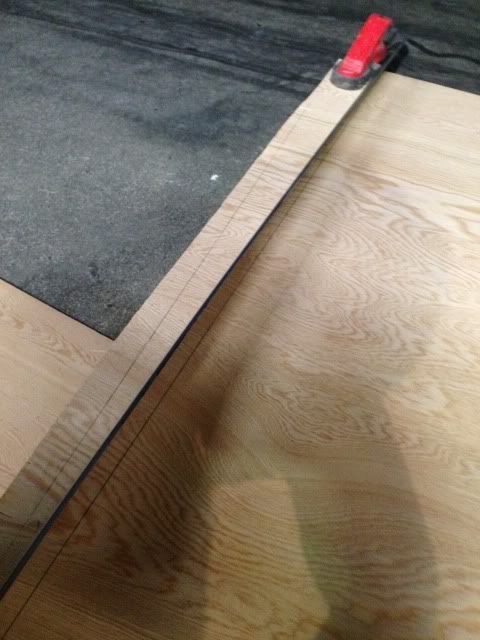
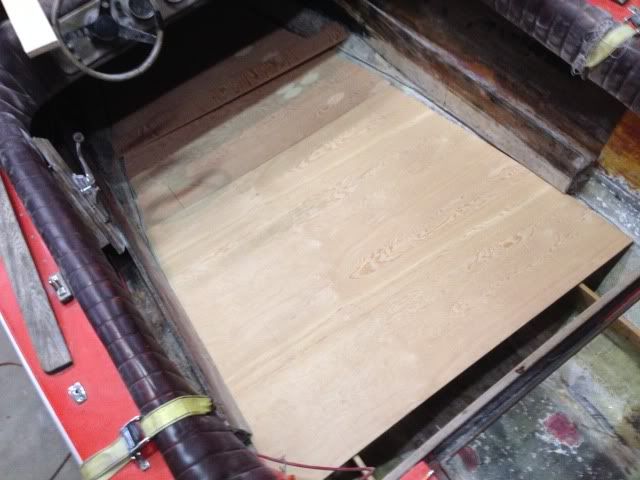
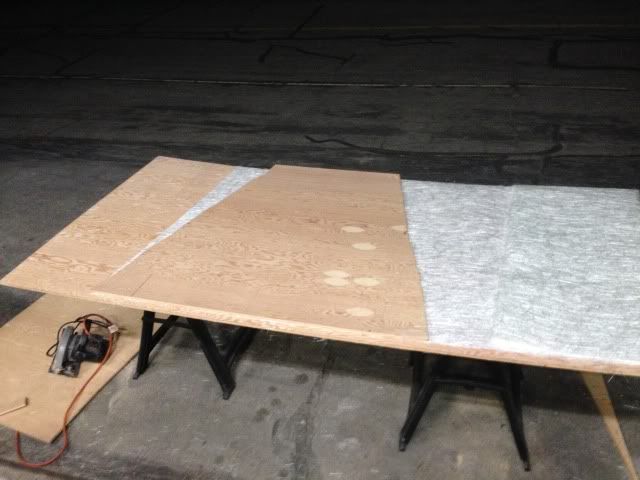
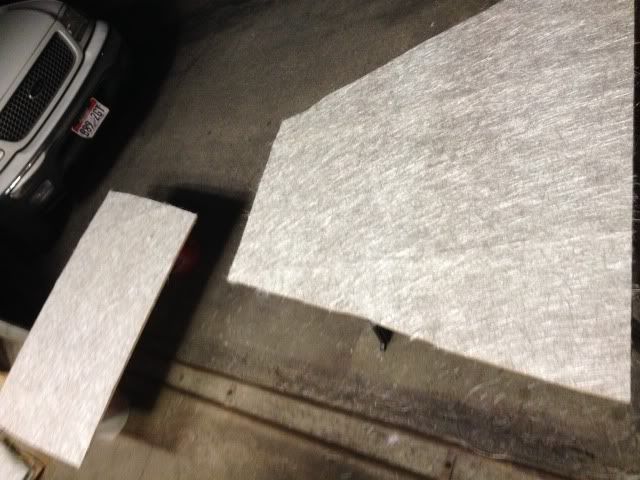
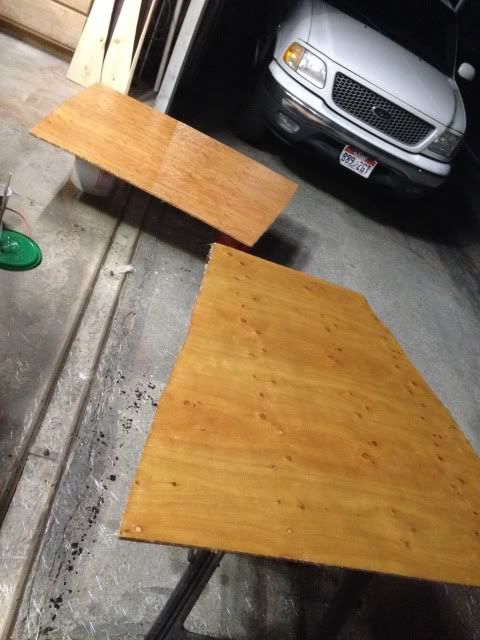
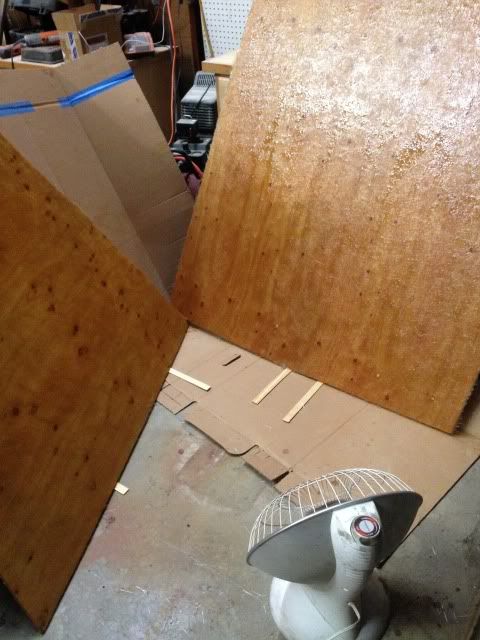
Thanks. Yeah I've done a ton of research on doing it right. It is a big job, that's for sure. Unfortunately marine ply was way out of my budget, but everything I saw indicated that AC would do just fine given the right treatment. I would have loved to keep the parts boat intact, but unfortunately the space just wasn't available. Thanks for the tips, there's more fun to come!
 

Searayb

Seaman Apprentice
Joined
Jul 6, 2011
Messages
46
Re: 1969 Sea Ray SRX Pachanga Build Thread

Great boat, good luck I'll keep watching this thread, can't wait to see the finished product.
 

Propellerhead

Petty Officer 3rd Class
Joined
Nov 15, 2013
Messages
94
Re: 1969 Sea Ray SRX Pachanga Build Thread

So, everything seemed to fit. It did take a little work, (cardboard isn't perfect) but now it was time to set up the fiberglass layup. It seems there are two ways to do a transom when there's multiple pieces of plywood. The first is to glue the two pieces together first and then install them as one unit. The second is to install them sandwiched between layers of fiberglass mat. I choose the second option.

null_zps24c90ea3.jpg


I used one of the new transom pieces to cut around for two pieces of 2oz. chop strand mat. One layer of mat goes in first, then one piece of plywood, then the second layer of mat, then the second piece of plywood. That's all I'm going to do for the first step. I'll come back in after it's cured to tab the transom in around the edges and put one more layer of mat over the top of the whole thing. The one problem I ran into is that the underside of the deck is way too contoured and narrow to tab very well, so I left about three inches of extra material at the top of mats so I could wrap them down over the top. This will seal everything up, and I'm sure that the remaining three sides, properly fileted and tabbed are going to be strong enough. (Some boats didn't come with any fiberglass on the top edge of the transom at all.)

null_zps8d0332fe.jpg


null_zps5bb430ae.jpg


Here's the final layup clamped and curing. I mixed the resin on the cold side so I'd have enough time to wet everything out, line it up, and tighten the bolts down.

null_zpsa17266c4.jpg


null_zps0d72a854.jpg


After it cured, I started to make the filets. I used the "cotton ball" type of resin thickener, but I probably wouldn't use it again. It was very difficult to get it to smooth out. As you can see, I used an old milk carton to create a radius. It worked ok, but it would probably work better with a filler material that didn't tend to clump up. Oh well, I got it to work.
 

Propellerhead

Petty Officer 3rd Class
Joined
Nov 15, 2013
Messages
94
Re: 1969 Sea Ray SRX Pachanga Build Thread

null_zps3dffd045.jpg


I used 1606 stitch mat for the tabbing and for the final layer over the transom. I know most people use 1708, but this is what the fiberglass place had in stock. It's slightly thinner, but I'm sure it will be just fine.

null_zpsa183782f.jpg


The final layer during the wet-out. (Trying to get all the air bubbles out.) I did two layers of tabbing around the outside. One six inches wide, and one ten inches wide.

null_zps216f99c3.jpg


After the transom was set and curing, it was time to start with the stringers. I did have to do a little final trimming to get them to fit right with the new transom in there. This is with the outboard stringers in and fileted. I used a couple of wood clamps taped together to hold them in place and vertical.

null_zps0cb68981.jpg


Tabbed in and curing.

While the outboard stringers were curing, I didn't want to disturb them while installing the inboard stringers, so I decided to start working on the floor. Before I did all the fiberglass work, me and a friend had used more large pieces of cardboard to make a pattern. I should have taken a pic, but I didn't. The problem was that we didn't have large enough pieces of cardboard to do the whole thing, so we had to make due with some old fashioned measuring and fitting.

null_zps17b333fb.jpg


I did use the bent straight edge trick again for the curves around the outside of the floor.

null_zpsdf75b7a7.jpg


After the stringers were done curing, I did a test fit.
 
Last edited:

Propellerhead

Petty Officer 3rd Class
Joined
Nov 15, 2013
Messages
94
Re: 1969 Sea Ray SRX Pachanga Build Thread

null_zps1f1bac2c.jpg


null_zpsb7028656.jpg


Now that I knew the floor pieces were correct, it was time to cut the fiberglass mat for the bottoms. (Since no wood will remain exposed.) I'll do the tops after the floors are installed in the boat permanently.

null_zps336a33ee.jpg


Here's the floors after the fiberglass lay up. I'm getting better at this fiberglass thing.

null_zpsf22f92d1.jpg


It was starting to get a little cool, so I positioned the curing fiberglass in front of an infrared heater. (Nothing that can cause a spark.) I also used stir-sticks to raise them off the floor. I didn't need them stuck when it was time to move them. :)
 
Last edited:

Propellerhead

Petty Officer 3rd Class
Joined
Nov 15, 2013
Messages
94
Re: 1969 Sea Ray SRX Pachanga Build Thread

With the outboard stringers cured, and the floors curing, I could work on building the rest of the wood.

null_zpsf50e69fb.jpg


Here's the inboard stringers with markings where they needed to be trimmed for the added thickness from the fileting and tabbing around the outside of the transom.

null_zpsf3fc1e38.jpg


At this point the inner stringers are just set in the hull dry so I can work around them and build all the other pieces. The red clamps are holding them vertical, and the wood-handled clamps on the scrap ply are spacing them apart. Everything seems to line up pretty well.

null_zpsb5d17df5.jpg


I now set to work making the bulkheads. I recycled the cardboard pattern that I had used for the transom, since it already had the correct shape for the bottom of the hull.

null_zps087b555a.jpg


The new bulkheads are cut and fit. It took a bit of time to get everything right. I used a three-inch hole saw to cut the water drains in the bottom. The bulkhead in the back of the picture is a replacement for the one that was completely missing when I tore the boat apart. I also cut new fir 2x4's for the motor mounts. These 2x4's are in the same location as the originals, but I did double check the measurement between the Mercruiser engine plates to make sure that everything would actually fit, and it will. For those who don't know, Mercruiser uses very different motor mounts than the original OMC setup that this boat came with. They are actually adjustable in height, which is crucial for aligning the engine up with the outdrive.

null_zps90f233ba.jpg


Here's another shot of the mock up of the engine bay. That top 2x4 keeps falling over, but you get the idea.
 

Propellerhead

Petty Officer 3rd Class
Joined
Nov 15, 2013
Messages
94
Re: 1969 Sea Ray SRX Pachanga Build Thread

At this point I started making the floor pieces for the engine compartment. It's starting to get cold in the shop, and it won't be too long before I won't be able to do fiberglass until the spring. So, I just want to get it to the point that I can start working on other things over the winter.

null_zpsa65f391b.jpg


Start of the floor. It had a step in it from the factory, but it's necessary because the top shelf has the fuel tanks on it and the bottom shelf (with the motor mounts underneath) is what the engine is attached to.

null_zps2eb02aad.jpg


Sides built.

null_zps7f203964.jpg


And the top floors are built. This is a dry mock up. I did screw the floor pieces to each other (with stainless screws this time, ahem) so I could remove them as sub-assemblies and fiberglass the bottoms. But I have not attached them to the stringers yet.
 

Propellerhead

Petty Officer 3rd Class
Joined
Nov 15, 2013
Messages
94
Re: 1969 Sea Ray SRX Pachanga Build Thread

So at this point I really want to get the floor of the engine bay done before it gets cold so I can fit all of the mechanical stuff over the winter. I spent a whole day with my dad (about 16 hours for me) cutting fiberglass mat, tabbing, etc. for the stringers, floors, and bulkheads, plus fiberglassing the bottoms of the engine bay floors and getting them installed. I was working so furiously to get everything done (I also was leaving out of town for work the next day) that I neglected to take very many pictures.

null_zps66eb8ea5.jpg


Here's the dry run of all the pieces.

null_zps44f60f95.jpg


This is the only picture I got of the mat-cutting. We marked out long pieces for the tabbing and cut it using scissors or a carpet knife.

null_zpsc7453f15.jpg


null_zpsdf6e384c.jpg


And here is as far as I got with the 'glassing. At the point is was about 2am, I was exhausted and I needed to pack. But even though the tabbing isn't completely done, the bottoms of the engine bay floors are done, the engine bay floors are permanently installed with screws and fiberglass AFTER the stringers and motor mounts were completely fiberglassed, fileted, and tabbed. I would have preferred to get more done, but at least now everything is solid enough for me to work with over the winter.
 

Propellerhead

Petty Officer 3rd Class
Joined
Nov 15, 2013
Messages
94
Re: 1969 Sea Ray SRX Pachanga Build Thread

You are now completely up to date! That was a marathon. From the initial deconstruction to the point that it is at now was two weeks. I'm pretty proud of that considering it was just me with a few days help of some friends.

null_zps9a0809da.jpg


null_zps2fff75e4.jpg


On another fun note, I got the tanks back from the radiator shop. They didn't have any leaks, and you can see the new bungs for the fuel transfer and vent lines. Plus they're nice and clean. I hate to think about what was lurking in the bottom of those things just waiting to gum up the engine.

That's it for now. I'm out of town. But I'll be back next weekend to hopefully make some more progress, and I'll try to keep the thread up to date as I go along.
 

archbuilder

Vice Admiral
Joined
Sep 12, 2009
Messages
5,697
Re: 1969 Sea Ray SRX Pachanga Build Thread

Looks like you have made great progress in a short amount of time!
 

Propellerhead

Petty Officer 3rd Class
Joined
Nov 15, 2013
Messages
94
Re: 1969 Sea Ray SRX Pachanga Build Thread

It's time to update. I spent the weekend on the project, but it's now too cold to do fiberglass, (not that I'm really complaining that much) so I decided to get some work done elsewhere on the boat. I was initially going to start setting up the motor and outdrive to start cutting the keyhole in the new transom, but both the motor and the outdrive were buried in various corners of the shop, which means I would have had to move vehicles around and also move the boat out. The problem is that it's been dumping snow all weekend and I didn't want to get everything all snowy, especially all my newly laid wood. So, plan B. I decided to start working on interior and electrical.

null_zps992a6cc2.jpg


The first thing I did was put down a tarp over the exposed wood in the engine bay. That last thing I need is grease and oil affecting the ability for the new wood to stick to the fiberglass that I'll be finishing when the weather gets warmer. I also out a scrap piece if ply down over the stringers to act as a floor so I didn't get everything down there dirty from my feet, or damage it, and it makes life so much easier when you have a flat surface to work on.

null_zpsb965cbbb.jpg


It's time for this cheesy windshield fairing to go. I marked my cut line with masking tape. Notice no tape on the other side? I didn't even need to cut it over there because it was Whitney Houston. (Completely cracked out.) At this point I just followed the tape line with a cutoff wheel, and the shop vac hose to take care of the dust.

null_zpsb7a75c94.jpg


Before

null_zps300c213f.jpg


After. Look at all the extra deck space I'm getting. I do think it looks a little plain, but like I said earlier, I'm going to try to find an actual windshield for it later. Also, I'm going to clean up the lip that's still there with a grinder when I do all the other fiberglass when the weather gets warmer. I don't feel like covering the shop in dust right now.

null_zps3b551348.jpg


The old fairing ready for the dumpster. Now I'm going to start clearing out old equipment to get ready for the new stuff.
 

Propellerhead

Petty Officer 3rd Class
Joined
Nov 15, 2013
Messages
94
Re: 1969 Sea Ray SRX Pachanga Build Thread

null_zps7066c61d.jpg


Notice all the hardware around the outside of the deck for a Bimini top and a cover. Well, this boat came with a busted-up Bimini, but no cover. So just made the executive decision that if I decide to use a Bimini, I'll get a new one, so this hardware is going to go. Besides, half of its crooked, and some of the brackets are screwed into little blocks of teak? I don't know what that's about, but it all going. I'm cleaning and decluttering. Same thing with the old cover hardware.

So now it's time to start taking out the instrument cluster and the last of the old upholstery. The stuff that's wrapping the edge of the cockpit. Now take a look at the last photo. You can see how the purple 70's vinyl wraps all the way over the lip around the edge of the cockpit. This monstrosity is not how they originally came.

eac9edd61051d06bfbdedb0315446eb5.jpg


This photo is of another Pachanga, about which I'll tell you some other time. Now the steering wheel and gauges are not original, but notice how the upholstery around the lip doesn't go all the way up and over. It just goes to the top of the lip and then is finished off with a piece of aluminum trim. This is how these boats came originally, and I like it much more. Remember this, it's important.

Today I had some help from a buddy, so he got to work pulling out the staples in that old upholstery, and I starting working on the gauges and wiring.

null_zps73cdad06.jpg


These trim gauge were in this home-made teak box and glued (!?!) to the deck under the windshield fairing. Well they looked bad before, but now there's no fairing, so I'm going to move them down in the cockpit where they belong.

null_zps9daf8c3f.jpg


null_zpsa8450195.jpg


Here's a couple shots of the old instrument panel and throttle quadrant for reference.
 

Propellerhead

Petty Officer 3rd Class
Joined
Nov 15, 2013
Messages
94
Re: 1969 Sea Ray SRX Pachanga Build Thread

null_zps4b278ab2.jpg


The old wiring isn't too disorganized, but I discovered that there isn't a fuse panel or circuit breaker panel on this boat. The whole thing is done with those plastic JC Whitney-style in-line fuse holders. That and the fact that the whole harness is filled with butt connectors, and there's tons of extra wires in here from old stereos and VHF radios, I don't think I can really use any of it. So, I basically starting disconnecting everything. I did, however, mark all the connectors with masking tape and a sharpie so I could use the harness for reference later if I needed to.

null_zpse0263976.jpg


I've seen worse rats nests, but I definitely don't need all this antenna cable wrapped up and hanging here. What you can't see and I forgot to take a picture of is that these bundles of wire were hanging from springs! I don't know what they were thinking, but whatevs.

null_zpsdfdebcd3.jpg


You can see by the condition of the wiring behind this trim switch, it's time for something new.

null_zps955e4408.jpg


So here's the old harness out, tagged, and bundled so I can put it away.
 

Propellerhead

Petty Officer 3rd Class
Joined
Nov 15, 2013
Messages
94
Re: 1969 Sea Ray SRX Pachanga Build Thread

null_zps1d94c6bc.jpg


Here are the old gauges and panel switches removed, and the switches bagged so I can keep track of everything. I'd like new gauges, but it's not in the budget quite yet, so I'll put these back in for the time being. I also put blue tape over the holes in the gauges where the light bulbs go to keep dust out. The lights themselves were permanently wired into the harness. I'll deal with that later.

null_zpsa7a91cd5.jpg


The empty panel. Notice the screwdriver hanging out the bottom. This wooden panel was screwed to the boat, and of course, they didn't use stainless. So what that means is the screws are too corroded to back out with a screwdriver or drill. In order to get this thing off, I basically had to wedge it off with a screwdriver and a hammer. I ended up breaking it, but I don't care. I'm not reusing it. It looks awful.

null_zps3ef6fd2b.jpg


More screwdriver action.

null_zpsb9739744.jpg


And it's off. I'm glad they were so good at drilling straight holes, haha. Notice where the panel was, the vinyl upholstery is orange. That was its original color, and then somebody painted it purple. Can you imagine, orange vinyl? I guess it's not much better than purple, though.
 
Last edited:

Propellerhead

Petty Officer 3rd Class
Joined
Nov 15, 2013
Messages
94
Re: 1969 Sea Ray SRX Pachanga Build Thread

null_zps624cd881.jpg


Some switches, like this bilge pump switch, were stuck in the wood panel. They're not too hard to get out, but you have to careful not to damage them.

null_zpsd5872d19.jpg


I took the old, busted up knob off.

null_zps061e1702.jpg


Removed the retainer ring. Now even though it's stuck you can't just hammer it out because you could damage the threads and also the internals of the switch.

null_zps95566475.jpg


So I put a small socket over the post, so I could tap the hammer against the case.
 

Propellerhead

Petty Officer 3rd Class
Joined
Nov 15, 2013
Messages
94
Re: 1969 Sea Ray SRX Pachanga Build Thread

null_zpsf575febb.jpg


By this point, my friend was making pretty good progress with the upholstery removal. As he was peeling it back, he found a message from the previous builder. Aw, he says hi! I still don't like him...

null_zps2f1ddc08.jpg


So here's the exciting part. Hiding underneath that purple vinyl is the original aluminum trim! That's a total score to still have that. They had just moved it further out to attach the purple. You can see the hole where it used to be. All of the original screw holes are cracked, so they'll need some repair.

null_zpsbac05076.jpg


Mostly the trim piece is screwed in, but here's a spot where they used pop rivets? Seriously.
 

Propellerhead

Petty Officer 3rd Class
Joined
Nov 15, 2013
Messages
94
Re: 1969 Sea Ray SRX Pachanga Build Thread

So as he was continuing to do that, I decided to start making the interior side panels. I need something up front to hold the throttle, the stereo, the speakers, etc. And I need something for the rear seat speakers as well.

null_zps0e87657c.jpg


I decided it was a good time to put the rear seat back in for reference, but also so I could check to see if all the work I did with the stringers and the floor altered the position of anything. I'm happy to report that the rear seat fits like a glove! That makes me feel good about the work that I'm doing...

null_zps862709a6.jpg


Once we decided on a design for the interior panels, I started working on a cardboard pattern. I was looking around for something with the curve that I had in mind and found this 1930's Chrysler steelie rim. Like ya do. Unfortunately, after I traced the line it didn't look quite right.

null_zps958f1aa1.jpg


null_zpsdce77a3b.jpg


So I resorted to the old string-and-sharpie-draw-a-circle trick.

null_zpseb2ac45d.jpg


And this is how the rear seat pattern turned out. I think it looks pretty good.
 

Propellerhead

Petty Officer 3rd Class
Joined
Nov 15, 2013
Messages
94
Re: 1969 Sea Ray SRX Pachanga Build Thread

null_zpsb65f389b.jpg


I made a pattern for the fronts as well, so you can kind of see what I have in the mind. Those side panels will be a place to mount all of the equipment I mentioned, and you can still put small items in the place behind them. I'll also put some cup holders in there.

null_zps566e1b49.jpg


I traced them onto the wood and this is what we ended up with. I'll probably slide that front panel a little further forward so there's a some more open space there.

null_zpse7640760.jpg


And now Forrest was done removing the purple. You can see how the trim lines up with where it originally was. With that done, he started working on making a new rear seat frame.

null_zpsaaa4f13e.jpg


I started working on cutting the side panels for the JL Audio component speakers. This the the string and pencil trick again.

null_zpsb49b4051.jpg


Lucky for me, the tweeter was the same size as the cap on the container of acetone.

null_zps36dcddeb.jpg


Measure twice, cut once. I miscalculated the circle the first time and cut it too big. So I had to make another panel from my pattern, but I got it right the second time. These things will look pretty good once they're covered in upholstery.
 

Propellerhead

Petty Officer 3rd Class
Joined
Nov 15, 2013
Messages
94
Re: 1969 Sea Ray SRX Pachanga Build Thread

null_zps51ea12d7.png


I noticed it was starting to feel a little chilly. It was also starting to get kind of late.

null_zpsb57cbb76.jpg


I made a little progress on starting to cut the side panels for the throttle, etc. and Forrest had cut all the pieces for the new rear seat, which I forgot to get a picture of. We decided to clean things up and called it a day.

null_zpsa0d07f19.jpg


null_zps1b0631ad.jpg


Here's the boat emptied out of all the old, getting ready for all the new. We got out of there around midnight and drove home in a blizzard. That's it for this update. I'll be back in a couple weeks with more progress!
 
Top