archbuilder
Vice Admiral
- Joined
- Sep 12, 2009
- Messages
- 5,697
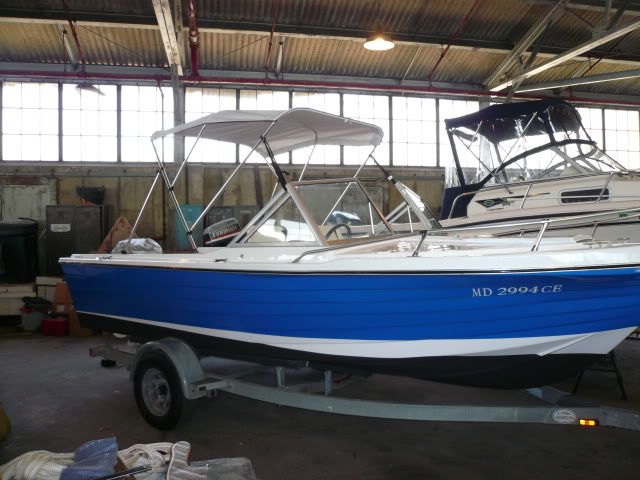
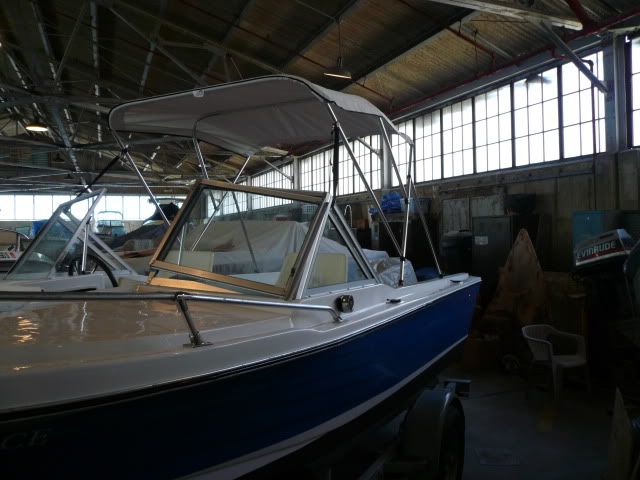
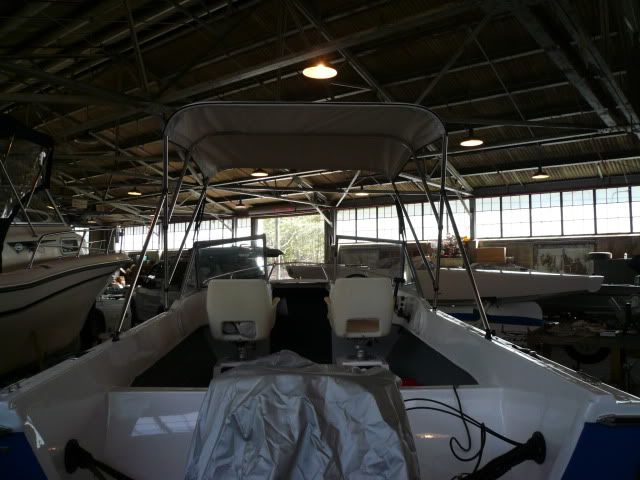
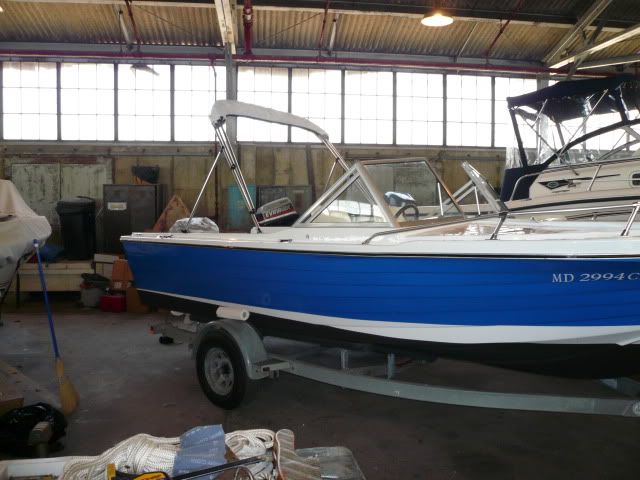
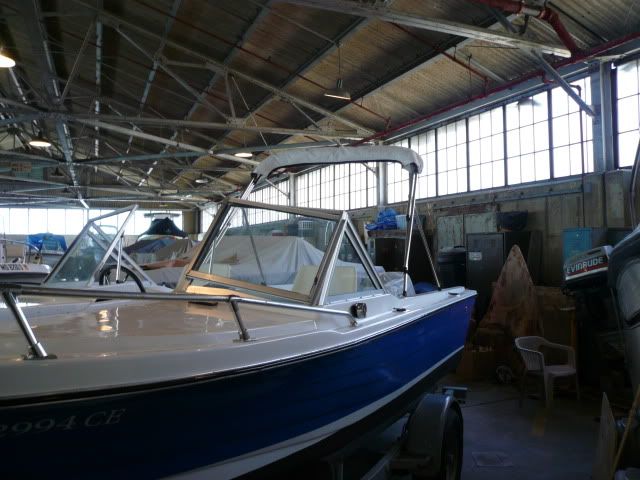
Re: 1977 Cruise Boats Restore
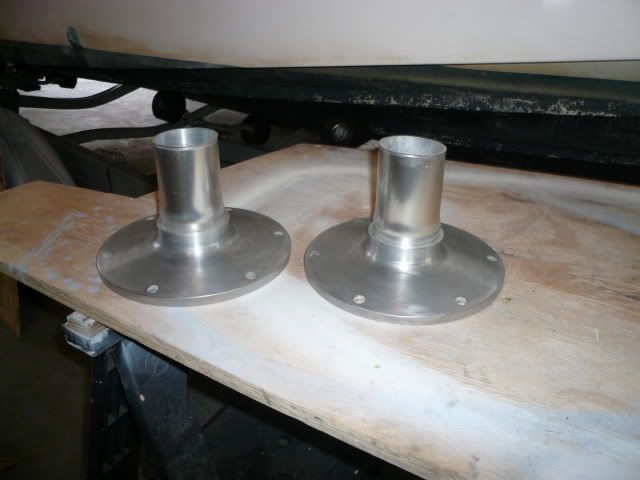
Really nice work! How did you prep the stainless for the paint?
Really nice work! How did you prep the stainless for the paint?


Really nice work! How did you prep the stainless for the paint?
Looking awesome Greg!
That motor looks better than factory fresh!
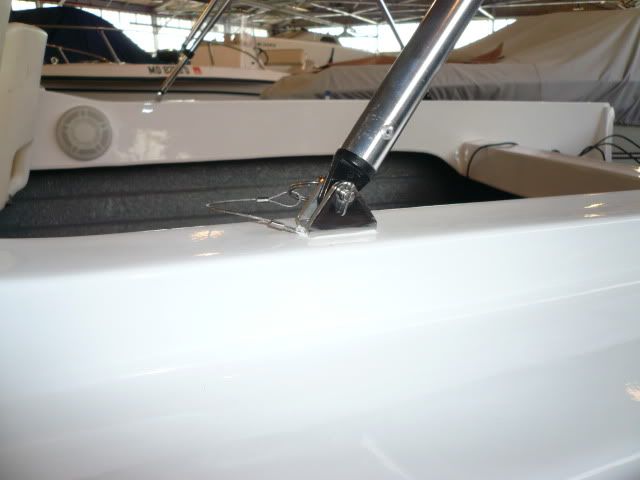
Outstanding. Are you going to use rigging tubes in your splashwell for the controls and such? I kind of like the look but I am having no luck finding reasonable ones. Its still going to look clean even if you dont.
BTW- I will be getting to my engine paint this week. Thx for the help. I have been crazy busy the past couple of weeks.
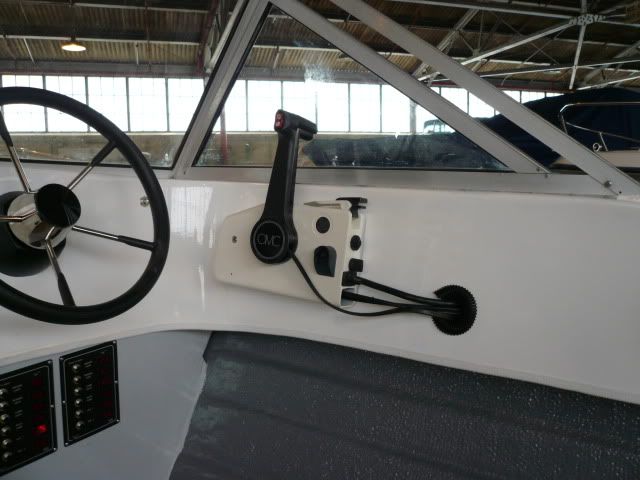
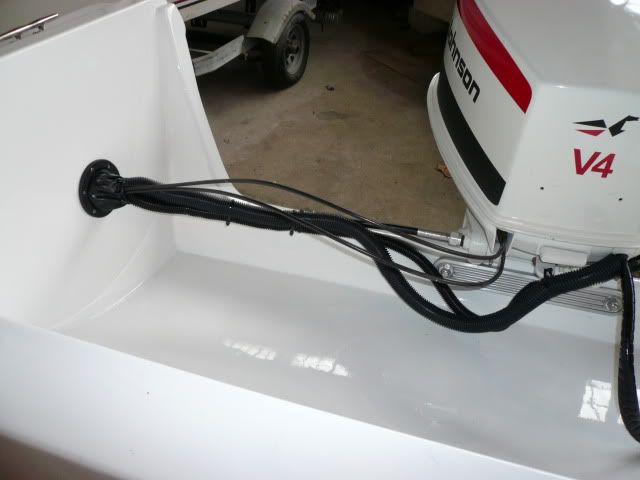
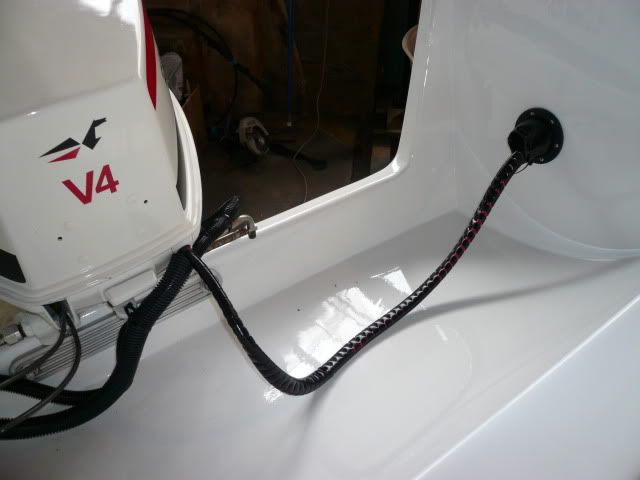
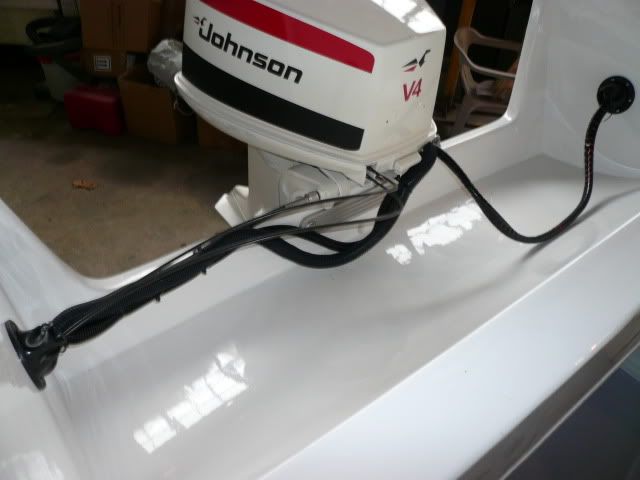
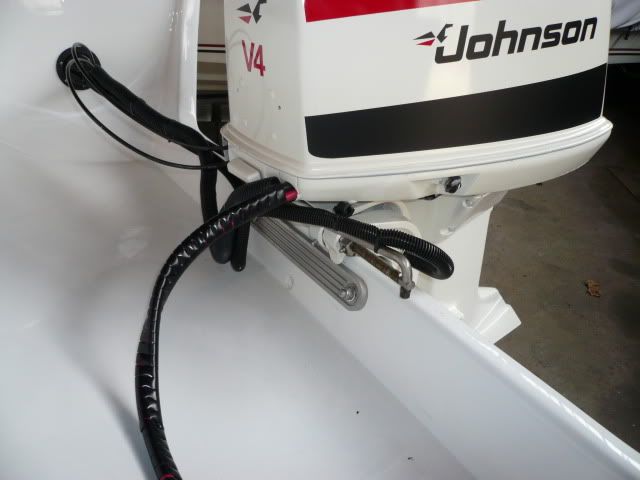

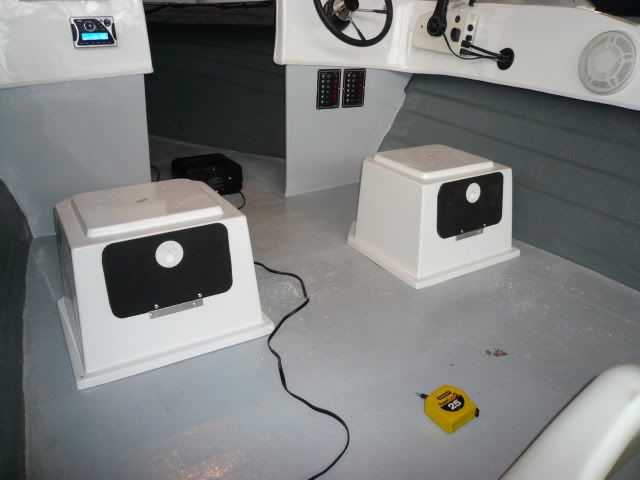
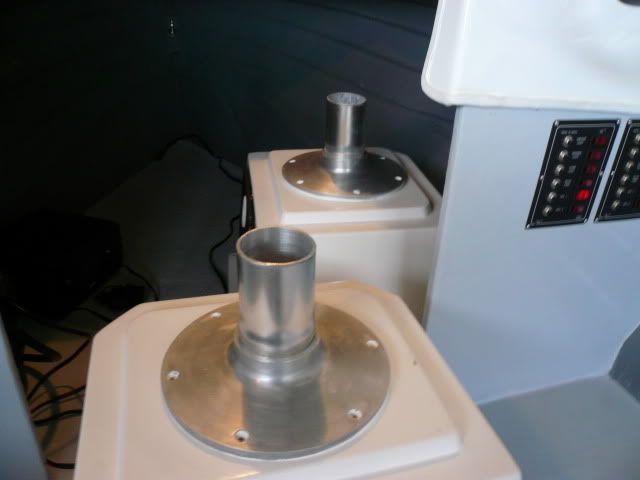

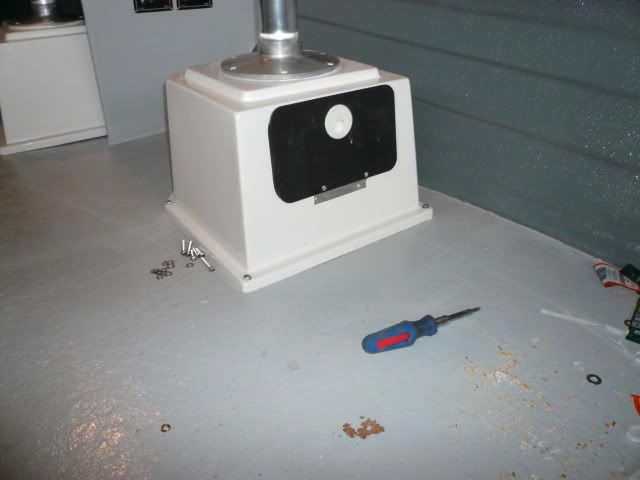
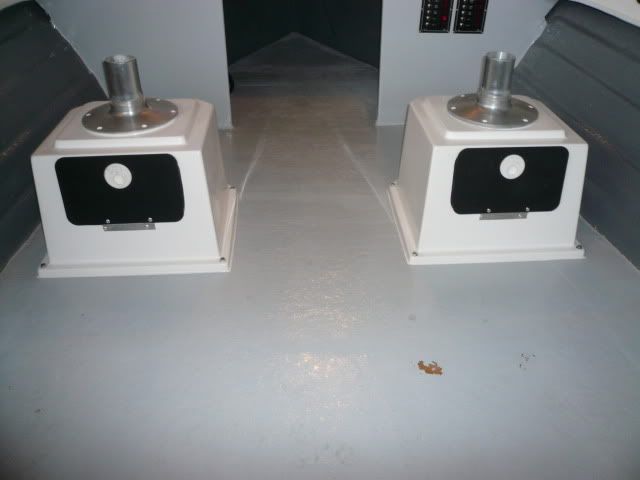
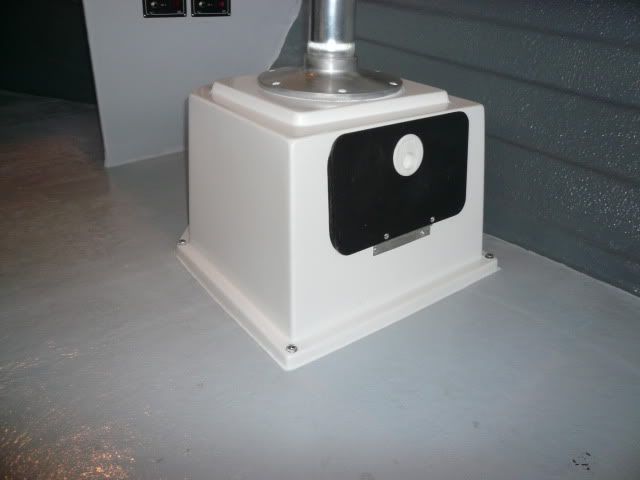
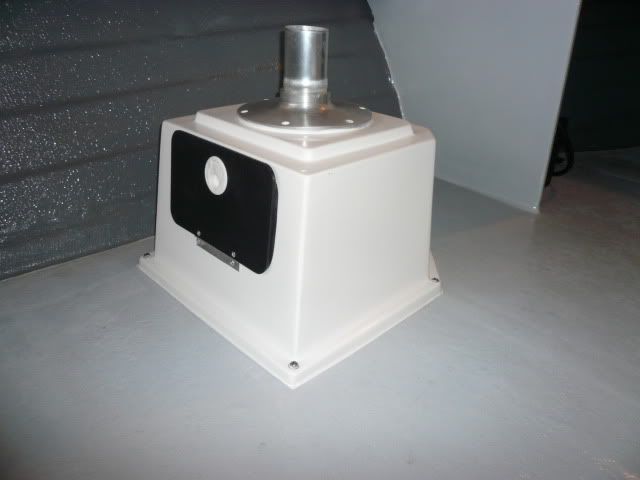
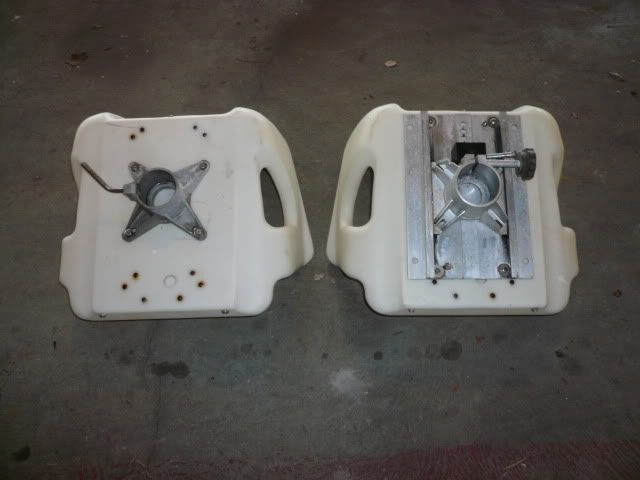
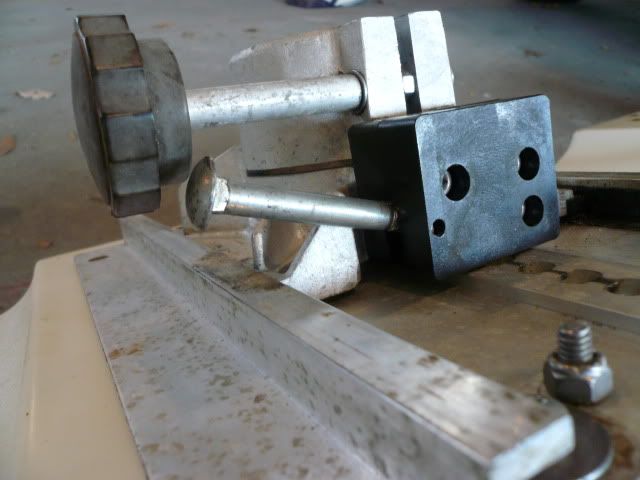
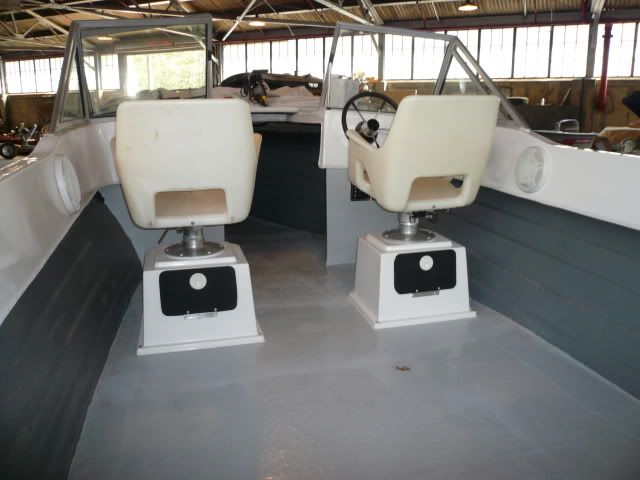
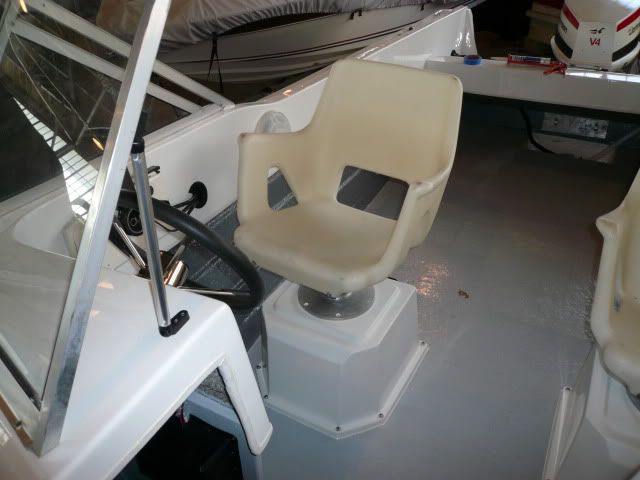
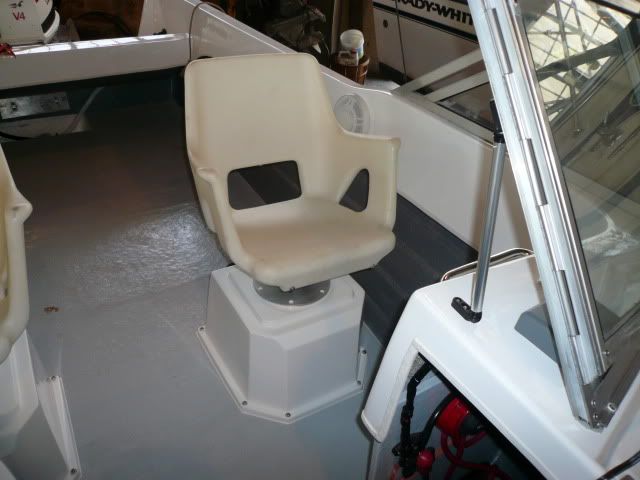
Those seat boxes are SO COOL! I hadn't seen anything like that. Your boat must have a ton of freeboard. In my boat, I've got 8" pedestals right on the floor and that's the perfect height. I was going to comment on your throttle cables but then you mentioned it. They will be stressed to much at that length and could lead to premature failure. Need a bigger loop in the splashwell.
 ......a thousand miles away!!!
NICE Greg.... You do some great work, on your boat, and your posts with photos.
Do me a favor....warn me before you pull her out of the shop. I will have to remove my sunglasses and put on the welding lenses
Good Luck! She will be one happy boat....and may she never let you down.
Man those togglers are the beez neez. I already have a couple of places I could use them. I know I have seen them before, just never seen them used. (another neat idea I wish I invented)