1lastweekend
Seaman
- Joined
- Nov 7, 2015
- Messages
- 71
I have a 17' Rinker open bow with a 1981 Mercruiser 120HP that needs the following work this spring:
- Replace all bellows
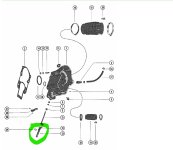
- Replace trim limit and trim position switches
- Replace lower shift cable
I am pulling the outdrive today, what order makes the most sense to do these repairs? I am also going to pull the bell housing to make doing the TLS and TPS easier...Thanks!
- Replace all bellows
- Replace trim limit and trim position switches
- Replace lower shift cable
I am pulling the outdrive today, what order makes the most sense to do these repairs? I am also going to pull the bell housing to make doing the TLS and TPS easier...Thanks!