Re: 1982 Glastron Hpv165 bass boat restoration.
I got the shelter torn down and the garage vacuumed and blown out really well today. I hope I dont need to deal with much more gringing. I will need to do some though and that's ok.
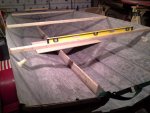
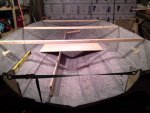
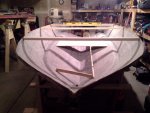
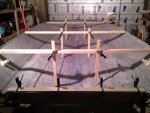
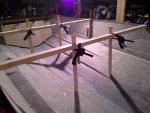
With the shelter out of the way I was able to get a very close look at how the hull had shifted. With all of the structure out of the boat, of course, the hull became very flimsy, and from the best that i can tell, it warped so that the port side stern was high, making the starboard side bow low. I noticed this first by standing at the stern facing the bow, placing a level on the stern most cross brace and seeing that the level bubble was touching the left line. Although this wasn't much, I stooped down, visually lined up all of the cross braces so they appeared as one brace stretching from side to side and pulled down slightly on the port stern corner. With the very small amount of force and travel it took to move the bubble back to center again, I noticed substantial upward flex in the starboard side of the bow.
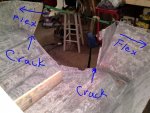
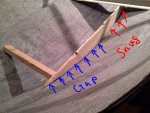
Already knowing how flimsy the stern had become since I removed the center transom and transom skin had fallen out, I pushed down in the center directly beneath where the center transom would be and noticed the outer sides of the transom flexing inward. The hull had cracks down in the corners allowing the sides to flex outward. I then took a measurment from the inner edges of the transom sides and it spanned 39 3/4 inches. I took a measurement on the underside of the cap where it would fit over the top of the transom sides and it measured 39 1/4 inches, which would leave a full 1/4 inch underside gap between the cap and hull on both sides.
So I used a tie down strap to hook each end into opposite sides of the outer transom and sinched the corners in untill the cracks disappeared. When I measured the spanning distance on the outer transom again, it pulled the sides together to a distance of about 39 1/2 inches. This would now leave a gap of about 1/8 inch between the cap and hull on both sides. With the build up of glass that will be required to repair the missing center transom skin, this should put me about where I need to be for glassing the the transom back in and securing the sides back into the center transom itself. I might be cutting it pretty close on the tight side but I guess I will work that when I get there.
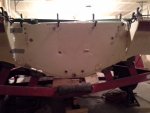
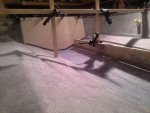
I also placed some boards on a jack and snugged it up against the bottom of the stern just beneath where the center transom should be to try and help eliminate as much flex as possible while working inside of the hull when I have to from now on. This is something I should definitely have done before now.
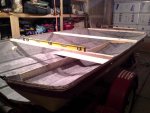
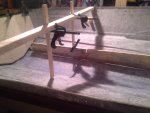
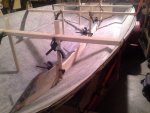
Now that I had imitaded having a solid transom and stern area, it was time to figure out how to level out the bow between the high port side stern and the low starboard side bow. To do this I just used a ratchet strap to hook up over the side of the hull just behind the stern most cross brace on the port side and secured the other side of it to the trailer. I then put one click at a time on it untill the level bubble centered out again. I then went to the bow most cross brace and put the level on it noticing the bubble still riding closer to the left line. I then slid the hull back more toward trailer center, hooked the hull back up to the trailer and put a few clicks on it locking it back into place, and the bubble leveled right back out.
So with the front cross brace level, I decided to put the level on the center cross brace and the stern cross brace again. They were all good.
So I guess this goes to show that even if the level is only a tiny bit off from visual dead of center, it could mean there are some pretty big changes that have taken place in the hull. So thanks to you guys for having me jack and level this thing before demo. Like you said, leveling will be a good indicator towards if there has been a shift of the hull. And it was!
I guess also, that with as flimsy and out of shape as this hull had become, especially missing a very important part of the hull structure, it's going to be even more important now to take a lot of accurate measurements between the hull outer edges, in as many different spots as possible, to the matching spots on the cap underside inner edges.
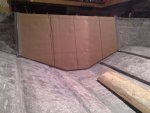
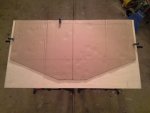
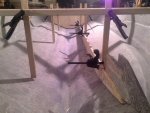
I also took a little bit of time to put the portside stringer back down into the hull to see if It was a very good match or not. Here's the verdict. It seems to match up pretty good untill it has to match the bend in the rise toward the bow. Now being that there is a section of it that was rotted out where it attached to the transom and I just decided to cut through it during demo and it's difficult to tell exactly where it would have mounted to the hull from bow to stern, it still didn't have a smooth match of any kind in this area no matter where I lined it up. So I think I can still use it as a general template, but it will need they will need to be tuned in for sure.
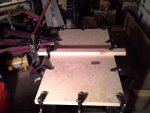
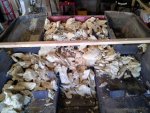
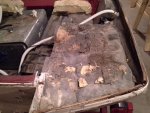
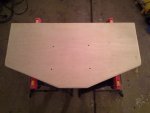
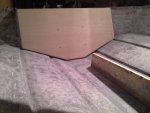
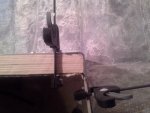
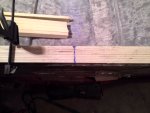
Here are some pics.
