Re: 1985 Sea Nymph 175 Fish & Ski Rebuild - Tons of pics!
Re: 1985 Sea Nymph 175 Fish & Ski Rebuild - Tons of pics!
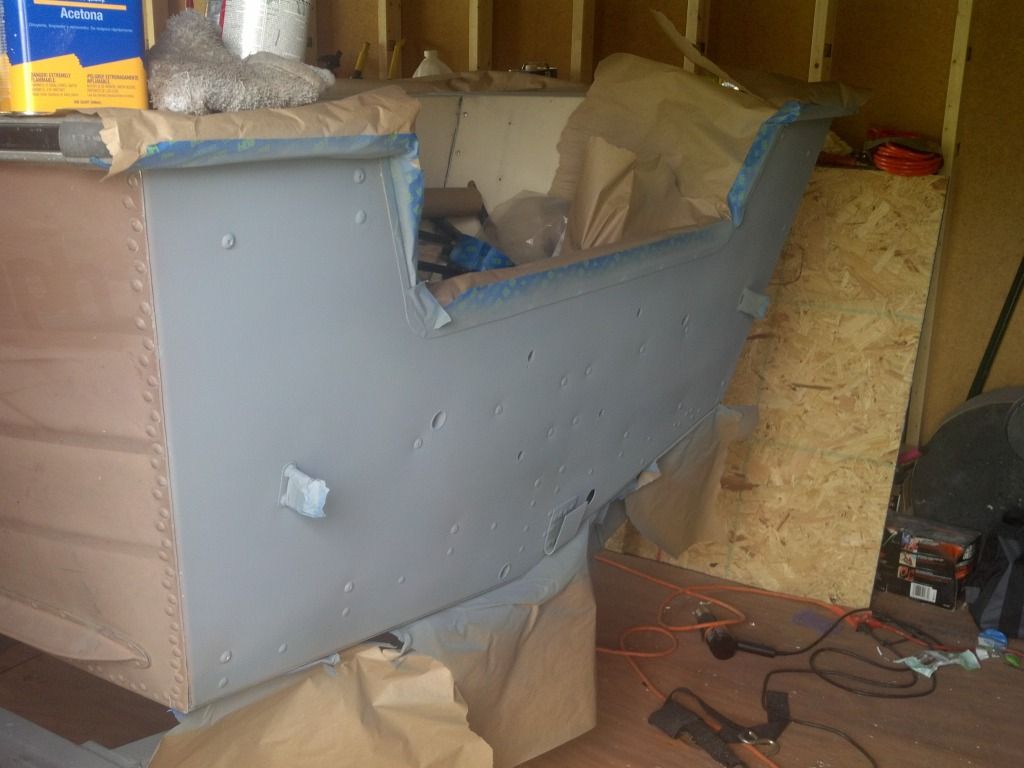
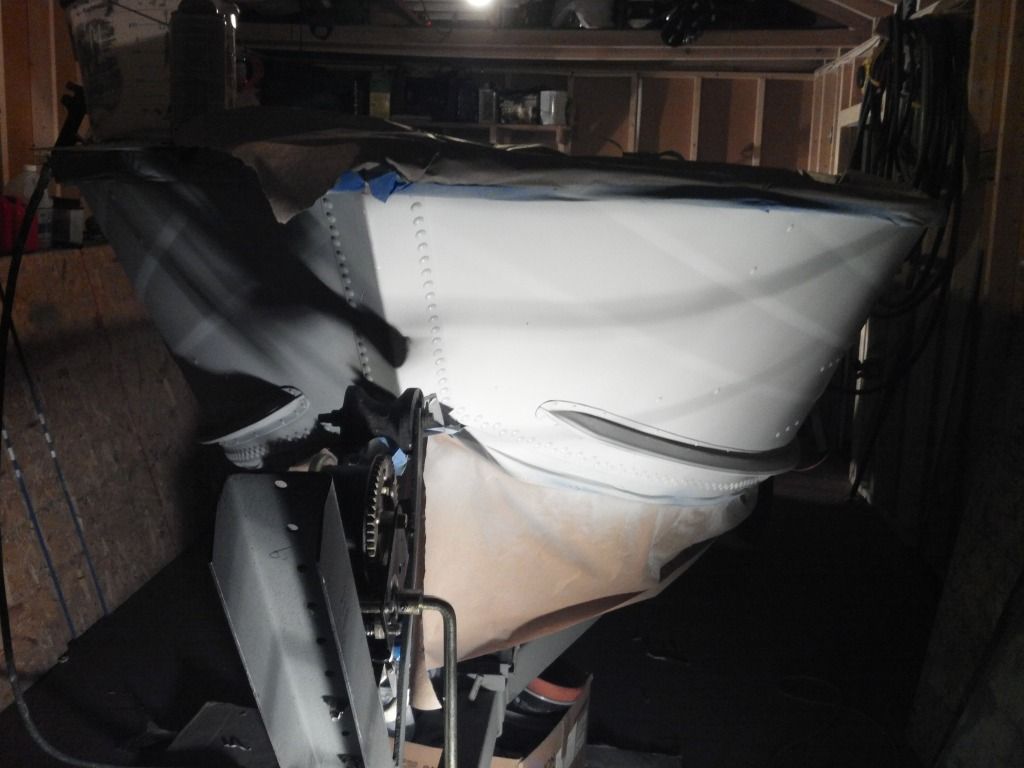
Last night I was able to get half of the hull prepped, with 3 coats of primer (4 if you count the ZC on bare AL spots) I sanded really well between each coat.
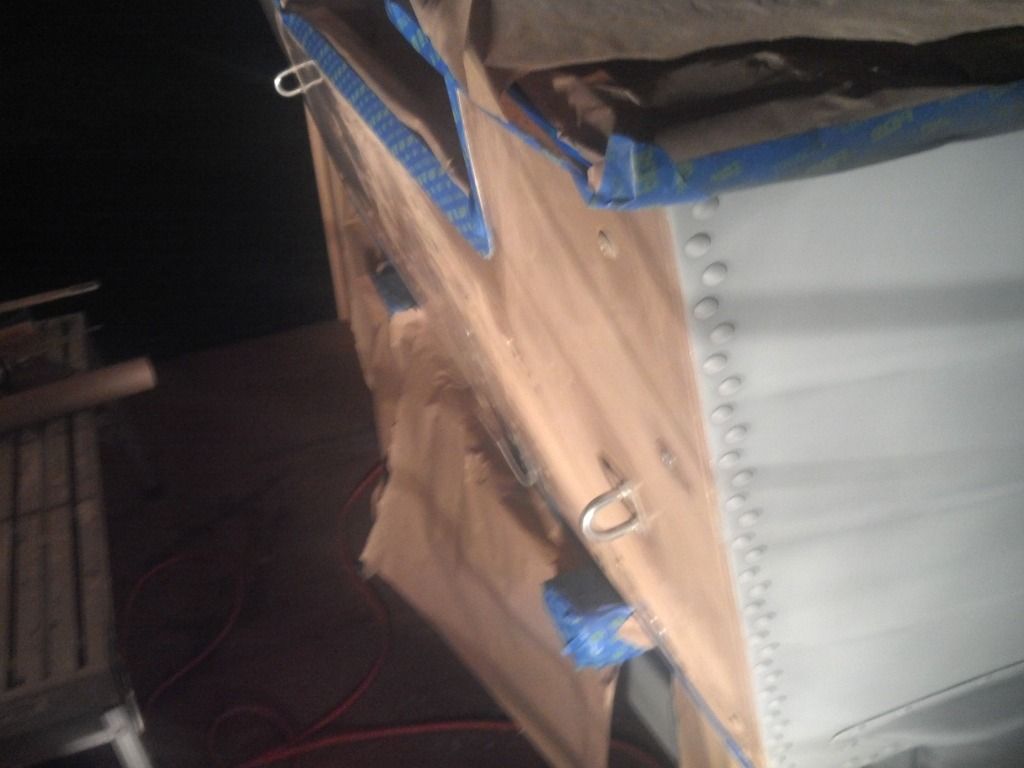
The main prep was the most difficult - The goofoff worked alright, the WD-40 didn't seem to work well with this type of adhesive. I ended up just wiping down with a lot of acetone and that did the trick. After that, I brass brushed and of the chipping or irregular spots (not many) and gave the whole thing a good scuff with 150, then 220, then 500 grit. In between primer coats I sanded with the "between coats" pad pictured above - I love that thing. My can of ZC is kind of spitting and sputtering now at the tip, so there was some nubs to sand down.
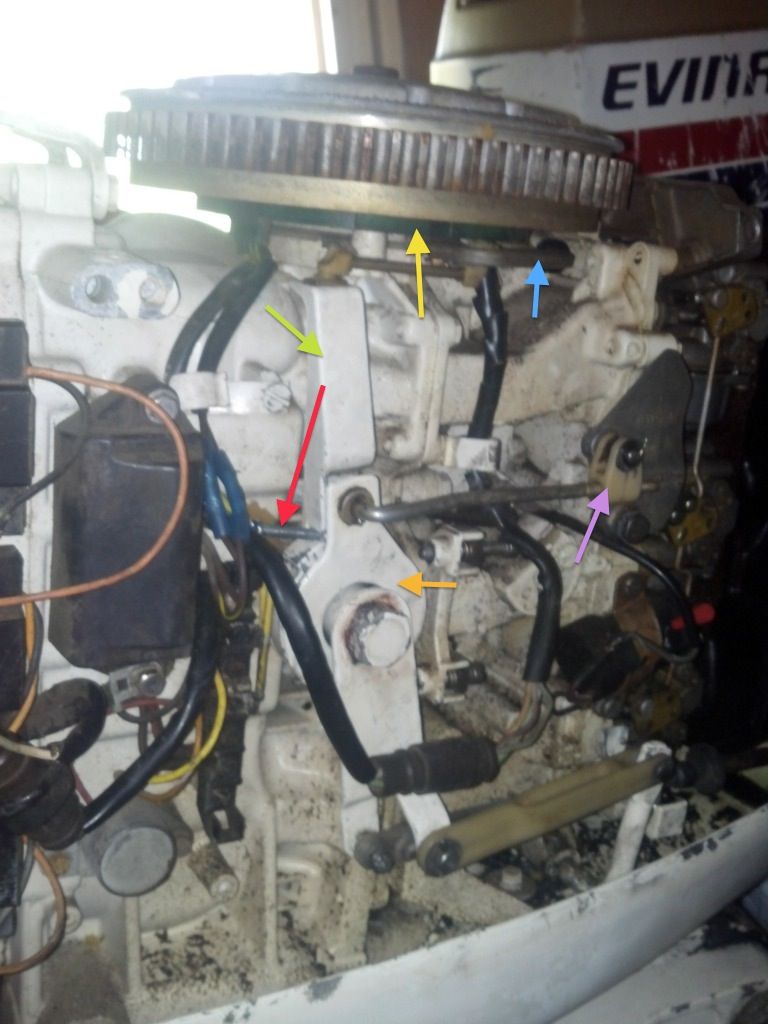
In between coats I also got the old livewell drain plugged up. I ended up going with 1/8" aluminum plate and epoxy to seal it. I took a 3.5" by 7" piece of aluminum, bent it so that it was at an angle, then drilled it out using 3/4" centers on the rivets all around the plate. I drilled 3/16 holes first, and riveted the plate to the hull using two of those, one in each corner. After that I drilled the rest of the holes through the hull and plate using a 1/4" bit - so everything is perfectly aligned. All that was left to do was drill out the 3/16 holes, and everything was golden. After everything was sanded, cleaned, and acetoned I slathered epoxy on the plate and stuck it on with the rest of my 1/4" closed end rivets. Popped it on and it is not going anywhere. Based on the manufacturers data on the rivets, the strength of the patch exceeds the shear strength of the aluminum. I made the patch twice as long so that I could bend the bottom half up to work as a transducer mount. This way I wont have to put more holes in the transom when I mount the transducer. Last night I also plugged all of the old holes with rivets and epoxy. I also drilled two core samples in the transom to be sure I was not wasting my time here. The shavings were light in color with a red hue. The wood around the motor mount holes also looks good. I will get some pictures of that to post soon.
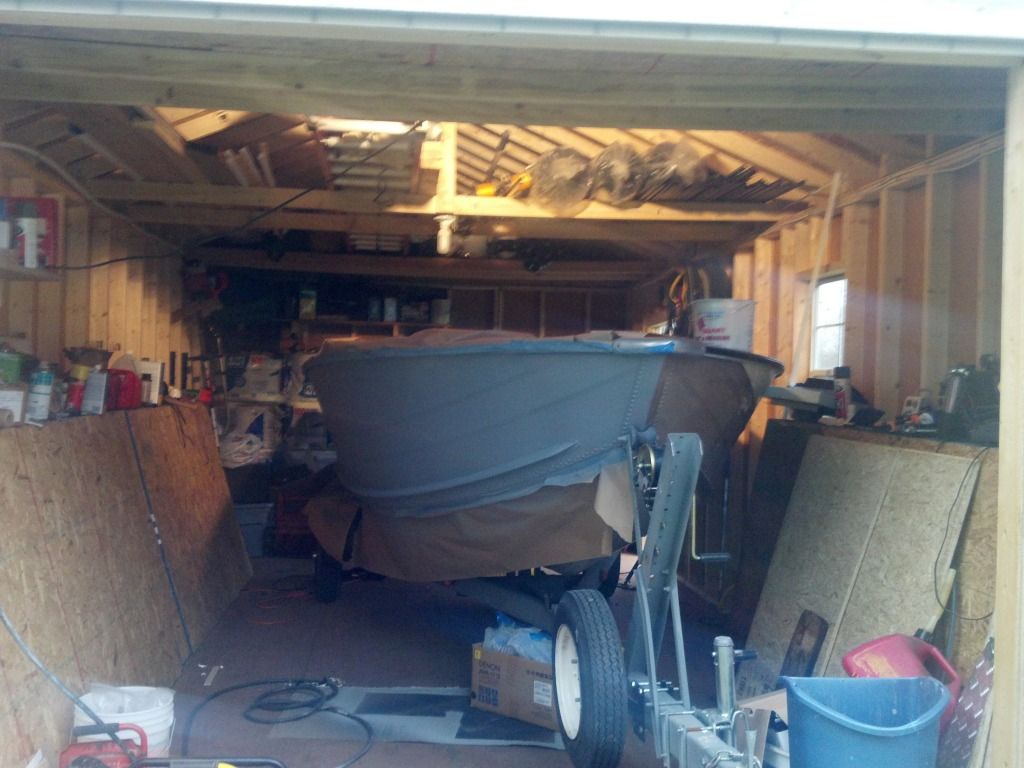
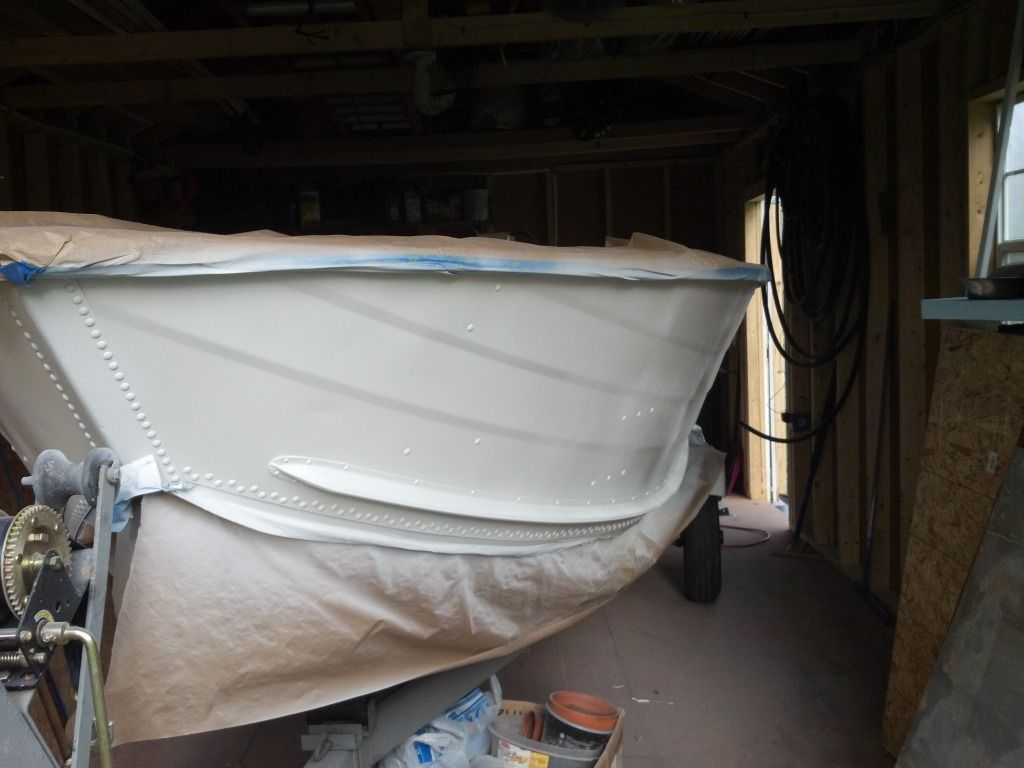
I got up early this morning to finish prepping the Transom, sanded, acetoned, and put the first coat of primer on (ZC). Tonight I plan to get the other half of the hull prepped and to the same point as the first half. Then tomorrow I can clean out the shed, experiment with the color, and start spraying my main coats.
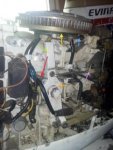
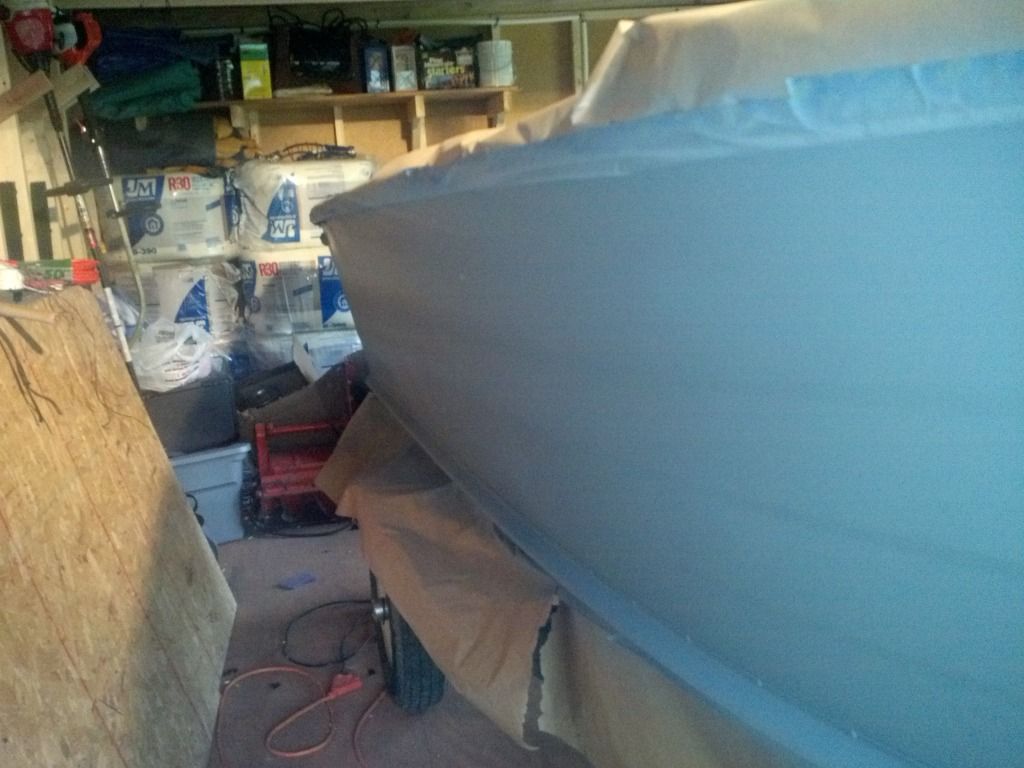
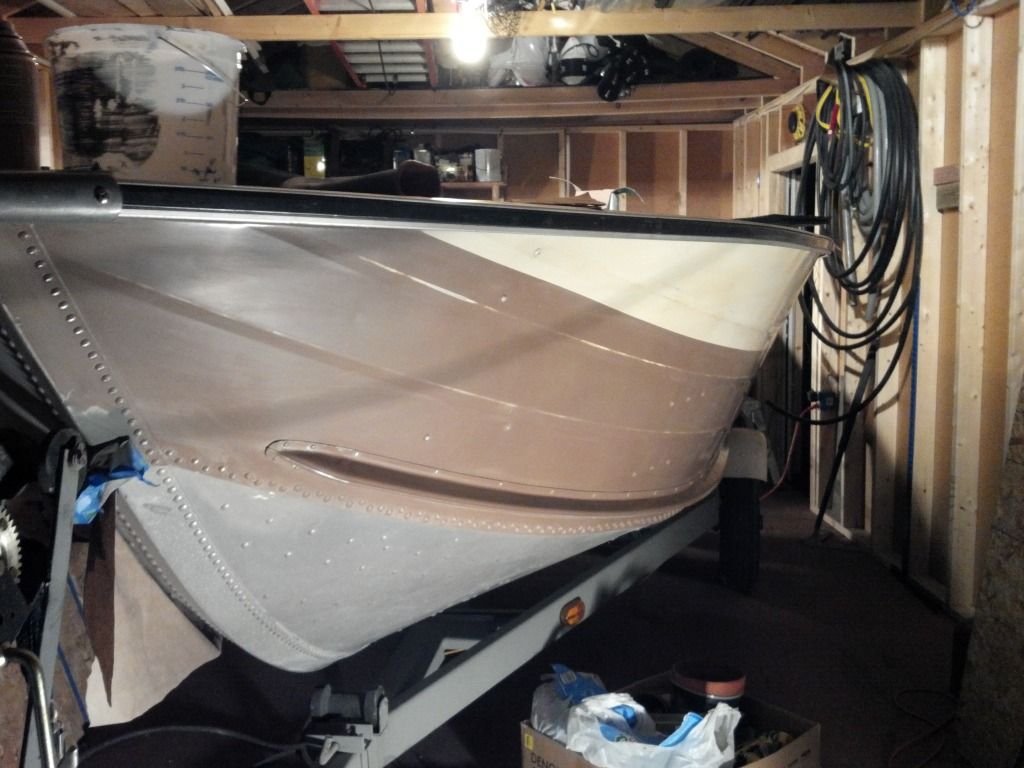
Pics of the progress: