1990 Steiger Craft transom investigation

jc55

Senior Chief Petty Officer
Joined
Nov 3, 2006
Messages
665
No matter how thick I make the epoxy, it still runs and sags. Has anyone made epoxy thick enough that it won't flow out of a bottomless hole? I'd like the formula ;)
 

Woodonglass

Supreme Mariner
Joined
Dec 29, 2009
Messages
25,929
Uhmmm have you tried this... You really don't have to cut the notches. just use some cardboard or make fiberglass patch from a couple of layers of glass fabric. Then with wax paper and some string. FOLD the carboard in half and insert it in the hole and then unfold it and pull it tight against the back then apply the Epoxy PB. Twist the String till the piece of wood Wrapped in wax paper holds it in place.

 
Last edited:

zool

Captain
Joined
Aug 19, 2012
Messages
3,432
No matter how thick I make the epoxy, it still runs and sags. Has anyone made epoxy thick enough that it won't flow out of a bottomless hole? I'd like the formula ;)

If u thicken it with west 407, you can make a putty, it has real good gap filling capabilities...I got it to stand straight up bedding a portion of a stringer...sands real easy too.
 

kcassells

Fleet Admiral
Joined
Oct 16, 2012
Messages
8,738
No matter how thick I make the epoxy, it still runs and sags. Has anyone made epoxy thick enough that it won't flow out of a bottomless hole? I'd like the formula ;)


Hi Jc,
I use 1/4" fiberglass chopstrand just keep spooning in cabosil until I get the composition I need to work different applications. Sometimes I do overhead PB this way and it will stick. Sometimes I'll wet out a pc of glass, apply over, pock it in the area and let set up, then come back and fill since it ends up with a bottom base to sit in.
 

jigngrub

Fleet Admiral
Joined
Mar 19, 2011
Messages
8,155
What zool said, but you can buy the same thing at the place you get the fairing compound. They call them phenolic microballons and probably cheaper than the west stuff.

You may also want to consider the 1/32" milled fiber they sell... or maybe a combination of the 2.
 

jc55

Senior Chief Petty Officer
Joined
Nov 3, 2006
Messages
665
Oh, yes, it's all done, lol! I think there were literally 200 holes. The holes aren't that big but the ones you can't get to the back of might be over some foam or a stringer with just enough gap that the filler keeps running. The poly and SM fairing compound worked like a dream and drilled out for screws similar to epoxy. I'm going to use all of the great advice above to do the next one with thick epoxy only...thanks guys!

Off to the land of custom wiring!
 

kcassells

Fleet Admiral
Joined
Oct 16, 2012
Messages
8,738
Oh, yes, it's all done, lol! I think there were literally 200 holes. The holes aren't that big but the ones you can't get to the back of might be over some foam or a stringer with just enough gap that the filler keeps running. The poly and SM fairing compound worked like a dream and drilled out for screws similar to epoxy. I'm going to use all of the great advice above to do the next one with thick epoxy only...thanks guys!

Off to the land of custom wiring!
Good for you! Lots of detail on the wiring. ....Help......I'm gonna need it.
 

jc55

Senior Chief Petty Officer
Joined
Nov 3, 2006
Messages
665
Back to wiring! I rewired last March but since relocating my batteries, I'm having to do a lot of it over again.
Gettin' the supplies out to the boat...
IMG_20150301_120214_671.jpg


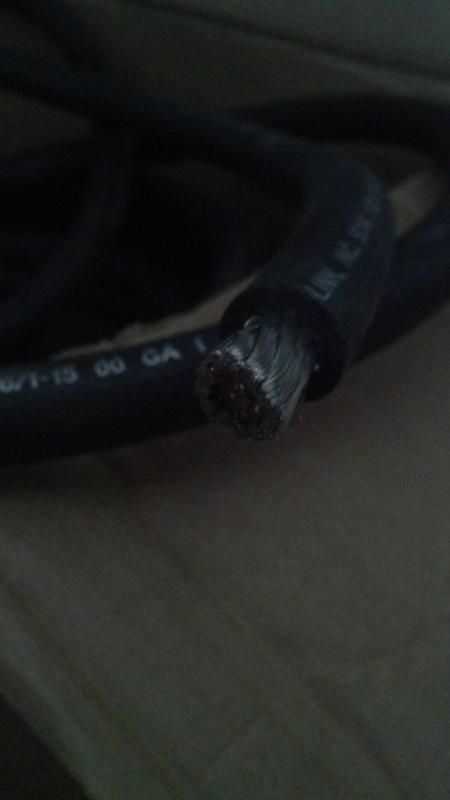
Got some Mil Spec tinned, 2/0 battery cable. No more vinyl covered 4 gauge...
IMG_20150301_122509_308.jpg


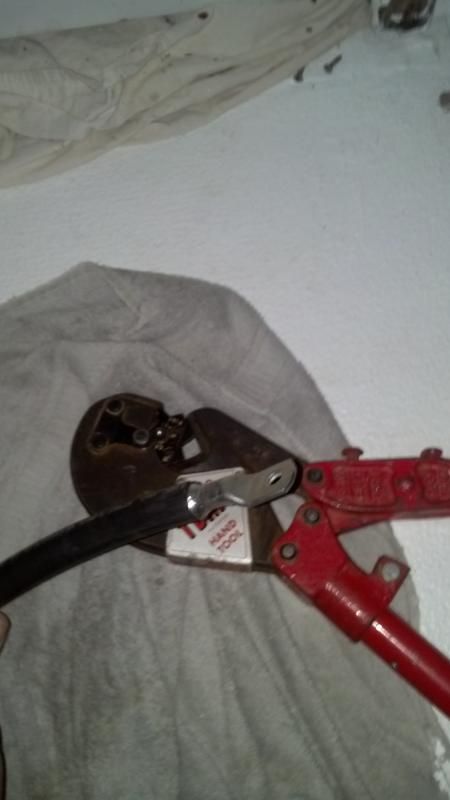
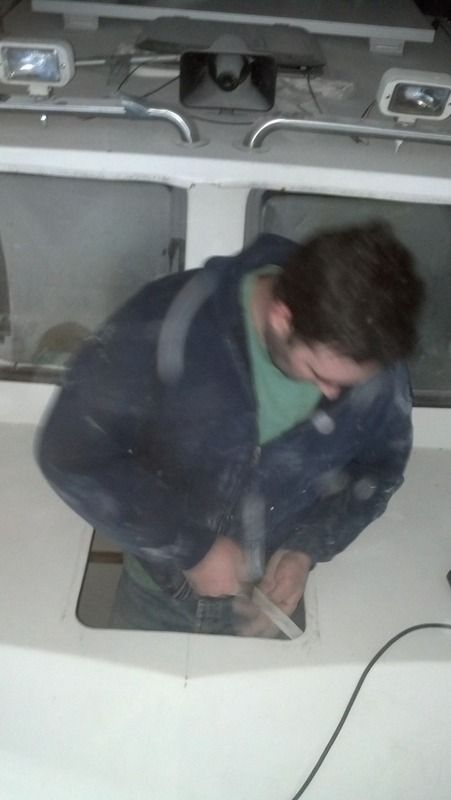
Crimping my own cables...
IMG_20150301_123710_327.jpg


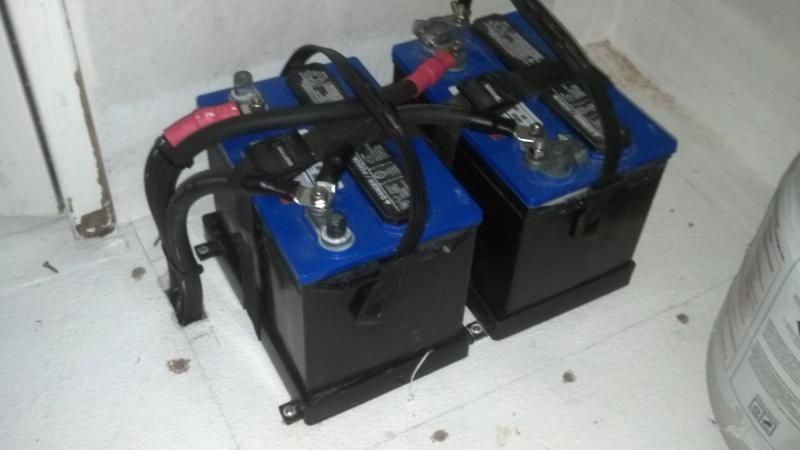
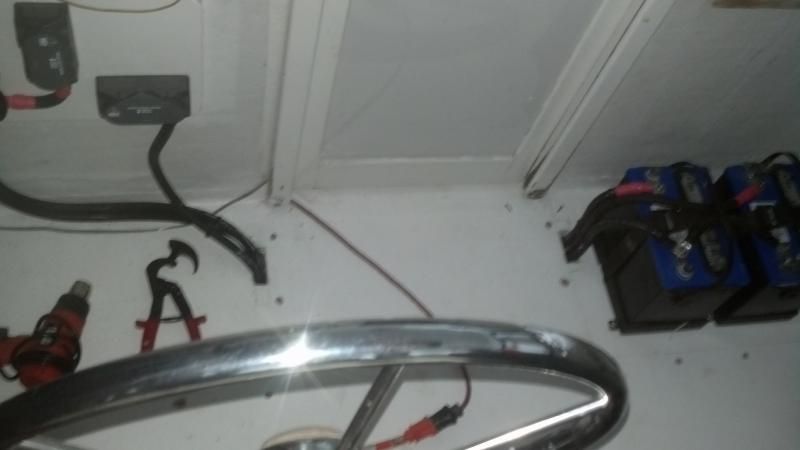
Batteries done. Heavy duty adhesive lined heat shrink with cheap red heat shrink for positive labeling. I'm going under the deck instead of under the door threshold as originally planned. Epoxied the edges of the holes and fished the wires through...
Battery.jpg


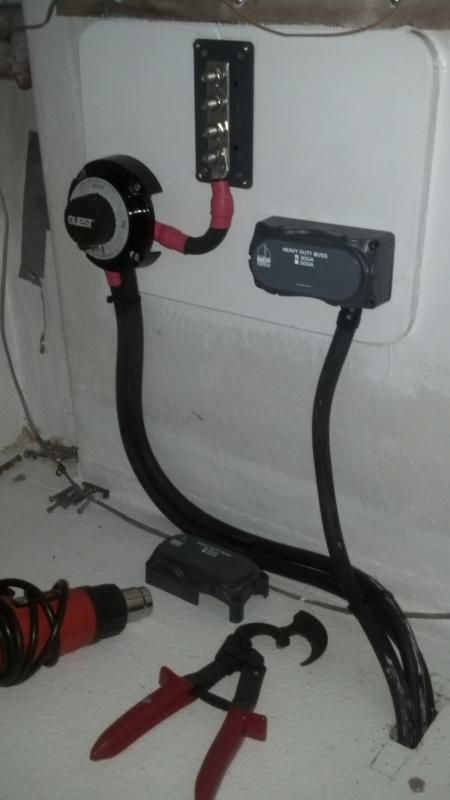
Still need zip tie points glued here and there, but 2/0 switched to BEP Marine heavy duty positive and negative bus bars. These will be the connection points for the outboards, accessory mains, windlass, etc.
IMG_20150301_150338_239.jpg


Here's last years helm wiring with dual accessory circuits...
IMG_20150105_133217_618.jpg


Bird's eye...
IMG_20150301_145741_103.jpg


Seat boxes cover everything. What I lose in storage I've gained by opening up two new huge storage areas.
IMG_20150301_150850_227.jpg


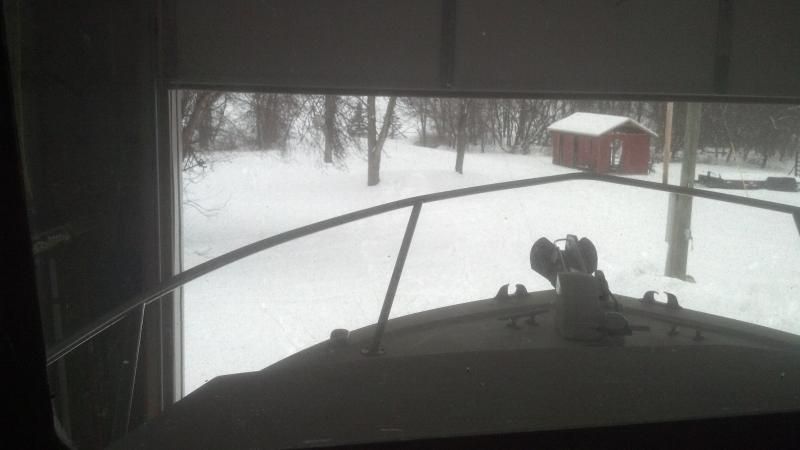
View from the cabin today...
IMG_20150301_133015_462.jpg
 

jc55

Senior Chief Petty Officer
Joined
Nov 3, 2006
Messages
665
Thanks guys, and I've been following along on both of yours. Got pretty much all of my wiring done except a couple of alarm circuits. These LED's are gonna work great for night catfishing...
IMG_20150313_193407_009.jpg


Since the weather has been behind schedule, I decided to start the most dreaded project. Luckily, I think I will be able to "glue and screw" this hatch since the crown in the cabin doesn't seem to be severe enough to have to build it up, thankfully. This will be a nice upgrade and give me piece of mind for another escape route.

IMG_20150317_184956_791.jpg

IMG_20150317_191648_512.jpg

IMG_20150317_192415_349.jpg
 

ahmincha

Lieutenant Commander
Joined
Jul 21, 2012
Messages
1,512
All the things we do to are boats. It still bothers me to cut a hole in it just because. haha
As usual great work!!!
 

zool

Captain
Joined
Aug 19, 2012
Messages
3,432
Ohh that's nice!.....I need one of those...but they can get pricey...Im hoping one falls in my lap :D..looks great JC!
 

jc55

Senior Chief Petty Officer
Joined
Nov 3, 2006
Messages
665
Yes Ahmincha, but that's the beauty of fiberglass!

Zool, you'll be happy to know that I trolled ebay for months before I found the perfect sized Bomar hatch. This was new and I got it for less than $200!!!
 

kcassells

Fleet Admiral
Joined
Oct 16, 2012
Messages
8,738
Lights and window look great! I see ya got a gopher in your boat window. :D
Whoever you hired for the electric is making quick work of it!
 
Top