1991 CABO 204 Centercon Re-Doing... Here it goes!!!

DukesFin

Chief Petty Officer
Joined
Oct 12, 2005
Messages
500
Re: 1991 CABO 204 Centercon Re-Doing... Here it goes!!!

DukesFin everything is looking good so far. Man I wish I had the resources to get a place like this. You might want to check this out it would cut your time down considerably.
http://www.eastwood.com/catalog/product/view/id/2923/s/eastwood-soda-blaster/category/10/

That blaster looks great, but if it is between saving $200+ by using elbow grease, I'm going to have to opt for the grease!!! I wish I could buy one! I imagine cleaning up from that would be fun too!

Yep... That $200+ is going into all the stuff my wife doesn't realize I'll need for the project to be completed!
 

SKIBUM1M

Chief Petty Officer
Joined
Jul 17, 2009
Messages
604
Re: 1991 CABO 204 Centercon Re-Doing... Here it goes!!!

I have a sandblaster and it makes a hell of a mess. it will leave sand any and everywhere that is not airtight. I have never considdered using it on the boat because it would leave uneven surfaces as the center of the blast pattern would be deeper than the edges. If you have ever used on on metal you see this pattern in how it removes paint. I dont even dare use it on newer cars because it will warp the tin foil cars are made of now.
 

DukesFin

Chief Petty Officer
Joined
Oct 12, 2005
Messages
500
Re: 1991 CABO 204 Centercon Re-Doing... Here it goes!!!

Okay, here's an update with pictures...

I went out yesterday after work and put coat #2 of the VC Performance Epoxy on... Went back at Midnight and put on coat #3, then back again at 5AM and sprayed the final coat.

Here's a shot of my work station... I think it's time to clean/organize again!
WorkStation.jpg


And the sprayer I'm using (there are no monkeys here... the previous occupant had a 240V receptacle that apparently, his employees would occasionally plug tools into! It's been disconnected):
SprayGun.jpg


Here's a shot of the boat from astern (I think this is after the 2nd coat):
Transom.jpg


And a shot from forward (taken after the first coat, I think):
PortSide.jpg


Can you see the difference (before/after)? You can see where I left 1/8" of my sanding with no paint... Wanted to be sure I was painting on a prepped surface:
TheDifference.jpg


It's got some texture to it. A bit less than some albative bottom paints I've seen. I will probably leave it as it is since I'm not racing and I really don't want to go the "wet-sanding" route on here. You can wet sand to a high-gloss glassy finish if you want... Check out my "eggshell" texture:
Texture.jpg

We played with air flow, paint flow as well as going up to the max 10% spraying reducer and it did get better. I'm happy with it. Sure looks like new to me!!!
 

DukesFin

Chief Petty Officer
Joined
Oct 12, 2005
Messages
500
Re: 1991 CABO 204 Centercon Re-Doing... Here it goes!!!

Oh, I did build a new backing plate for the anchor roller and lifting eye... See if you can tell which one is the old one and which one is new:

BackingPlate.jpg
 

DukesFin

Chief Petty Officer
Joined
Oct 12, 2005
Messages
500
Re: 1991 CABO 204 Centercon Re-Doing... Here it goes!!!

Well, in my reading about Interlux Perfection 2-part epoxy topsides paint, I got a little worried. It noted that it doesn't "flex" that well and can crack. Given how I use my boat and it's construction, I called the Interlux technical help line and we decided that Brightsides (one-part poly paint) would be the best paint to use.

I put on a coat of Primekote primer Saturday morning, came back this morning, sanded it with 120 grit and applied the second coat. This was only to the hull-sides as the topsides will be primed and painted after I put the two halves of the boat back together again.

To put the primer on, I went to Harbor Freight and picked up a conventional sprayer for $17 and boy did it work perfectly! You can tell that it's not a high-dollar gun by the materials it's made of and how uncomfortable it is, but functionally, it was fine and will be for the remainder of the project. There is a HUGE difference in using a HVLP gun and conventional. The finish on the conventional is much better, but the over spray is much MUCH more!

Anyway, tomorrow, I will sand down the primer with 220 grit and put my first coat of Brightsides on. The primer alone looks awesome. If I thought it would last, I'd just leave it alone, but I'm sure the high-glossed Brightsides will look absolutely amazing!!!

Anyway, I'll snap some pictures tomorrow, but that's my update from this weekend!
 

DukesFin

Chief Petty Officer
Joined
Oct 12, 2005
Messages
500
Re: 1991 CABO 204 Centercon Re-Doing... Here it goes!!!

Last night, I got the first coat of Interlux Brightsides white on the hull... Sanding the Primekote was a PITA, but got it done.

I used the gravity feed HVLP gun I got from the big box store at 40psi and fluid output at about 3/4 and the 1.4mm tip, and paint thinned to 10%. Flowed out very well. I got runs on the transom corners because I just HAD to hit them 2X more just to be "sure" and I'll be paying for that mistake with the sand paper tonight! Arrrrghh! Totally my fault.

As with any fresh wet paint, it sure looked nice when I was done spraying though. I can't wait to get back to it tonight and see how the gloss held up! Hopefully, it's going to be hard enough to sand for the 2nd coat!!!!
 

SKIBUM1M

Chief Petty Officer
Joined
Jul 17, 2009
Messages
604
Re: 1991 CABO 204 Centercon Re-Doing... Here it goes!!!

Dukes sounds like you are coming along nicely. I love my hvlp and know all about runs from just a little more paint. Lets see some pics of the paint
 

DukesFin

Chief Petty Officer
Joined
Oct 12, 2005
Messages
500
Re: 1991 CABO 204 Centercon Re-Doing... Here it goes!!!

You asked for it, so here are the pictures Skibum!

My wife got some pictures I was not aware of! Here it is while I was sanding it for primer:
SandingForPrimer.jpg


And a good comparison picture to that one with it's first coat of finish paint:
BowShotCompare.jpg


And some misc. pictures of the new paint here:
BowShot2.jpg

BowShot.jpg


Here's a nice reflection picture... Getting a photo of reflection on white paint is hard!
Reflection1.jpg


I knew as I was spraying the corners at the transom for the 2nd and 3rd time that I shouldn't be doing it, but I did anyway and here's the result... One of only two runs:
TheRuns.jpg


To say I'm happy with the first coat is an understatement! I'm loving the "wet" look on the dry hull!!!!

Tomorrow morning, I have to go to Lowes and get more 220 grit, sand it down and put the 2nd and last coat on the hull! I can't wait to get into the deck/gunnels of the boat now! It's going to BLIND me!!! Yippeeee!!!
 

Van Wildonher

Seaman
Joined
Aug 15, 2009
Messages
59
Re: 1991 CABO 204 Centercon Re-Doing... Here it goes!!!

Can you tell me how much sandpaper and what grits you've used so far? I have to order mine from the US so I don't want to end up not having enough when the time comes to start. :eek:

I thought you said you were going to paint it blue?
 

DukesFin

Chief Petty Officer
Joined
Oct 12, 2005
Messages
500
Re: 1991 CABO 204 Centercon Re-Doing... Here it goes!!!

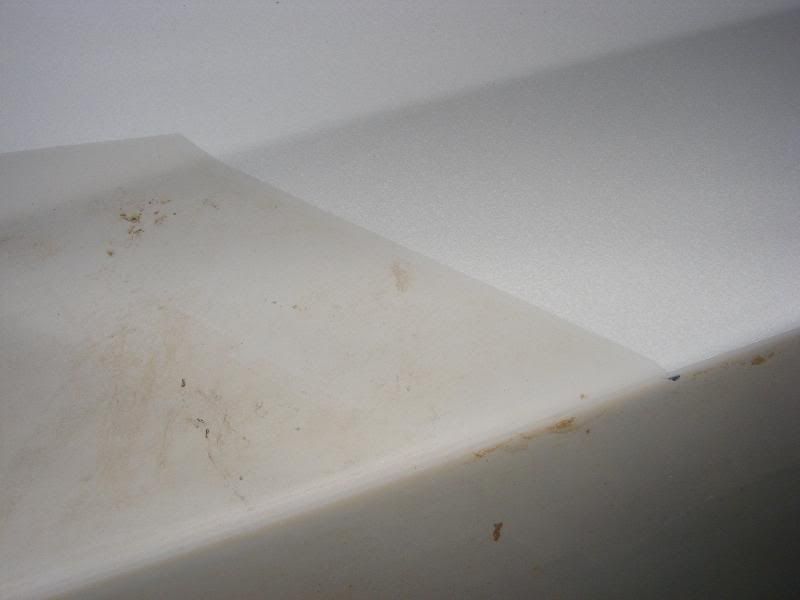
Van: I wish I could tell you how much sand paper I've used, but I'd have to count the discarded discs laying all over the warehouse floor!

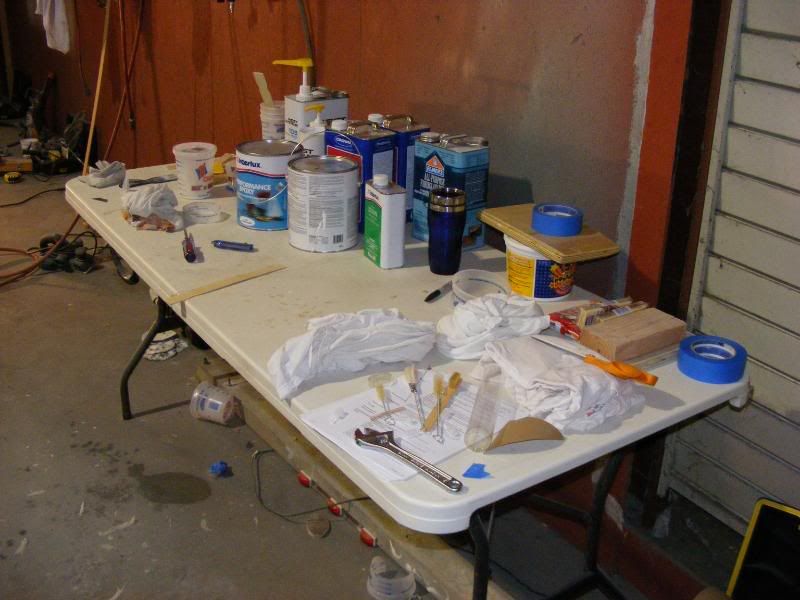
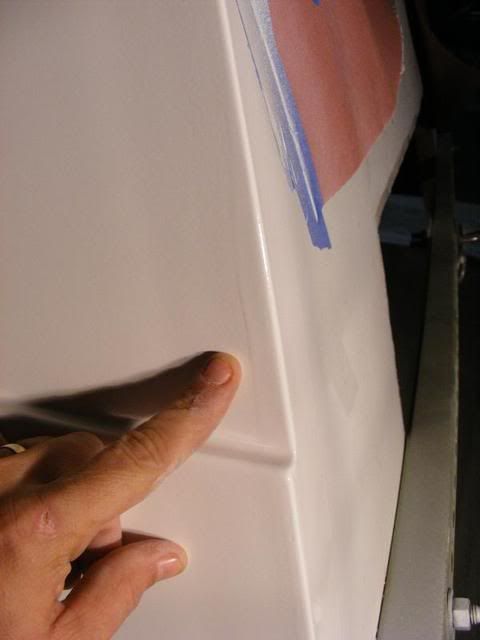
So far, I've used 36-grit flapper discs on the grinder, 50 grit, 80 grit, 120, and 220 grit paper.

Obviously the lower grits were for material removal (I used a lot of the 50 and 80 to take down the screw holes I've filled while the 120 and 220 were used to prep for primer and/or in between coats of paint. I'm following Interlux's instructions "to a T" when it comes to surface prep.

Here's my latest update:

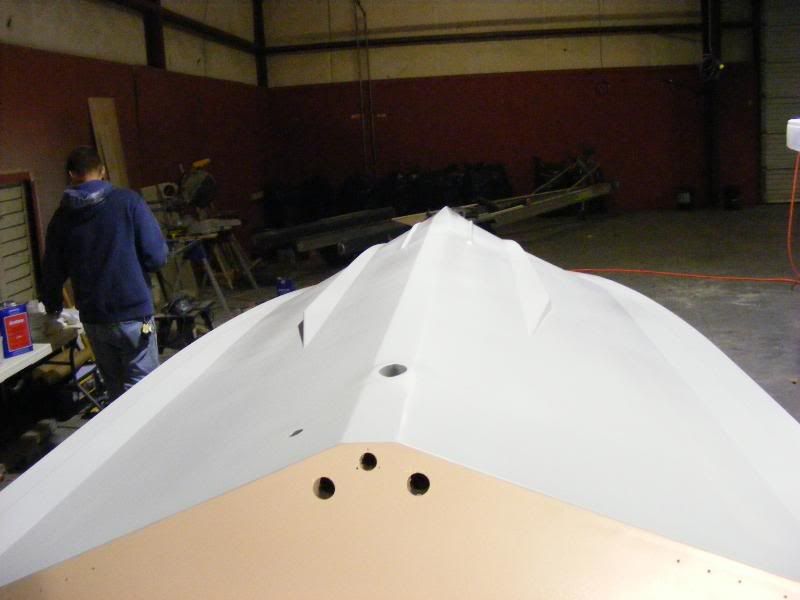
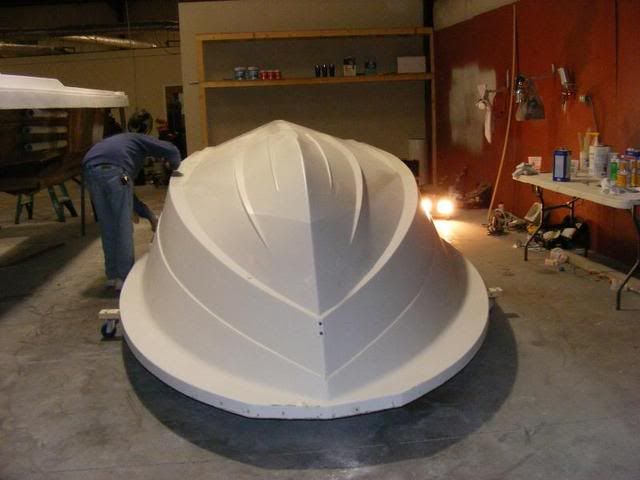
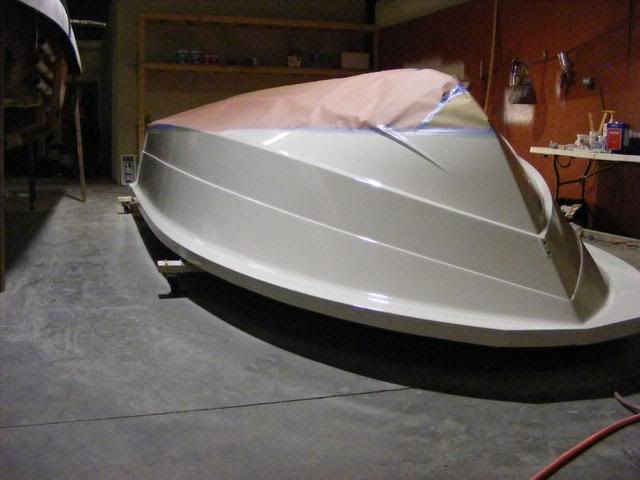
Well, the hull is back on the trailer! I flipped it by myself and I will NEVER do that again. It turns out, that while you may think you've got "center of gravity" figured out, Newton will teach you a thing or two. You may find yourself perched on the corner leg of an engine hoist as if you were a counter weight on a sailboat, holding on with one hand, cell phone poised to dial in the other, all while 4' off of the ground, trying to figure out why in the hell you decided you'd try to flip a hull by yourself! Anyway, I got it flipped and all is well!

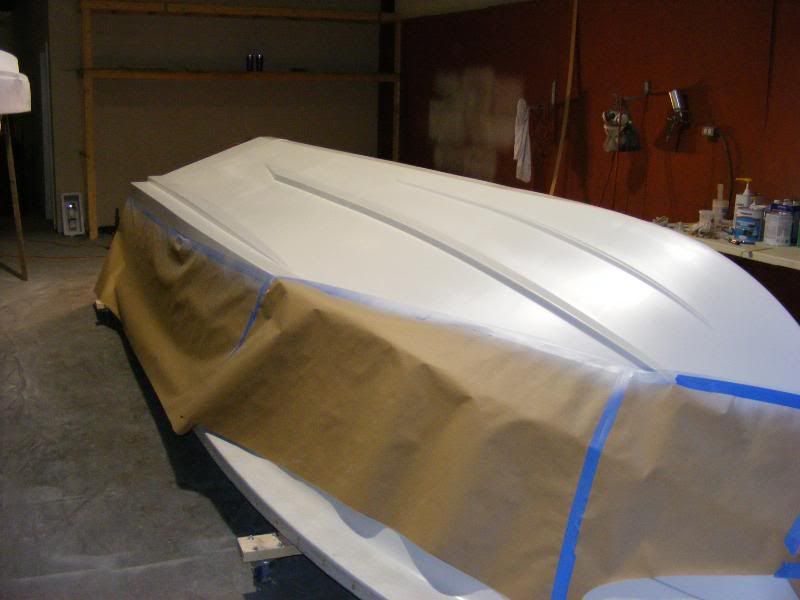
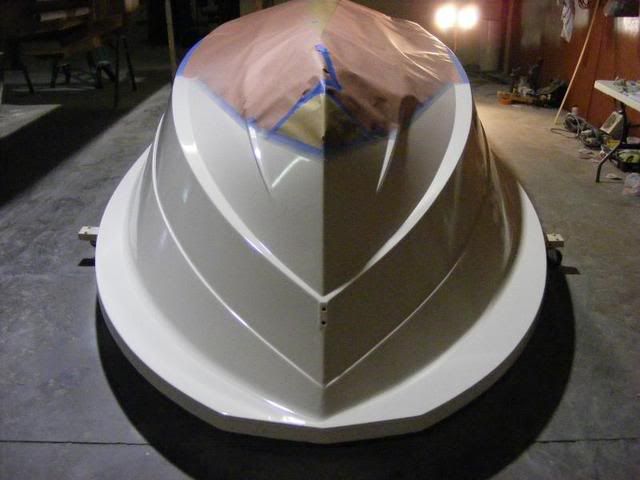
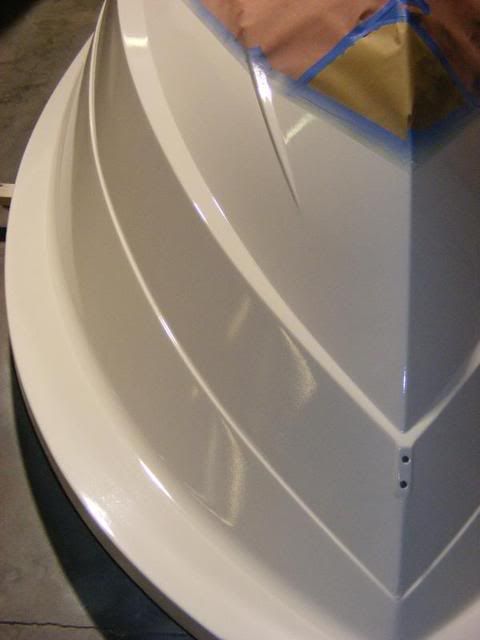
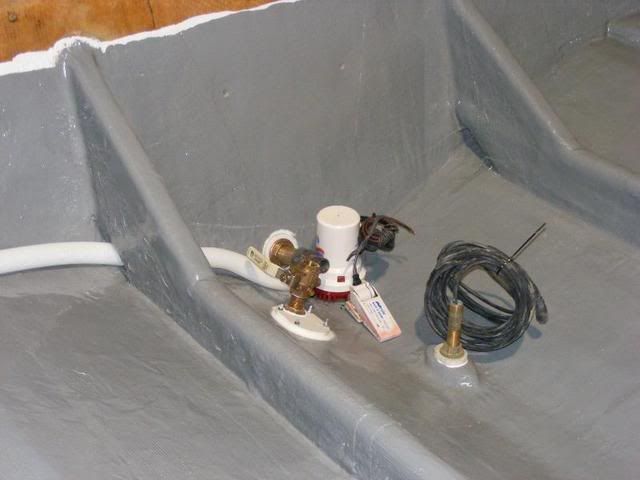
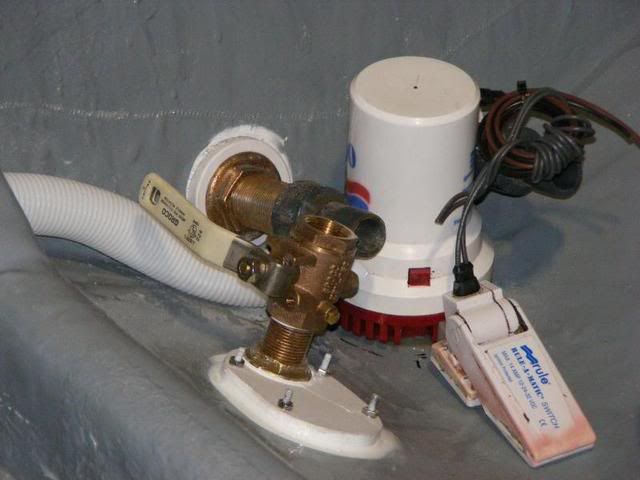
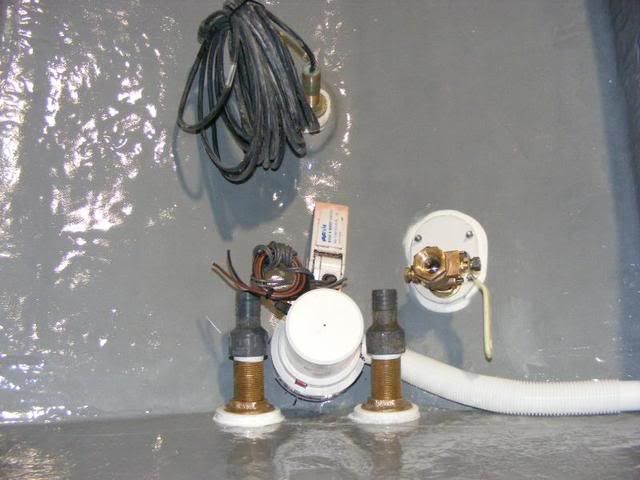
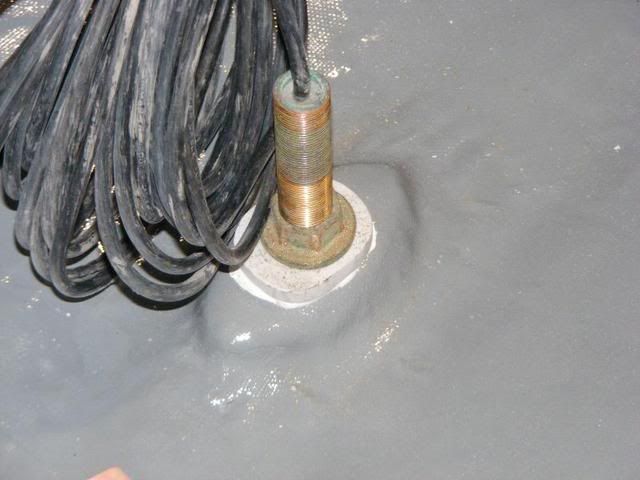
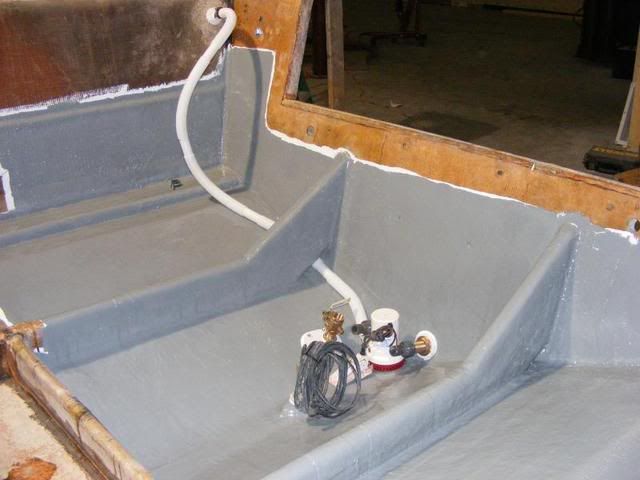
I got the final layers of glass in the bilge area, so next I'll be priming and painting the bilge. While that paint is drying/setting, I'll be prepping the deck for primer.

Once I get the bilge done, and plumbing (thru-hulls and hoses), I'll be ready to put the two halves back together again, prime and paint!

I hope everyone had a very Merry Christmas and you all have a safe night tomorrow! Stay out of trouble!

Duke

Oh, I almost forgot... The guy that shares the warehouse who used to have a big Fountain racing boat... I asked him if when he sold his boat, did he sell the stereo as well. He said he did NOT. I asked him if he'd sell it to me and for how much...

He gave me his Kenwood AM/FM/CD head unit, kenwood remotes (wired and wireless), 4 50-watt 6.5" Kenwood marine speakers and a handheld VHF

Cost: $25!!!!!!!!!!!!!!!!!!!!!!!!!!!!!!!!!!!!!!!!!!!!!!!!!!!!!!!!!
 

system-f

Senior Chief Petty Officer
Joined
Dec 3, 2008
Messages
667
Re: 1991 CABO 204 Centercon Re-Doing... Here it goes!!!

How many quarts of prime kote and brightsides did you need?
 

DukesFin

Chief Petty Officer
Joined
Oct 12, 2005
Messages
500
Re: 1991 CABO 204 Centercon Re-Doing... Here it goes!!!

The primer (Primekote) went on at 1.5 quarts each coat and the brightsides went on at 1 quart each coat with leftover (not much).
 

DukesFin

Chief Petty Officer
Joined
Oct 12, 2005
Messages
500
Re: 1991 CABO 204 Centercon Re-Doing... Here it goes!!!

Well, I've made more progress and I'm now ready to put the cap/deck back on the hull...

Primed and painted the bilge.
Sanded the whole deck/topside, ready for primer.
Re-plumbed my livewell, 2 fish boxes, 4 front coolers.
Carpeted the inside of the console "dash".
Installed the bilge pump and float switch.
Replaced all thru-hull fittings at transom and bilge.
Installed the transducer.
Installed the new fuel fill line and vent line.
Ran the wiring to the front nav lights and front speakers.

All below the water line, all thru-hulls got 5200 and above the water line, they got silicone. The next time anyone wants to change anything below the waterline, they'll have fiberglass work to do!!!

It sure is a LOT easier to do all of the plumbing and bilge work when the deck is off of the hull!!! Easy-peasy! I felt so good about all of my fittings/sealants having complete access to them!

Tomorrow, Tuesday or Wednesday, the cap goes back on, the warehouse gets cleaned/re-organized, the hull gets cleaned and ready for primer!

I'M AT THE HOME STRETCH NOW!!!!!
 

DukesFin

Chief Petty Officer
Joined
Oct 12, 2005
Messages
500
Re: 1991 CABO 204 Centercon Re-Doing... Here it goes!!!

I forgot one thing... All of the "backing plates" for the thru-hull fittings (they only used two - one for each thru-hull drain) were made out of plywood. They looked like donuts. I really don't like the plywood as even if you coat/seal them in epoxy, there is a chance of rot and if something is going to rot, I really didn't want it to be part of a thru-hull fitting!

I went to WalMart and picked up an acrylic cutting board (the white plastic kind). I had my buddy who shares the warehouse cut out 5 new backing plates on his laser cutter. They came out perfectly! I now have one backing each of the previous thru-hull "mushroom" fittings, one backing for the high-speed water clamshell and one for the transducer.

I'll take pictures of them next time I'm out there, but I really like not having to worry about any of the thru-hull facets NEVER rotting out!
 

DukesFin

Chief Petty Officer
Joined
Oct 12, 2005
Messages
500
Re: 1991 CABO 204 Centercon Re-Doing... Here it goes!!!

As promised, here are the pictures of the bilge area work:

DSCF1056.jpg


DSCF1057-1.jpg


DSCF1058-3.jpg


DSCF1059.jpg


DSCF1060.jpg


DSCF1061.jpg


What you are looking at is obviously the transom. Through it, you will see the two drains that carry the livewell water out (one thru-hull), and the other one is the drain for the rear fish boxes. They each of 1" ID hose. I've got a 1500 Rule bilge pump and float switch. Also, you see the football shaped housing for the transducer that I fabricated and installed. Lastly, there is the clamshell pickup and shut-off valve.

If you look, you can see the white acrylic (cutting board material) backing plates for each item that goes through the hull and each fitting is sealed of both sides with 5200. They aren't going ANYWHERE anytime soon without some serious work. All thru-hull fittings are bronze except for the bilge pump outlet.

Have a great one!

Looks like once I put the deck back on the hull tomorrow or the next day, I'm on "hold" until the weather warms up a bit. With the freezing temps we have here this week, the warehouse is not going to get up to or above the 50 degrees that I need to apply my paint. I'm a little worried I may have to pay for 2 extra weeks in the warehouse, but it is what it is, you know!
 

ezmobee

Supreme Mariner
Joined
Mar 26, 2007
Messages
23,767
Re: 1991 CABO 204 Centercon Re-Doing... Here it goes!!!

Very nice work. Keep it up!
 

SKIBUM1M

Chief Petty Officer
Joined
Jul 17, 2009
Messages
604
Re: 1991 CABO 204 Centercon Re-Doing... Here it goes!!!

very nice bilge area. I like the cutting board idea. keep up the great work.
 

archbuilder

Vice Admiral
Joined
Sep 12, 2009
Messages
5,697
Re: 1991 CABO 204 Centercon Re-Doing... Here it goes!!!

Nice looking project, keep up the good work!
 

sprintst

Commander
Joined
Apr 18, 2009
Messages
2,066
Re: 1991 CABO 204 Centercon Re-Doing... Here it goes!!!

Beautiful work. All the work done looks milspec :)
 
Top