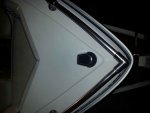
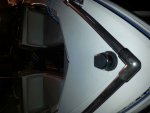
hbryant123, I have no idea what the real name is for those bolts with the rubber insert nuts, but some places list them as trolling motor mounting bolts. They are available here on iboats as well and listed as MotorGuide Mounting Isolator Kit. If you go this way to mount the trolling motor, all you have to do is drill the holes from the top side and insert the rubber insert nuts and then use the regular bolts to tighten it down. Everything you need comes in the kit. Just make sure where you are drilling that there is no below surface problems or issues and you should be good to go.
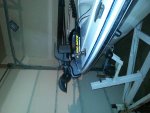
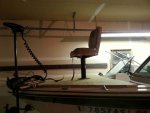
When I mount any trolling motor, I try my best to have it mounted so that when it is deployed in the run position, it sits dead smack at the very center point on the bow. That way you won't experience any tendencies to have steering issues one side or the other. But some others say it doesn't matter. It really depends on the type of hull design I guess. But I have heard that if it is off-center, they have more issues with the steering to one side verses the other side. :noidea:
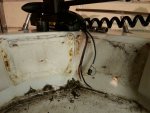
If you go with the cut out idea behind the seat, simple remove the seat back and use a small drill bit to drill a small hole and then use a saber-saw (jigsaw) with a fine tooth blade and make a nice cutout to allow your arm to reach in. Save the cutout and either install a hinge on it to allow you to open and close it as you need, OR use some quality sealant like 3M 5200 and glue the cutout back in place after you mount the trolling motor. With the seat back installed again, it will never be noticed. And to keep from marring the finish when cutting, use either masking tape or duct tape on the finish and draw your cutout pattern on top of the tape. It will keep from chipping out the finish and stop mar-marks as well. JMHO!