JASinIL2006
Vice Admiral
- Joined
- Feb 10, 2012
- Messages
- 5,762
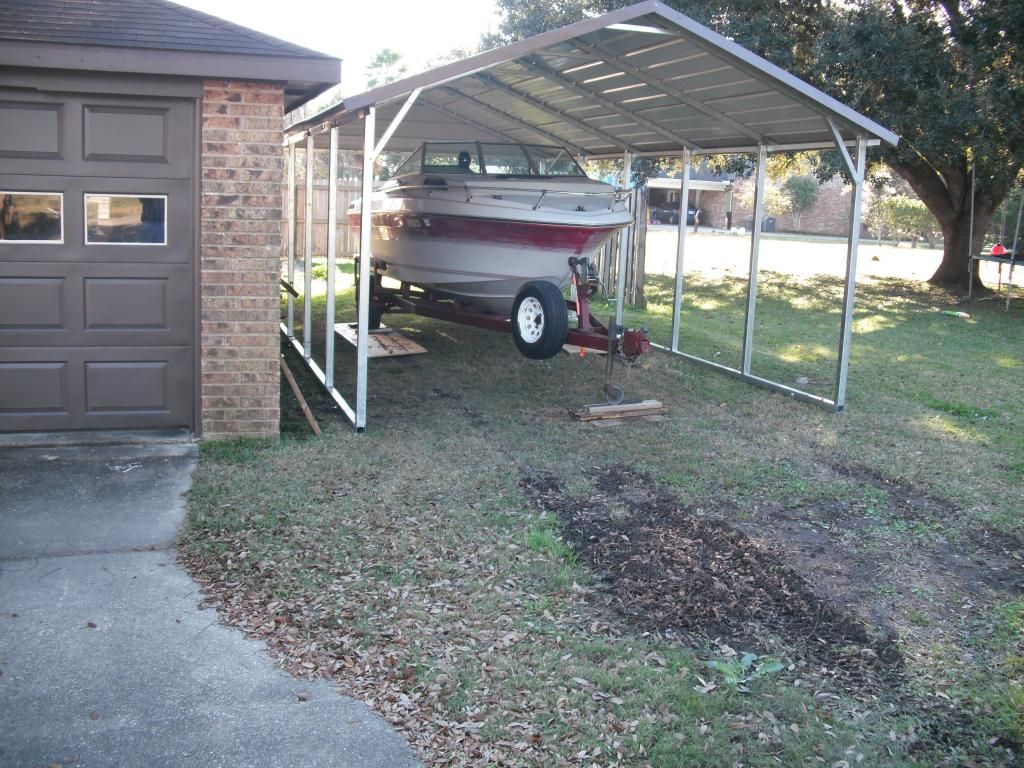
That boat looks almost exactly like mine! (Mine is an '97 186 SEi.) It has that same stringer/bulkhead system; I believe Larson started using it in our boats in '96 or '97. On mine, the floor was solid for the most part. The problem was water intrusion around the screws that hold the swim ladder to the transom. Yours has the two-step swim ladder bolted to the transom below the water line on the right side, I bet. Those holes were poorly sealed and allowed water to infiltrate into the wooden transom core and into the flotation foam. The floor in the engine compartment, just to the starboard side, was starting to show some rot from the water leaking in via the ladder.
If you have to pull the engine anyway, be sure to drill test holes in your transom (from the inside) focusing on the wood around and below any thru-hull fittings.
You really got lucky with your floor! I'm amazed it's not rotted!
If you have to pull the engine anyway, be sure to drill test holes in your transom (from the inside) focusing on the wood around and below any thru-hull fittings.
You really got lucky with your floor! I'm amazed it's not rotted!