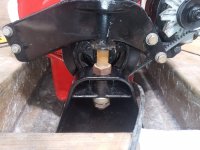
Is it ok to use the coil washer with the newer serrated mounts if it aligns correctly with the rear mounts torqued properly?
Should I add 3/4 ply to the top of the front mounts to give some more room to adjust up?
(I figure it should be ok due to the fact that the rear will eventually sag and not raise, but you guys are smarter than me)
it is recommended to NOT use the coil washers with the new style rear mounts (from mercruiser). i would not because the new style mounts are "taller" than the old style meaning they are already at the proper height for the coupler to be square with the gimbal housing/bearing
did you also install the new style bushings in the gimbal housing mounts?
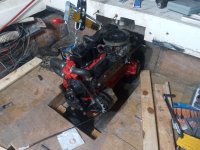
the rear of the engine should not sag over time unless you have severe transom rot, usually the stringers or in your case the cross member in the hull would be susceptible to rot/sagging
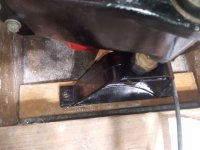
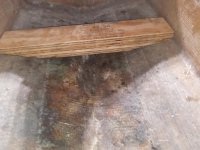
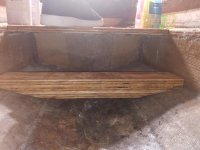
you need to repair/modify the hull/cross member for the front mount to align the engine properly
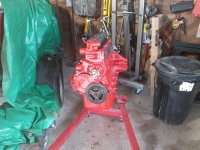
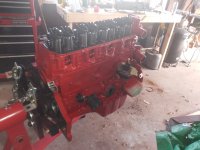
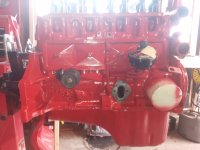
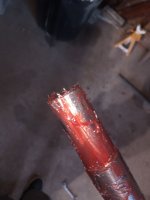
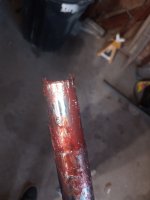
fyi the only inboard engines i've seen painted red are volvo and ford diesel, but it's your engine