Crazy_Pilot
Seaman Apprentice
- Joined
- Oct 27, 2017
- Messages
- 38
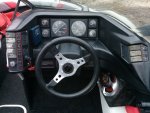
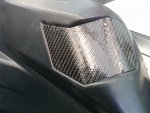
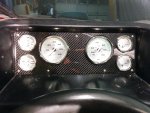
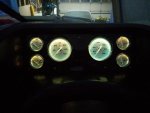
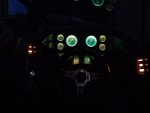
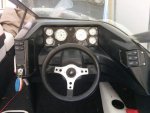
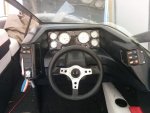
One of my pre-summer projects this year is rebuilding the panel on the Arriva we bought last year. The original switches are badly faded and UV damaged, the gauges are completely crazed and look like crap, and the radio is one of those generic Pioneer units everyone installed in their 1998 Honda Civic.
Plans are:
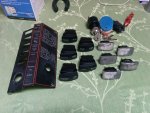
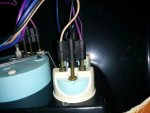
-Replace switches with backlit Contura V rockers
-Fabricate new switch panels to hold them
-Move kill switch to right side of panel (or remove entirely?)
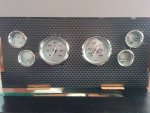
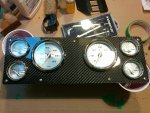
-Replace gauges with new Faria Kronos
-Fabricate mounting panel for gauges if required
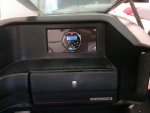
-Replace crap stereo unit with new waterproof, Bluetooth capable version
-Move driver seat speaker under dash console to regain cupholer
-Get rid of hideous fold down cupholder
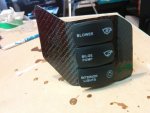
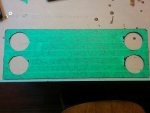
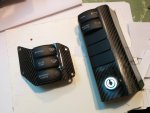
I reduced the switch count from 8 to 5 by combining the Nav and Anchor lights into one and getting rid of the ACCY and Wiper switches. Seriously, why did this boat come with a wiper switch? My uncle’s Thundercraft had one too. There will still be room for those extra switches to be added back if I add features down the road, but the extra slots will just have blanks installed for now.
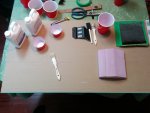
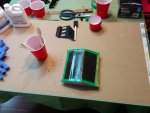
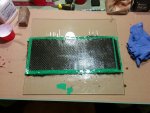
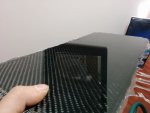
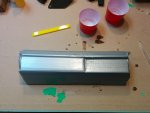
The mounting plates for the switches are going to be a fun little project. The Carling ones mount up differently than the originals and while I could probably make the original plates work I would then have to paint them to cover the old switch labels. So, I’m making new ones out of carbon fiber. I have a few yards left from a college project and picked up some UV-resistant epoxy for the layups. To make the plug I carved a block of pink foam roughly to shape, glued sandpaper to the back of the old panel, and worked it back and forth until the shapes matched. I used 5 plies of 5.7oz carbon in the layup which should be pretty rigid. The epoxy needs another day to cure fully so sometime this weekend I’ll rip and grind the foam off the back and see what I ended up with. After that I can cut it to shape and open up the switch holes.
More to come soon!
Plans are:
-Replace switches with backlit Contura V rockers
-Fabricate new switch panels to hold them
-Move kill switch to right side of panel (or remove entirely?)
-Replace gauges with new Faria Kronos
-Fabricate mounting panel for gauges if required
-Replace crap stereo unit with new waterproof, Bluetooth capable version
-Move driver seat speaker under dash console to regain cupholer
-Get rid of hideous fold down cupholder
I reduced the switch count from 8 to 5 by combining the Nav and Anchor lights into one and getting rid of the ACCY and Wiper switches. Seriously, why did this boat come with a wiper switch? My uncle’s Thundercraft had one too. There will still be room for those extra switches to be added back if I add features down the road, but the extra slots will just have blanks installed for now.
The mounting plates for the switches are going to be a fun little project. The Carling ones mount up differently than the originals and while I could probably make the original plates work I would then have to paint them to cover the old switch labels. So, I’m making new ones out of carbon fiber. I have a few yards left from a college project and picked up some UV-resistant epoxy for the layups. To make the plug I carved a block of pink foam roughly to shape, glued sandpaper to the back of the old panel, and worked it back and forth until the shapes matched. I used 5 plies of 5.7oz carbon in the layup which should be pretty rigid. The epoxy needs another day to cure fully so sometime this weekend I’ll rip and grind the foam off the back and see what I ended up with. After that I can cut it to shape and open up the switch holes.
More to come soon!