Baylinerchuck
Commander
- Joined
- Jul 29, 2016
- Messages
- 2,740
Looking fantabulistic!!!


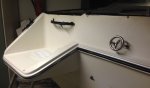
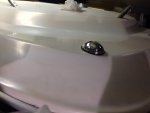
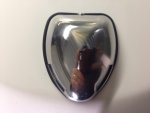
Is that a nav light? Can't really tell from the pics. The repair area looks great.
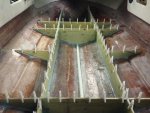
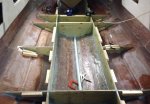
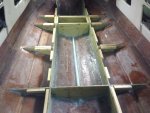
Looking nice man! I didn't use near that number of cleats. I just wanted a few places for the screws to hold down the deck to the tops of the stringers applying even pressure for the glue to kick.