ezmobee
Supreme Mariner
- Joined
- Mar 26, 2007
- Messages
- 23,767
Re: Shes gettin ready for Water!
Re: Shes gettin ready for Water!
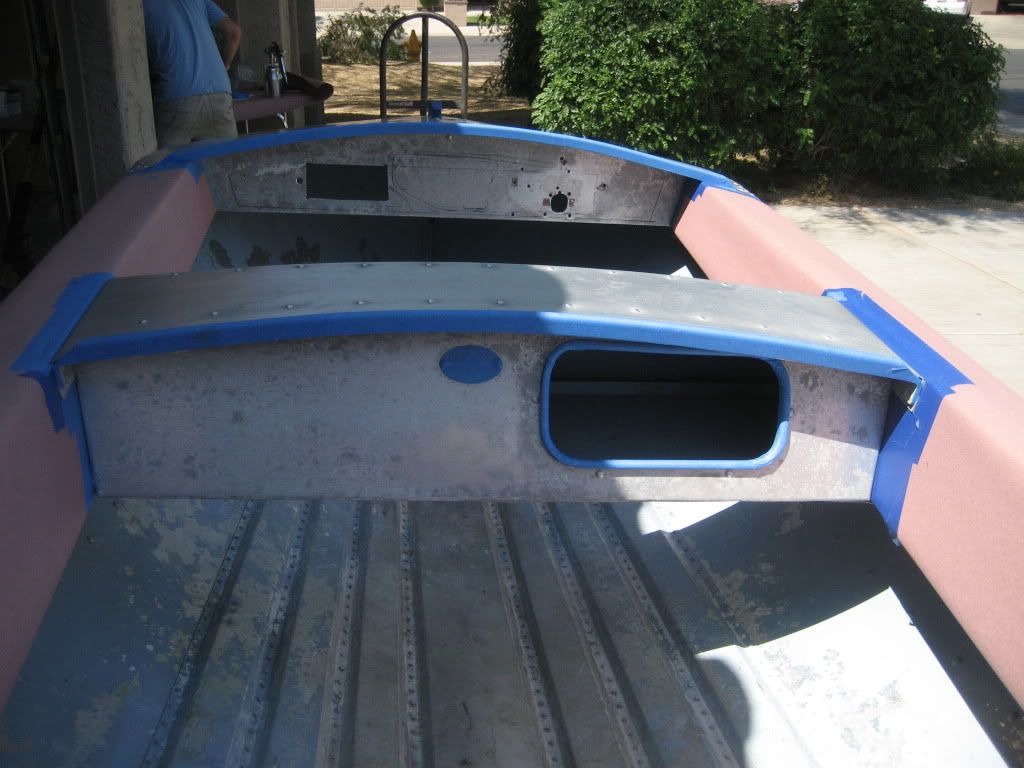
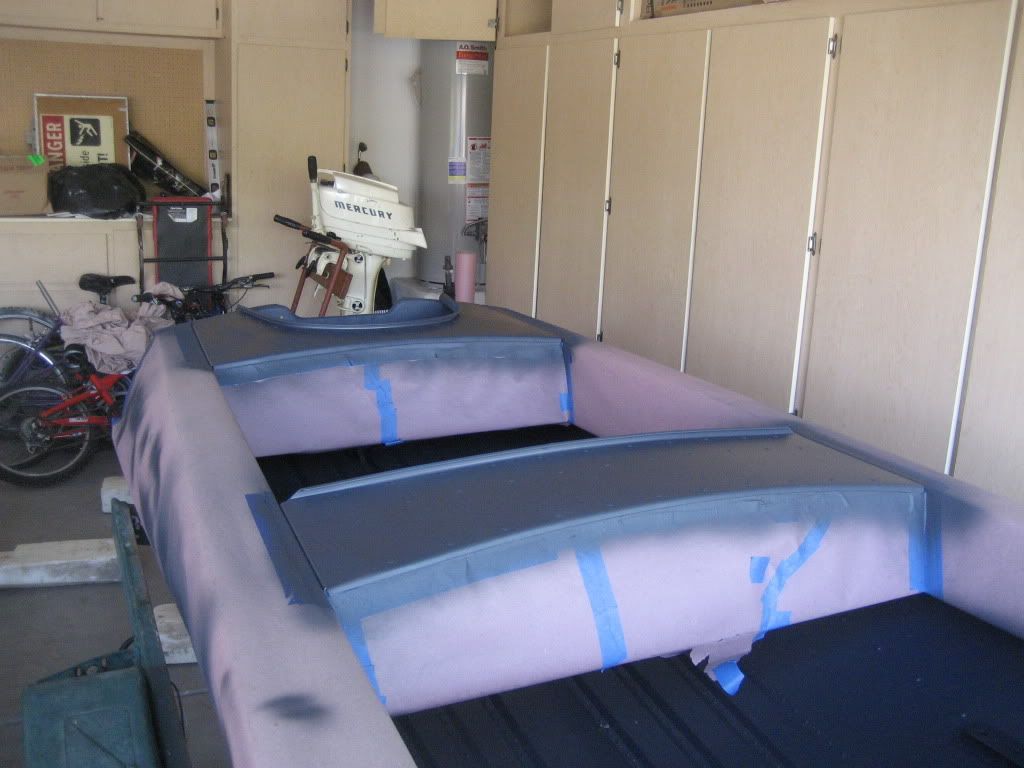
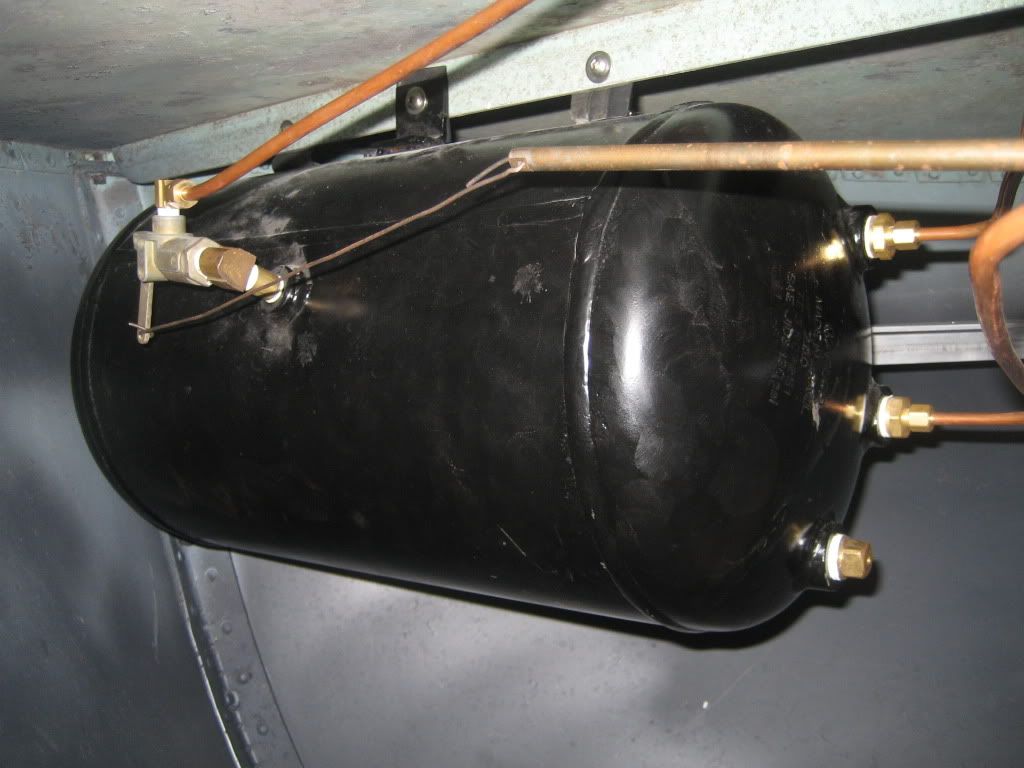
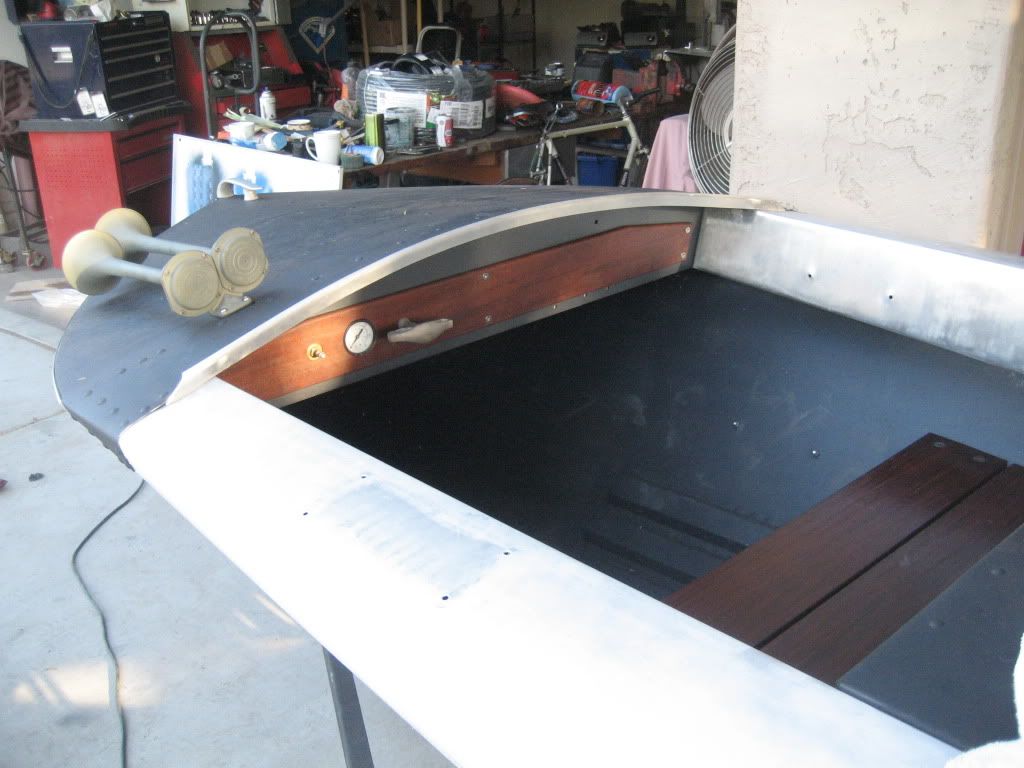
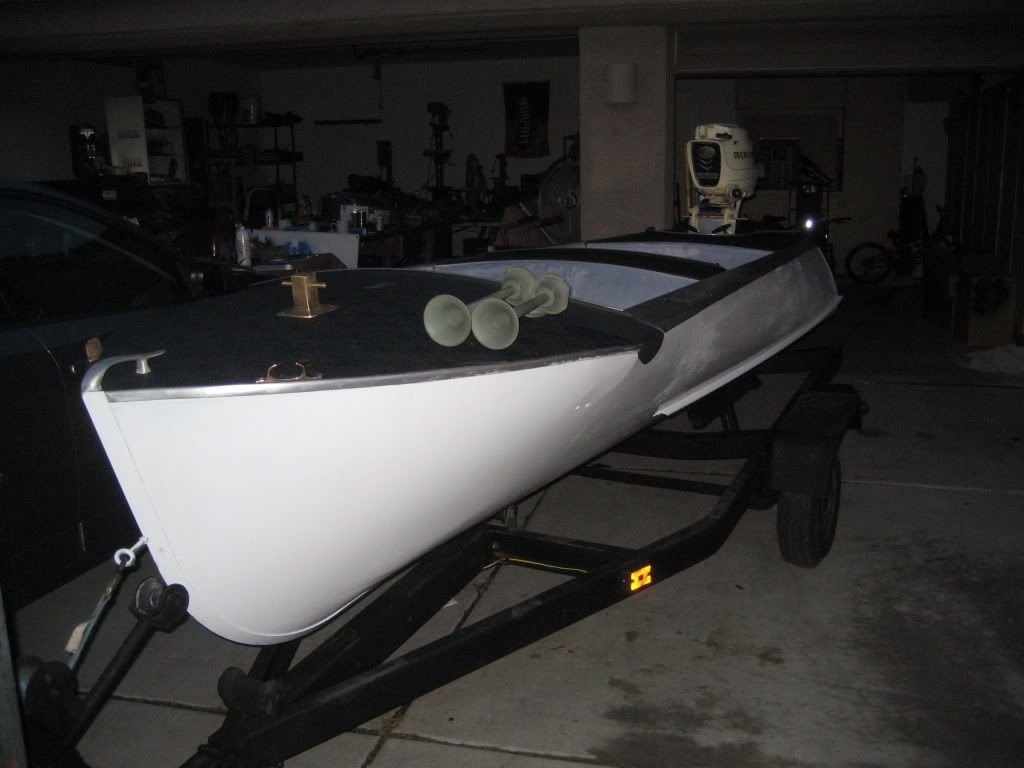
I'm really glad to see this project back. Love that hull. The little details for it that you're working on look great. For your foam, get some sheets of the blue or pink construction foam (extruded polystyrene) from Lowes/Home Depot and cut/stack it to fit. It will NOT absorb water. The steering system you linked up is a little overkill for your application. I put this one http://www.lowcostboatingstore.com/Uflex-ROTECH-Kits_c_226.html in my boat and am quite pleased with it. You may need a clamp block to adapt your older steering-tube-less motor to a single cable system http://www.iboats.com/Corrosion-Res...5764940--session_id.611379388--view_id.192758
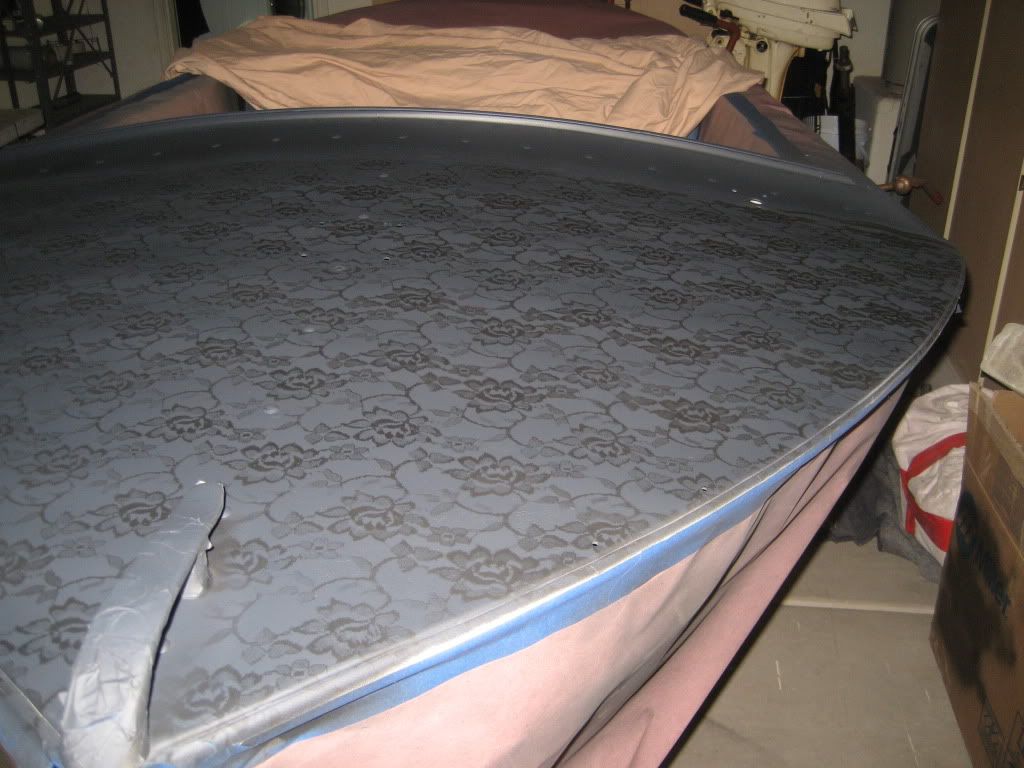
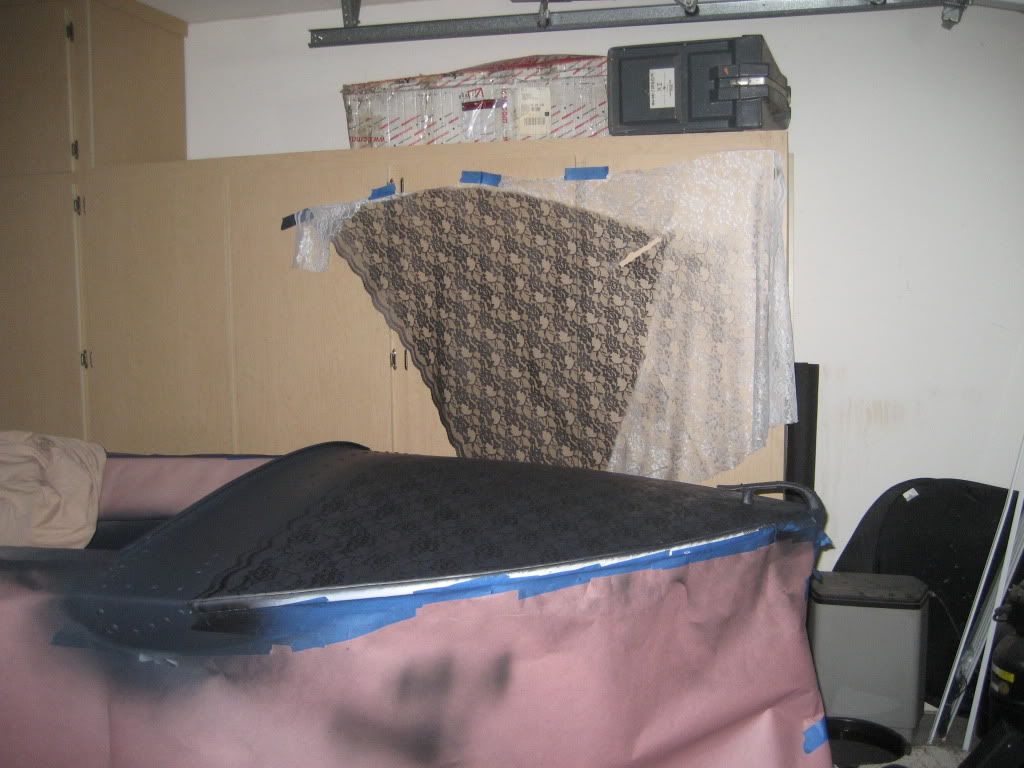
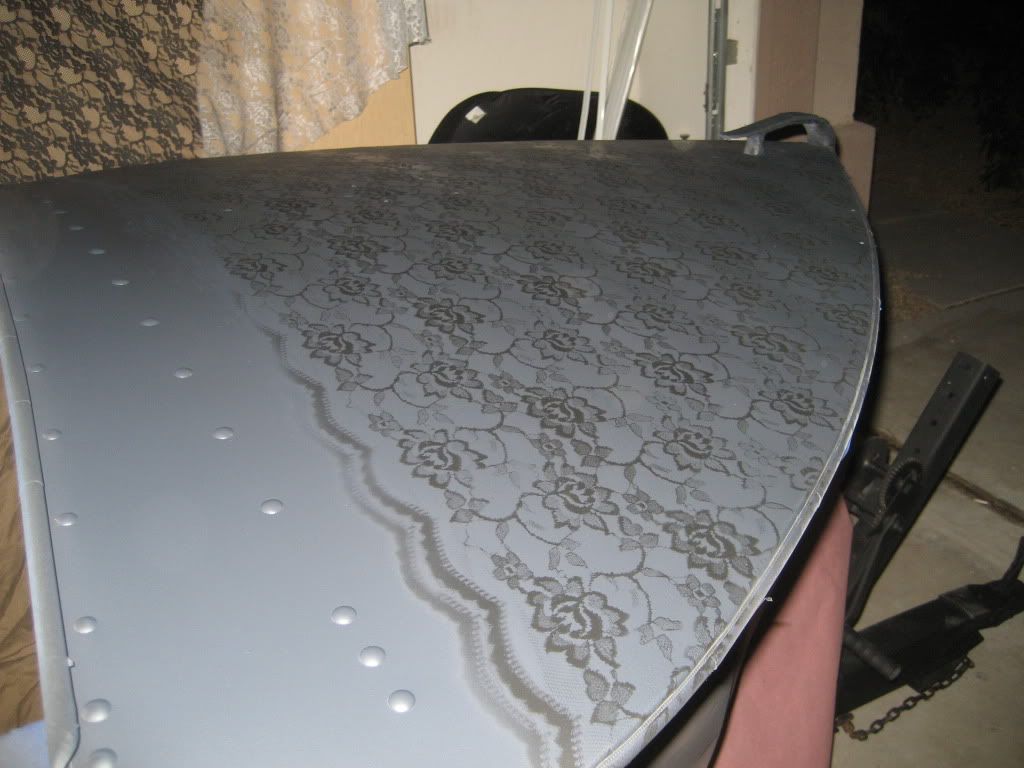
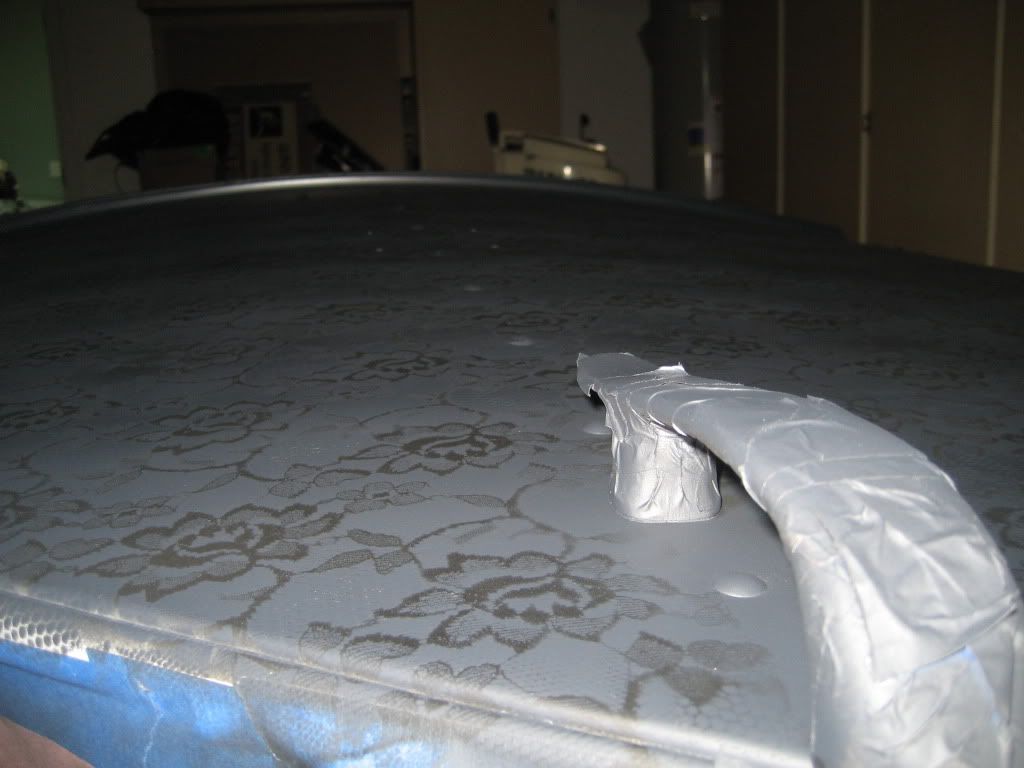
Re: Shes gettin ready for Water!
I'm really glad to see this project back. Love that hull. The little details for it that you're working on look great. For your foam, get some sheets of the blue or pink construction foam (extruded polystyrene) from Lowes/Home Depot and cut/stack it to fit. It will NOT absorb water. The steering system you linked up is a little overkill for your application. I put this one http://www.lowcostboatingstore.com/Uflex-ROTECH-Kits_c_226.html in my boat and am quite pleased with it. You may need a clamp block to adapt your older steering-tube-less motor to a single cable system http://www.iboats.com/Corrosion-Res...5764940--session_id.611379388--view_id.192758