rickryder
Commander
- Joined
- Jun 24, 2010
- Messages
- 2,722
Re: Here I go again!! 1995 Sea Ray 220 Signature Deck and Stringer Restoration
Re: Here I go again!! 1995 Sea Ray 220 Signature Deck and Stringer Restoration
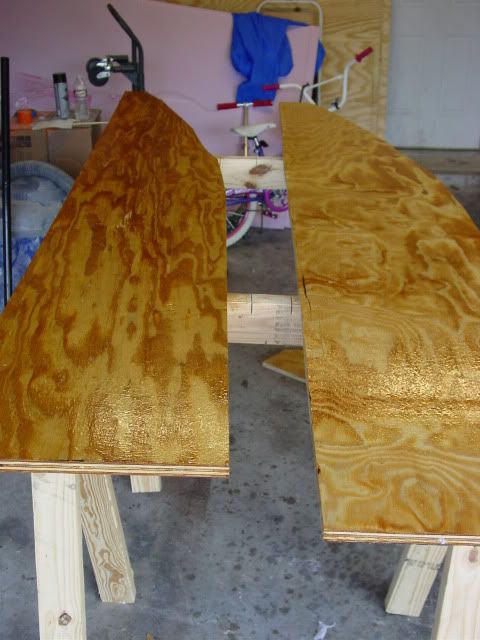
That's what I did Jay. I put a few layers of 6oz cloth strips over my tops and had no real air bubbles to speak of.
Re: Here I go again!! 1995 Sea Ray 220 Signature Deck and Stringer Restoration
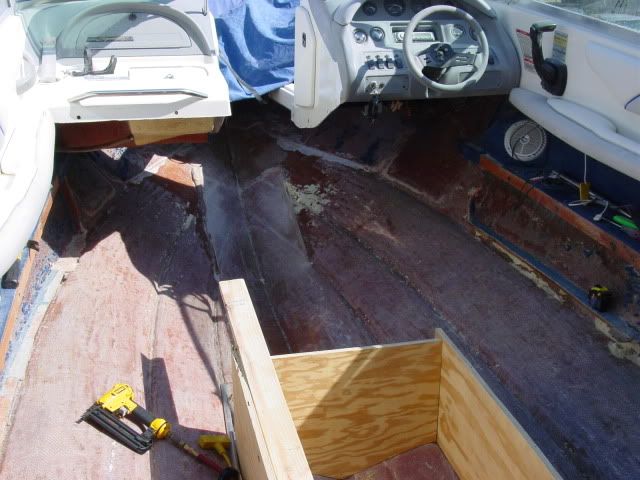
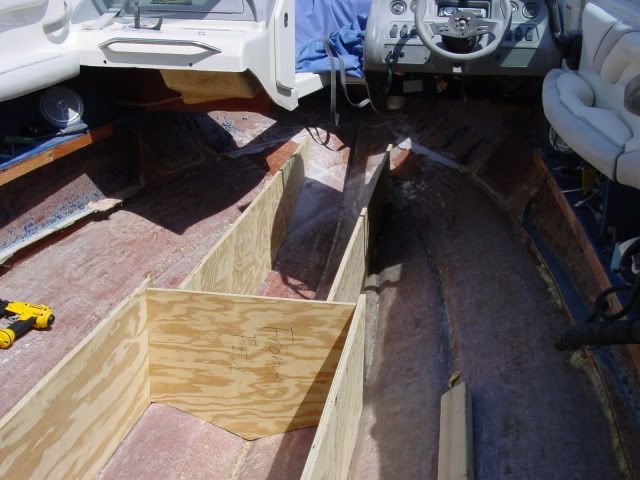
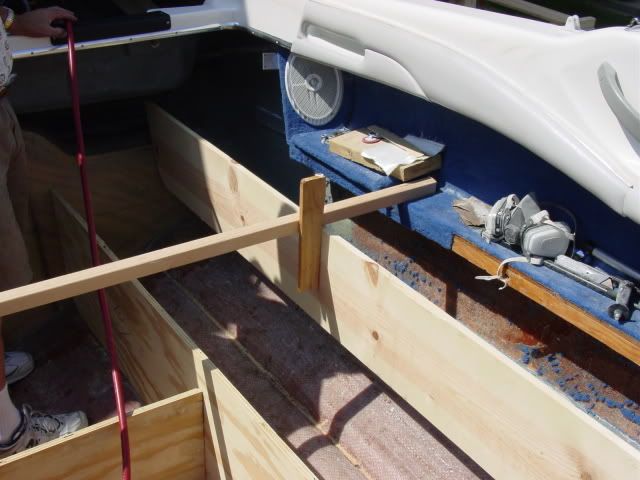
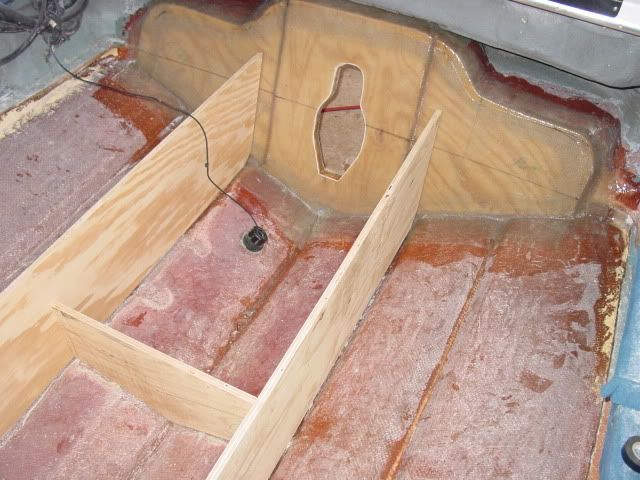
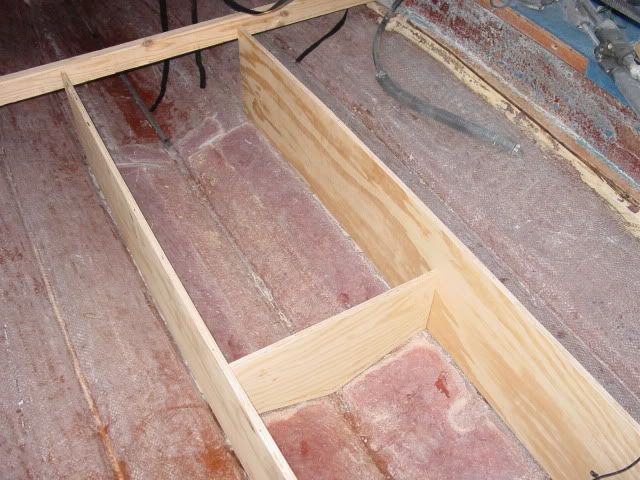
As far as the stringers go, I plan on doing the cap method. I have watched too many guys struggle and struggle with one full piece, so I decided not to go that way.
That's what I did Jay. I put a few layers of 6oz cloth strips over my tops and had no real air bubbles to speak of.
")