Re: Here we go, diving in, hope there's water in the pool... Just Another Tinny Rebui
Thoughts and Observations...
1.
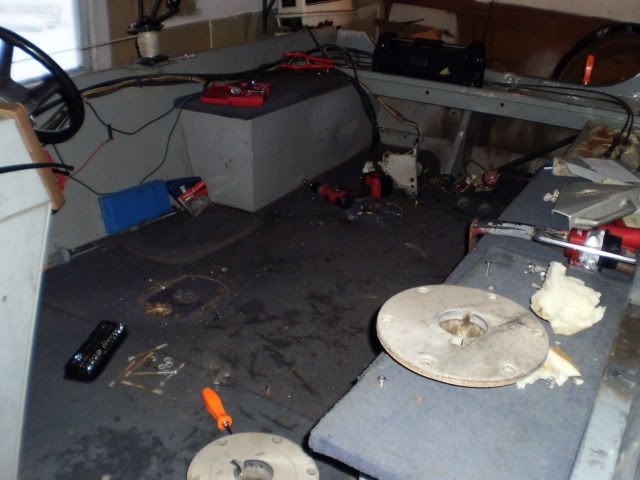
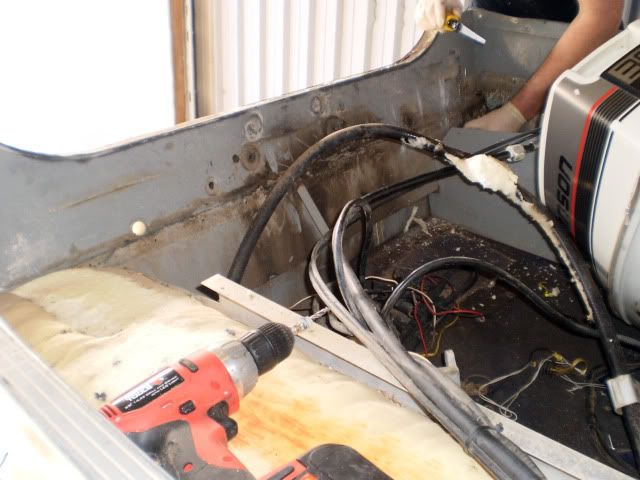
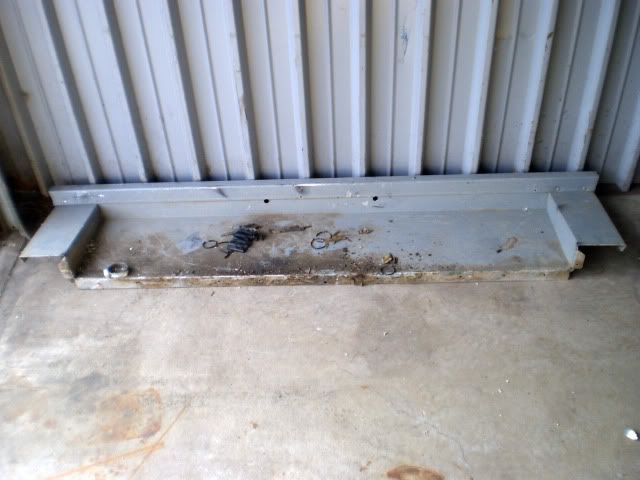
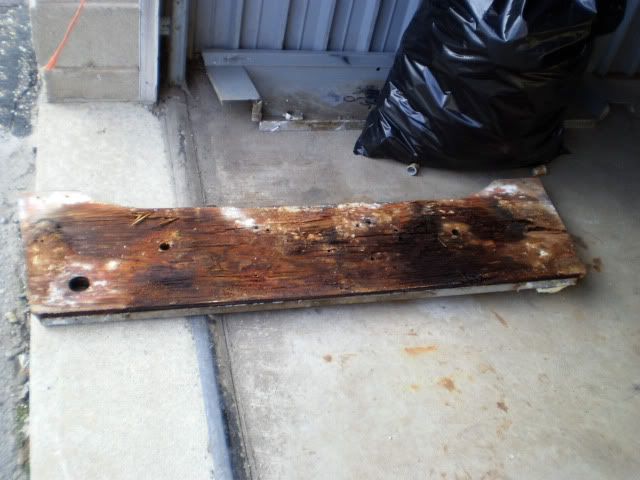
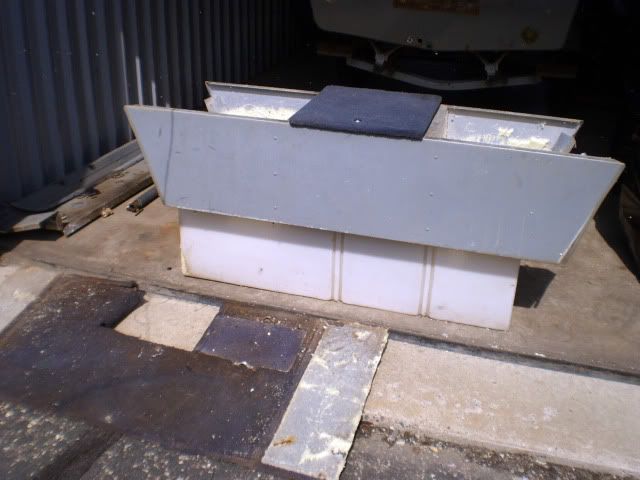
At first, I would occasionally say, "Damnit Grandpa" when I saw something foolish that he did....Then I saw what Alumacraft did from the factory and pretty much all was forgiven. Apparently the engineers thought it would be a good idea to assemble a boat like this...Floor, Transom, all metal brackets for foam compartments, Splashwell that is
screwed to the transom the entire width of the boat....THEN lets foam the compartments and cover the screws. I was uttering many curse words.
")
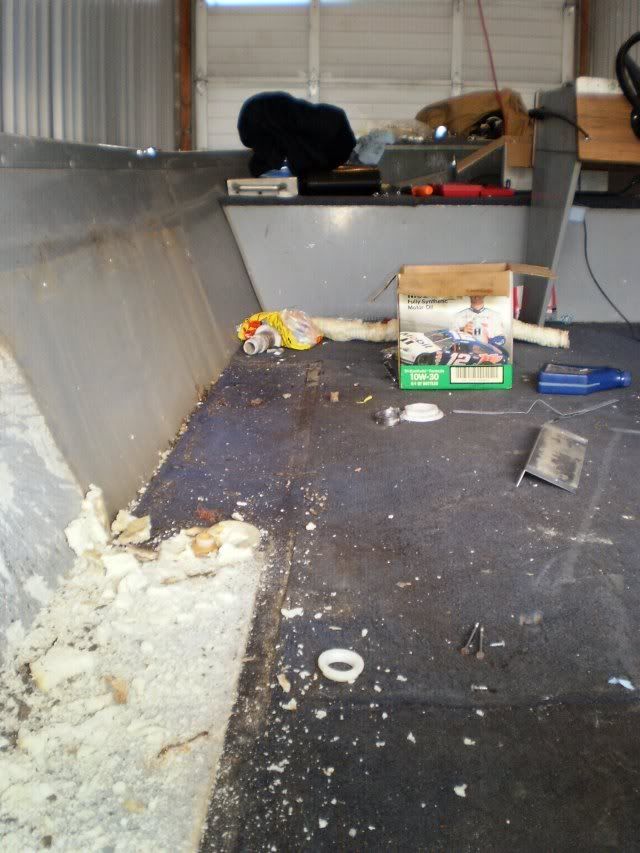
2.
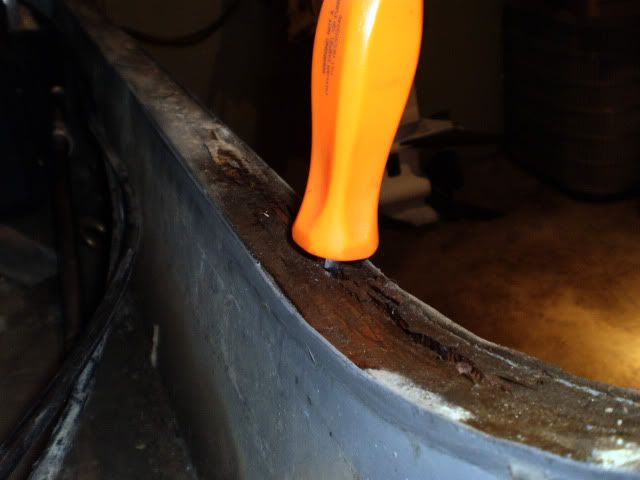
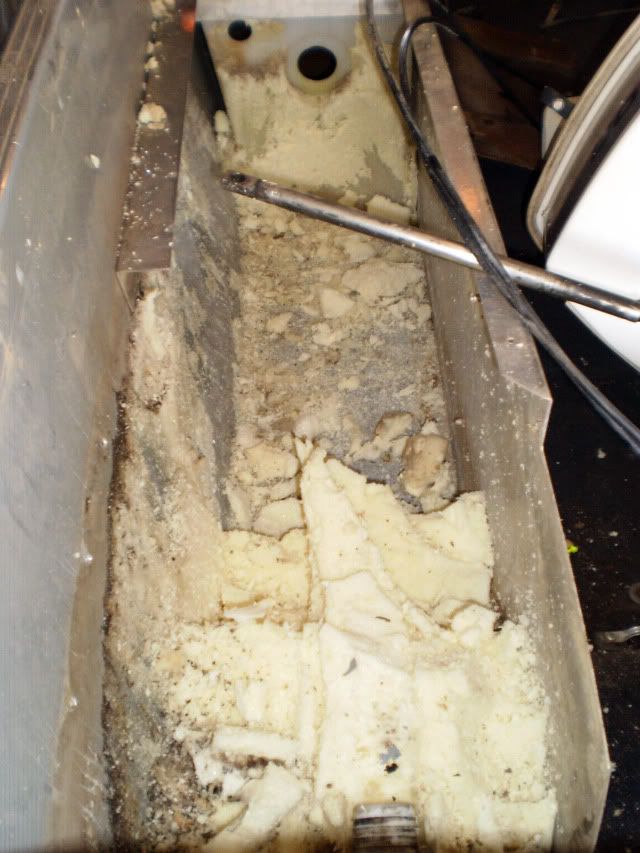
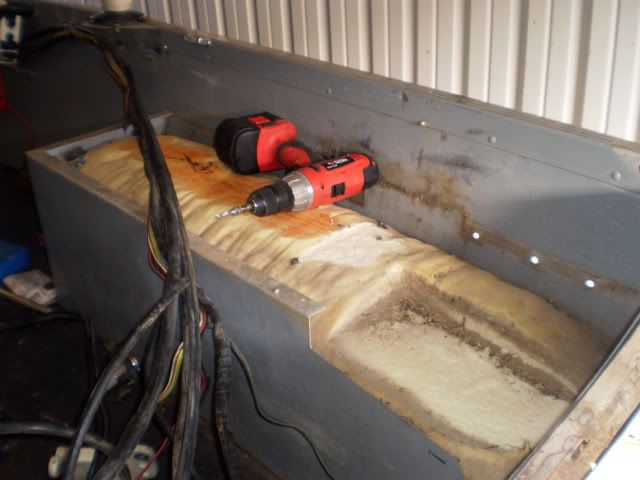
I hate Foam. Let me rephrase that...I DETEST foam, and if I ever have any friends that are crazy enough to get a bug up their rear and decide to rebuild a boat like this, and they re-install 2 part pour foam, I will personally beat them with like I'm a fat kid and they stole my cake. I will punch them if they even consider it.
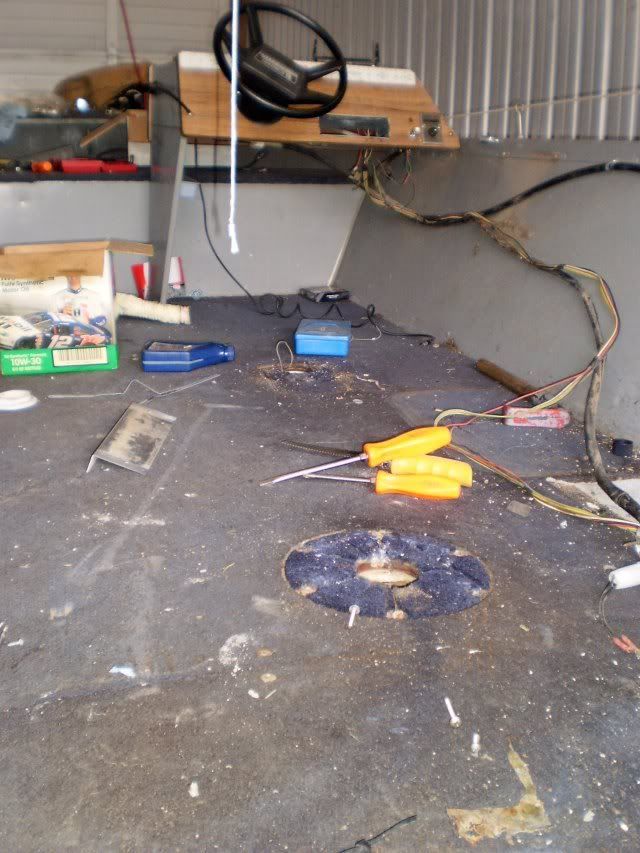
3.
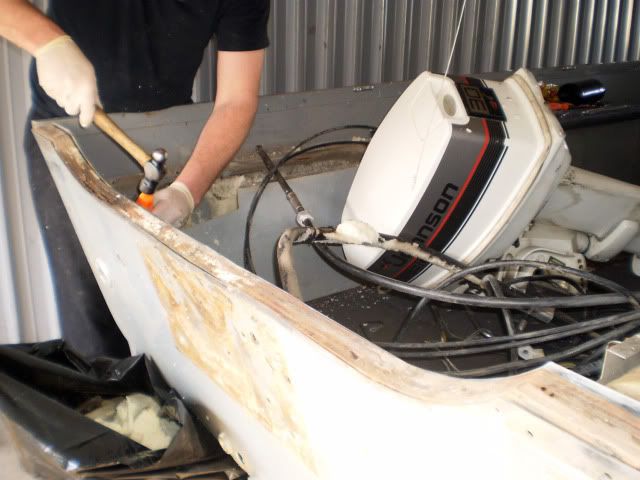
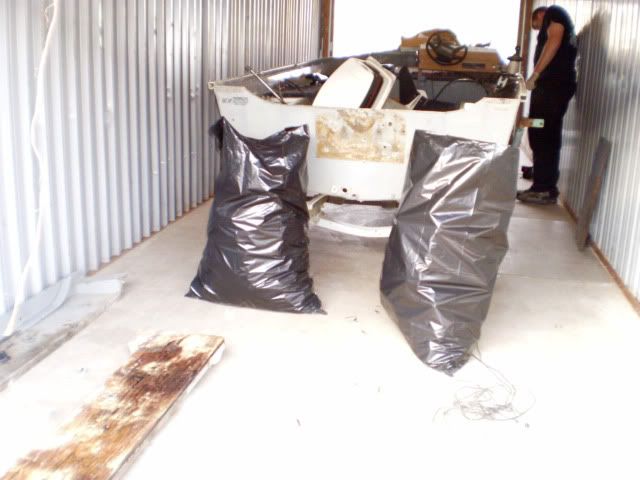
All in all, it's actually coming apart a bit easier that I thought it was going to. Now the biggest challenges that remain are building the casting deck up front, and relocating the livewell up there if I decide to keep it.
Questions
1.
Where is the cheapest place to buy Gulvit? I'm guessing online, but which place?
2.
Should I chemically strip the paint on the boat, or should I take the time and wire wheel it? It's all coming off so I have a clean, fresh surface to start from.
3.
Is there a place I can get 3M's 5200[?] locally? Or is that something needs to come offline as well?
4.
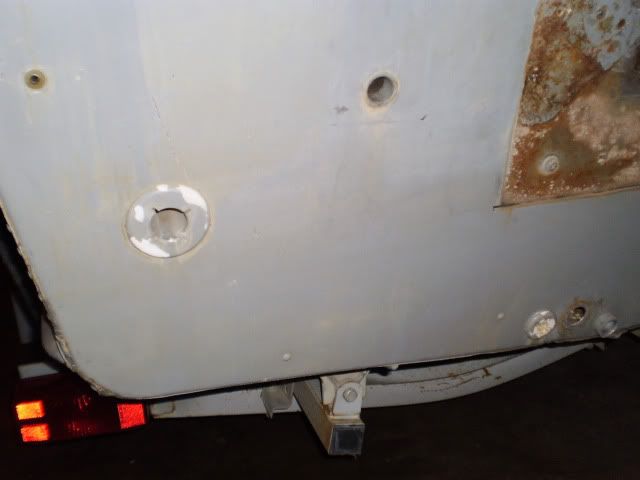
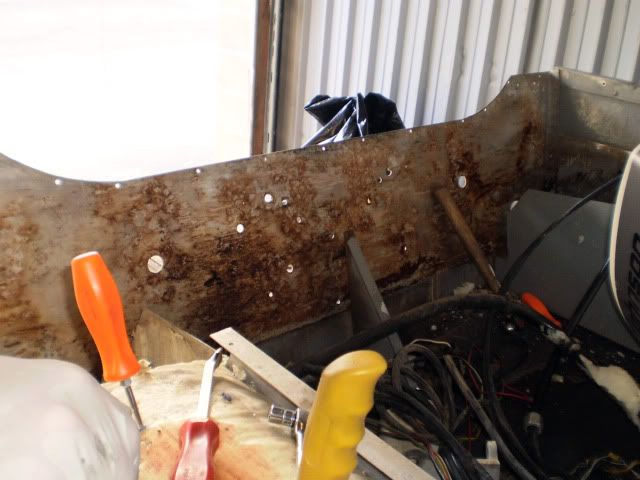
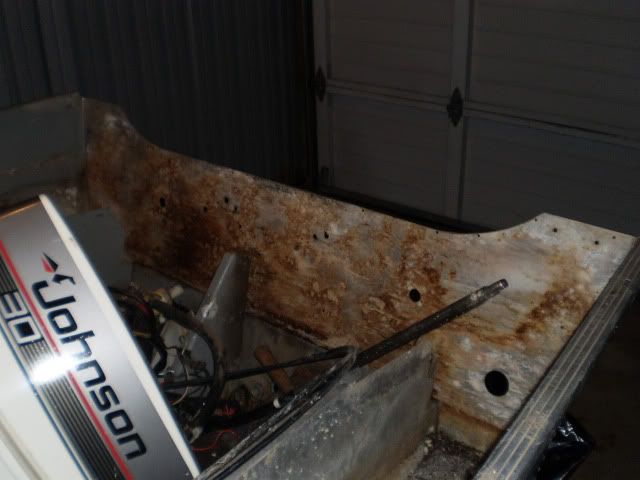
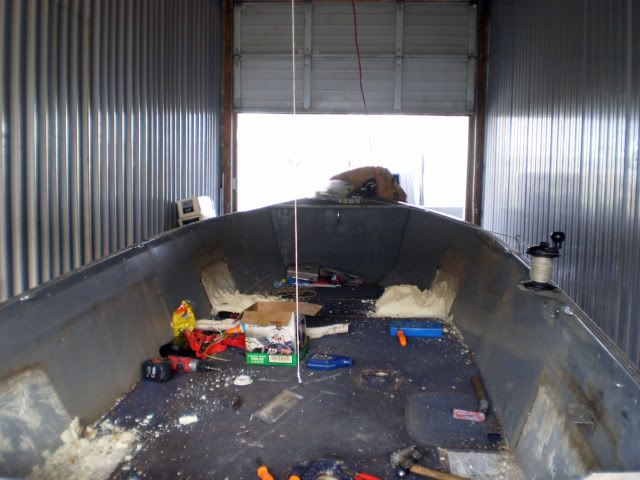
What is a good product to plug holes in the side of the hull? Apparently my Grandpa liked drilling random holes in the side of the boat...some still have screws in that nothing is attached too...I dunno. Maybe he thought it would make the boat go faster, speed holes ya know?
I think that's about it for now, the floor is actually completely out of the boat right now, but I don't have time to re size and post all those pics tonight, should be tomorrow.