hull extension in progress with pics

Status
Not open for further replies.

oops!

Supreme Mariner
Joined
Oct 18, 2007
Messages
12,932
Re: hull extension in progress with picks

Re: hull extension in progress with picks

well murphy showed up big time yesterday......

first of all....i was so tired from the marathon the day before....when i got up in th morning....i sat on the puter here at i boats tring to wake up for two hours instead of working on the boat......

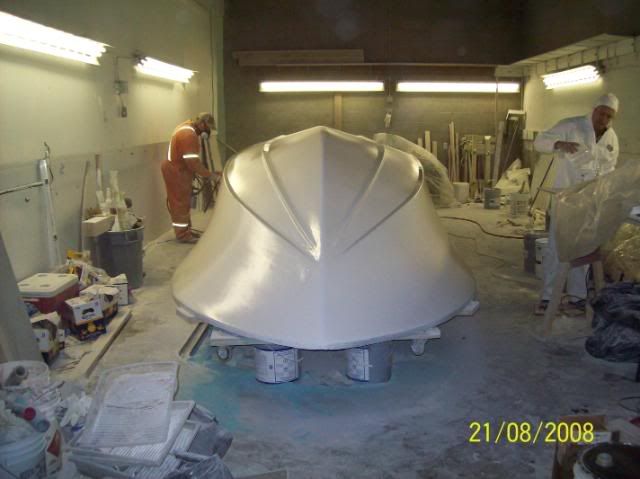
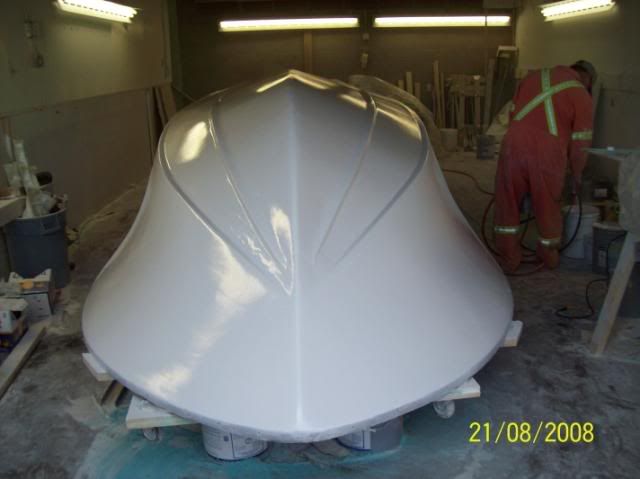
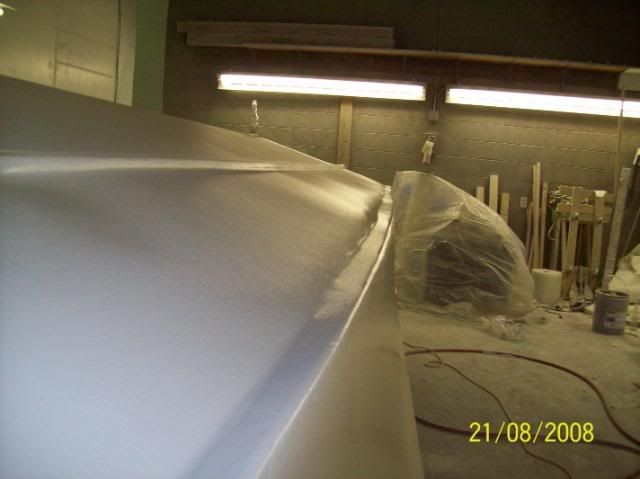
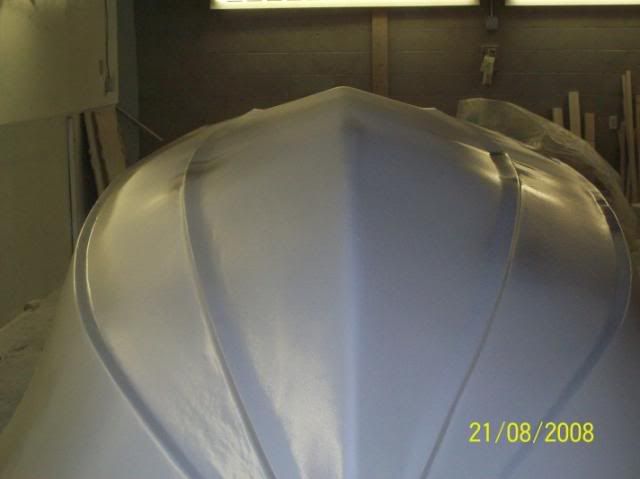
i got to the boat at around 8 30 ish and started to finish the fairing....just little touch ups......
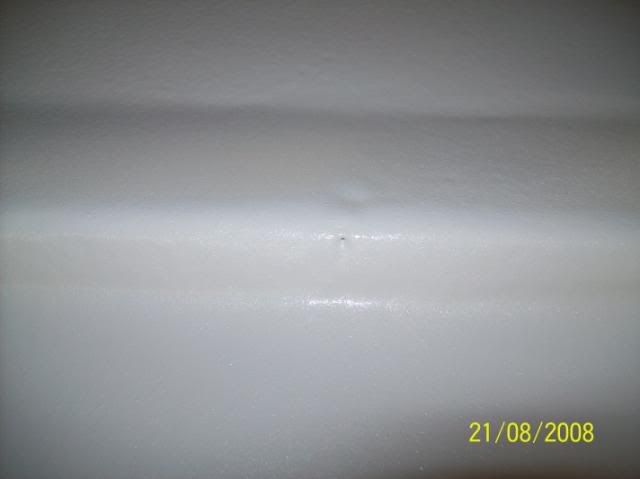
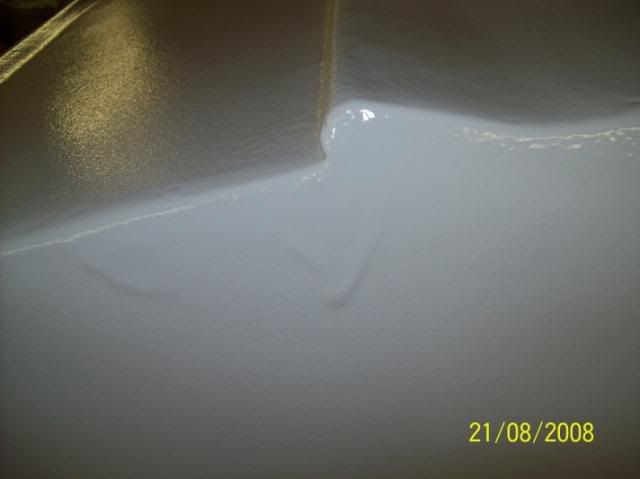
i had posted earlyer of small pinhead like spots on the hull that were appearing everywhere.......i finally figgured out it was a wax build up on the sand paper....as i sanded the poly fair...it created a wax biuld up on the paper ...it would then stick to the hull when the sand paped got hot enough....every little speck of that had to be removed.....

at noon...i had about 15 minits of work to do on the boat....but it was time to get the compressor and the gun...so i left.

i called my bud who was supplying the gun and he was late organizing the gun...so it wasnt ready.....i whipped over and grabed the compressor and some supplies i needed...(aceitone...a squeegee and more of those little measureing pails from rona.....there perfect for mixing...they have all the measurements on the side......

at 2 pm....the gun still wasnt ready so i ran to the shop in super heavy traffic to find the gellcoat guy had been and gone......

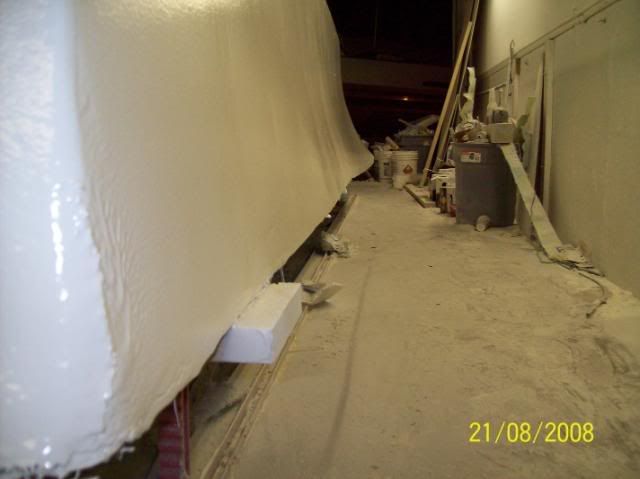
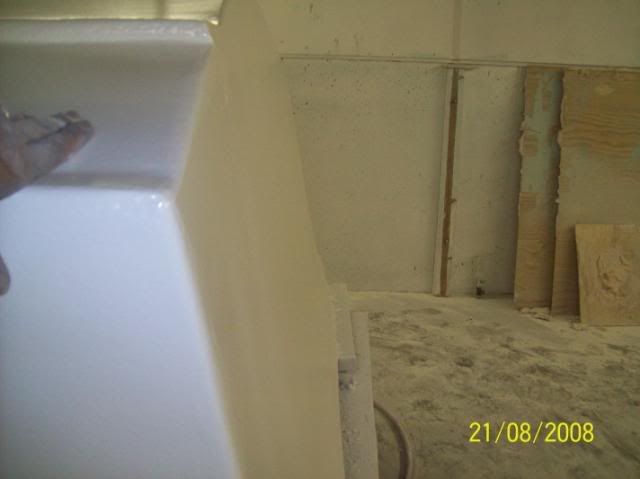
those were the white footie prints in tackelwashers first pic.
mike the gellcoat guy had left and gone to the shop where the gun was....i called him and finally he was able to pick it up...and get some more gellcoat

when he got back to the shop....i was finished the hull....and sweeping the dust from the floor...we assembled the gun....and found that the air hose fittings were not compatible....so i grabbed the part....back to the rental shop and swaped them out.......i also took the gellcoat to a paint store and had them shake both 5 gal cans of gell......(more on that in a bit).
after i got back......we tested the compressor ....and it was faulty....not enough pressure......load it up and get back to the rental shop.....after some putzing around....they gave me a super big compressor....so it was back to the shop....by then tackel washer was there....my das was pulling in and my local resin supplier was also there....a whole crew!

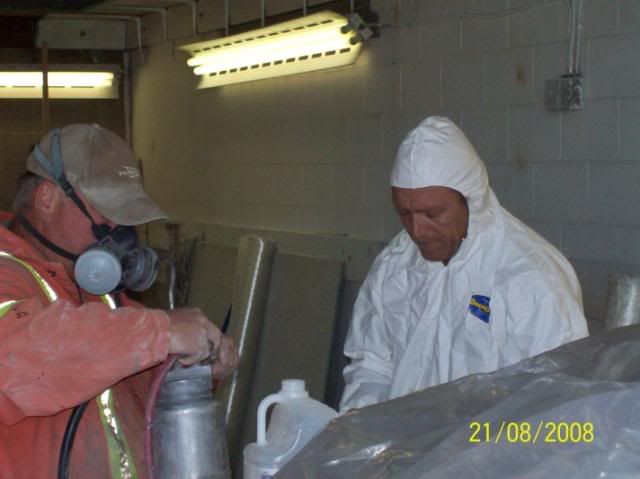
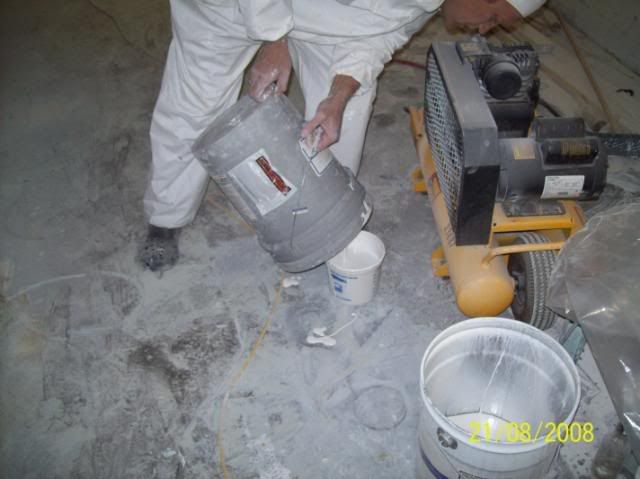
this is my local glass rep....prepping a can of gellcoat

gellcoating014.jpg


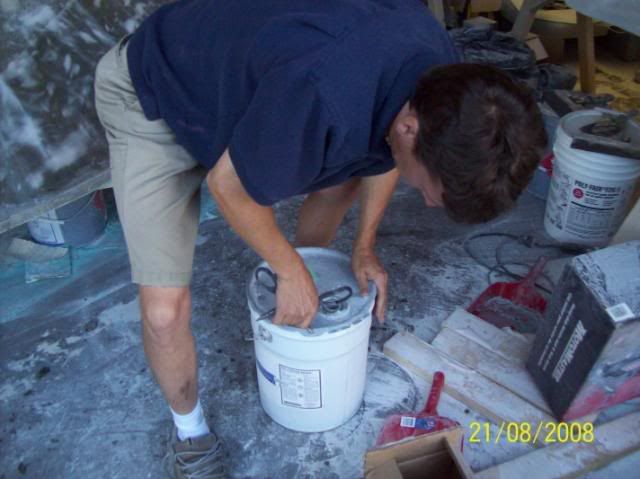
we started to assmeble everything and get ready for mixing the gellcoat

gellcoating011.jpg


its imperitive that every thing is ready....when you start the process....there is no stopping for a break....it is go till its done....then clean the stuff before it gells....its quite a process.

gellcoating012.jpg


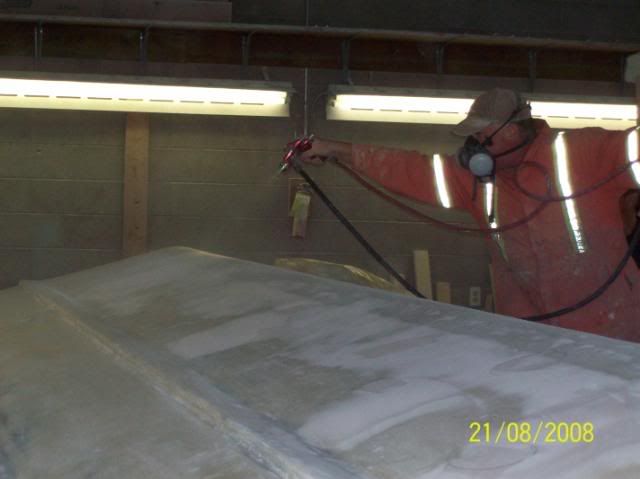
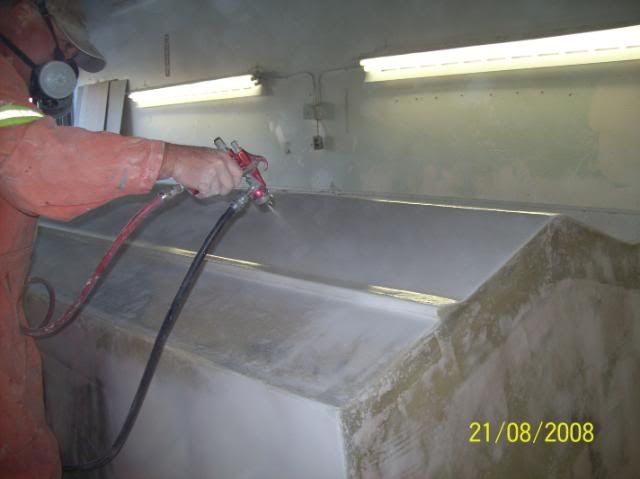
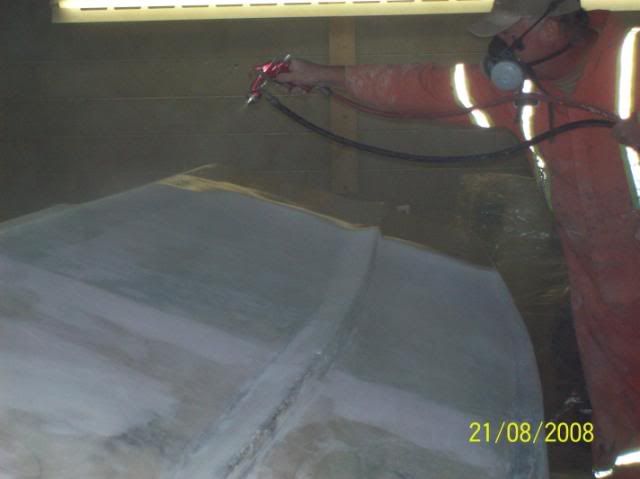
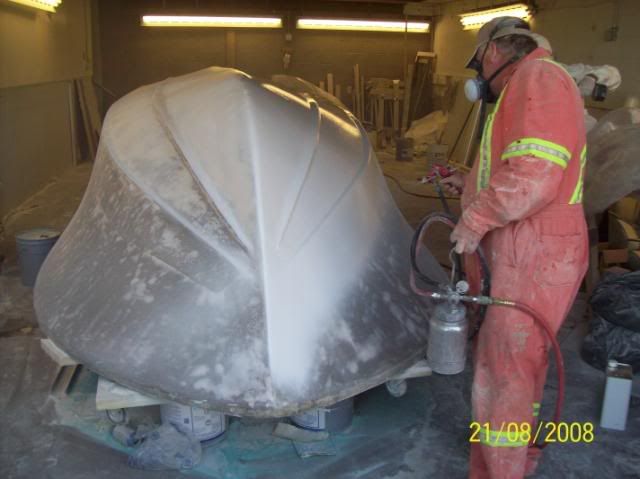
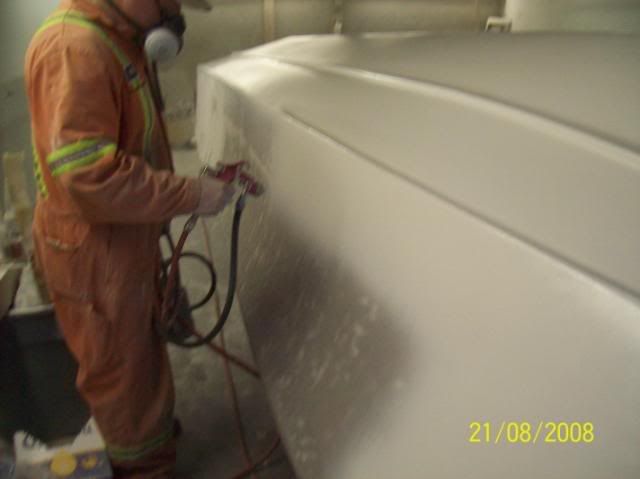
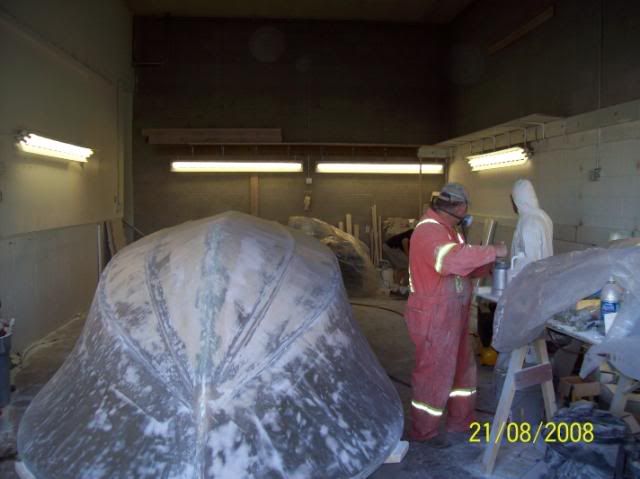
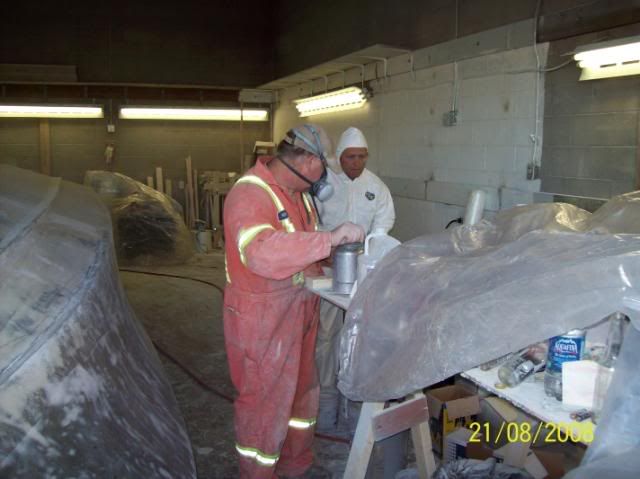
in pro boat shops....gellcoat is applied thru a special gun....this gun sprays gellcoat thru one section and another adds the catylest each componet can be individually adjusted.......

when you dont have that set up....you alpply the gell with a "hot pot"
in this pic....you can see the pot that is attached via hose to the gun

gellcoating015.jpg


hot potting is a simple process where you mix the resin and the gellcoat seperately with some aceitone (the aceitone is used as a thinner so it can go thru the gun easyer) when you are just about to spray...you mix in the catylist...and pour it into the pot......hence the name "hot pot".....once the cat is added the clock is ticking.....if you dont spray it in time...the catylist will make the gellcoat harden in the gun and the pot......if that happens....you scrap the gun...lines...and start all over.
 

zach103

Commander
Joined
Mar 11, 2008
Messages
2,233
Re: hull extension in progress with picks

Re: hull extension in progress with picks

WOW that looks great. compared to when you first started and it looked like you just threw some cardboard in there.. great job oops!!!!
 

oops!

Supreme Mariner
Joined
Oct 18, 2007
Messages
12,932
Re: hull extension in progress with picks

Re: hull extension in progress with picks

the gun we used is a HVLP....(high volume low pressure) it is the recommended gun for gellcoating.

it was my job to mix the ingrediants togeather and have then ready when the pot ran out of gellcoat.

using the drill and the mixer paddle..(the pic above tackelwasher posted).......is the cats meow......for gellcoat....mixing resin....or peanut butter....i dont think there is any other way to go

gellcoating048.jpg


finally under way....the process began.......

at this time i must add....we did not do as ondarvr suggested and add a squgeed on layer of gellcoat over the whole hull first....(the gellcoat guy was getting upset over the long delays...so much to my dismay....he decided to just spray it)......this will come back to bite me later....ondarvr was correct

gellcoating017.jpg


we wanted to go thick on the plaining surface.....suggested abount is 25-35 thousandths of an inch....our goal was to shoot 50....

this is a better shot of the gun

gellcoating019.jpg


the reason to go 50....is so when i sand to remove the orange peel left by the sprayer.....i can take lots off to get a smooth finish.

gellcoating021.jpg


the process went on ....spraying the plaining surface first...then the sides

gellcoating034.jpg
 

oops!

Supreme Mariner
Joined
Oct 18, 2007
Messages
12,932
Re: hull extension in progress with picks

Re: hull extension in progress with picks

the trick is to shoot "wet on wet"

gellcoating042.jpg


eash pass has a slight overlap

gellcoating043.jpg


you want half the spray to cover the last pass

gellcoating044.jpg


finally the hull turned white

gellcoating045.jpg


after 8 hours.....from 2 to 10 it was done.....3 hrs spraying

gellcoating037.jpg
 

oops!

Supreme Mariner
Joined
Oct 18, 2007
Messages
12,932
Re: hull extension in progress with picks

Re: hull extension in progress with picks

even tho it is done....im personally upset i didnt stick to my guns and do it like ondarvr suggested....if i had small blemishes would have been avoided.

and the hull would have been smoother.

gellcoating050.jpg


mike had 27 years of experiance....but you allways get a sag

gellcoating051.jpg


there is an area where we got a big run

gellcoating090.jpg


its about 18 ins long and quite deep

gellcoating091.jpg


we were having problems with the hoses....as they were not tapped togeather...one hose caught the corner of the transom

gellcoating085.jpg
 

oops!

Supreme Mariner
Joined
Oct 18, 2007
Messages
12,932
Re: hull extension in progress with picks

Re: hull extension in progress with picks

that was my first job ever at fairing.....and its not perfect....

there is a few wobbles in the side where the mold was.....

gellcoating085.jpg


the nose is not totally perfect

gellcoating082.jpg


the chines and strakes are ok...

gellcoating089.jpg


if we had of used ondarvrs trick....it would have turned out a lot better

the weird thing is....the transom......that i spent the least time on....came out the best.....its totally straight

gellcoating086.jpg


the plaining surface is basically straight...but you can still see some dips and glass lines

gellcoating075.jpg


after a everyone left...i walked around the boat for a half hour....feeling every inch....and dying to take a sander to it...

but ive gotta wait till it fully cures before the next step of sanding can happen

gellcoating087.jpg


cheers
oops
 

GO OVRIT

Seaman
Joined
Jul 2, 2008
Messages
74
Re: hull extension in progress with picks

Re: hull extension in progress with picks

Very impressive. I've been watching almost since the beginning and have learned a lot. I don't know whether to thank you for inspiring me, or cuss for making it look easy and giving me a false sense of ability. I guess we'll find out when I get deeper in my projects.:D I can't wait to see some sea trial pics.
 

Mike Robinson

Senior Chief Petty Officer
Joined
Jun 29, 2005
Messages
752
Re: hull extension in progress with picks

Re: hull extension in progress with picks

That is awesome Oops!

You sound a litttle dissappointed in the results. I think the boat looks great! (Don't forget you are your own worst critic)

Congratulations! :)
 

redfury

Commander
Joined
Jul 16, 2006
Messages
2,657
Re: hull extension in progress with picks

Re: hull extension in progress with picks

That is awesome Oops!

You sound a litttle dissappointed in the results. I think the boat looks great! (Don't forget you are your own worst critic)

Congratulations! :)

Agreed, and ditto'd.

Seems like no matter how much you put into it for effort, you'd end up with the same product you have now.

However, I've never read anywhere where gelcoating out of the mold looks good without the effort to sand and smooth after the fact, so don't be disheartened. It's white, and it looks like a real boat! ;)
 

Robj

Lieutenant
Joined
Mar 22, 2007
Messages
1,441
Re: hull extension in progress with picks

Re: hull extension in progress with picks

Dude,

CHEER UP!!!! From the pictures it looks great. The awesome part will come afterwards once you do a little bit of wet sanding and polishing. Runs happen, but they can be sanded out to perfection. The sad news, is you are not yet done the sanding.

My neighbour does showroom quality paintjobs on his garage. Yes at first they may not be, but with a little bit of sanding and polishing they look awesome. Better than the paintjobs most body shops do.

Go enjoy the weekend on your Bayliner. You deserve it.

Have a great day,

Rob.
 

jcsercsa

Captain
Joined
May 21, 2007
Messages
3,401
Re: hull extension in progress with picks

Re: hull extension in progress with picks

congrads buddie !!! she really does look great !! even with the little sanding you have to fix !!!! that is just to cool !!! John
 

240sx4u

Petty Officer 3rd Class
Joined
Jul 21, 2008
Messages
80
Re: hull extension in progress with picks

Re: hull extension in progress with picks

Oops, looks great. You could not do any better without spraying primer and guide coats to see the dips etc.. which would have been a nightmare.

I am not surprised the transom came out so well, smaller area and I have found when I overwork areas they don't get much better (auto body).

Congratulations buddy, after you get it shining you will be a happy camper.

Evan
 

oops!

Supreme Mariner
Joined
Oct 18, 2007
Messages
12,932
Re: hull extension in progress with picks

Re: hull extension in progress with picks

Man I can't wait to see it OOPS!
geek.gif

turtle.....that is just hillarious :D

That is awesome Oops!

You sound a litttle dissappointed in the results. I think the boat looks great! (Don't forget you are your own worst critic)

Congratulations! :)

thanks guys.....i am dissapointed...two reasons.....first of all .... i worked my butt off for months to get it straight....because of the different colors of the hull/filler/light in the room....it didnt come out straight enough.

the second reason.....ondarvr told how to fix it in a jiffy.! a 5 minit step !
because of frustration on the gellcoaters part, and nay saying by the local rep....i was disuaded from doing what i KNEW what was right.....because of this wrong decision. it will take many more hours of sanding to make it straighter, however....that super straightness will now, more than ever be elusive.

I am not surprised the transom came out so well, smaller area and I have found when I overwork areas they don't get much better (auto body).

Congratulations buddy, after you get it shining you will be a happy camper.

Evan

again thanks for all your support guys.....i really appreciate it.

the transom was done in just a few minits with a sander/buffer and 40 grit...then a long board. as opposed to the hull and the sides.....which was blood sweat and tears.

its funny.....when i was long boarding the sides.....every once in a while i would take the up stroke too far.....when i started the down stroke (with all my weight and stregnth on the long board, it would slip off the top of the side.....and i would punch the chine area with mu hand.....just about broke my hand several times........the swelling is starting to go down :)

again thanks for all your positive support....i couldnt have done it with our you guys ! :)


......ok......depending on the weekend......(boating weather).....i might take the weekend off.....or go start sanding the gell and making it all shiney !

but what ever happens....i have a new camera....(4th) so the pics will be comin fast and furious.

cheers
oops
 

SnappingTurtle

Lieutenant
Joined
May 4, 2008
Messages
1,251
Re: hull extension in progress with picks

Re: hull extension in progress with picks

There is light at the end of the tunnel!

You took on a monumental task, and it is slowly coming to an end. I told you could do it, and I couldn't be happy for you at this moment.

Don't let the little things cloud what you have accomplished. Take the weekend off and enjoy yourself.

Come back next week with a fresh head, free from fiberglass dust, and fill it new with gelcoat dust. Ha! You still have to sand some more! :rolleyes:

I hate sanding OOPS, but if I was just a little closer, I would come help. The rest of the sanding is the fun part. :) It will just get prettier and prettier as you go. :D

Cheers,
SnappingTurtle
 

oops!

Supreme Mariner
Joined
Oct 18, 2007
Messages
12,932
Re: hull extension in progress with picks

Re: hull extension in progress with picks

off to a local football game tonight....then to the boat.......gonna start with 100 g on a buffer......see what happens......
 

redfury

Commander
Joined
Jul 16, 2006
Messages
2,657
Re: hull extension in progress with picks

Re: hull extension in progress with picks

So, is the plan to completely finish the hull, then re flip it and start on the cap then?
 

Robj

Lieutenant
Joined
Mar 22, 2007
Messages
1,441
Re: hull extension in progress with picks

Re: hull extension in progress with picks

I am by no means an expert on this, but IMO 100 grit is too coarse for what you are trying to achieve. 100 would cut through the gelcoat to bare hull in no time. I was thinking starting with 220 grit, wet. Maybe Ondarvr (the iboats gelcoat and fibreglass expert) can chime on how best to finish it.

Have a great day,

Rob.
 

CN Spots

Lieutenant Commander
Joined
Oct 19, 2005
Messages
1,612
Re: hull extension in progress with picks

Re: hull extension in progress with picks

I agree. I used 180 today longboarding the fenders on my truck and it cut through sprayable filler pretty fast. Even if you don't cut through the gelcoat 100 will put some deep scratches in it that you'll have to work harder with lighter grit to remove. At this stage, I would start with 400, by hand, and see what happens. Easier to take a little more off than to put some back.

And I'd retire the grinder for now. Seems a bit too aggressive and uneven.

It WILL look great when you're finished. If you can cleave a boat in half with a chainsaw, stretch it and glue it back together again... slicking out some runs & orangepeel should be gravy.;)
 

ne7800

Lieutenant Junior Grade
Joined
Jul 10, 2008
Messages
1,195
Re: hull extension in progress with picks

Re: hull extension in progress with picks

100 grit :eek: I work in the auto boudy repair field and we sand out orange peal and runs in in the clear coat with 1200 grit wet personaly i would not go any ruffer than 600 grit other wise you will never get the sanding marks out
 

redfury

Commander
Joined
Jul 16, 2006
Messages
2,657
Re: hull extension in progress with picks

Re: hull extension in progress with picks

I do hardwood floors for a living, we STOP at 100 grit when we sand the floors. I use 150-180 grit drywall screens to smooth out the floor. If you were going to paint the hull again, then you could probably get somewhere with 150 grit, but if you are going to polish the gel coat to smooth, I'd use 400 grit wet sanding to start. I used that on the orange peel I got from rolling the paint on my topper and it really did a good job smoothing it out.

However, Gel Coat is much harder than paint, so you may end up in the 220 grit range to get it worked down. However, I've never tried to sand Gel coat, so I can only advise based on my experiences with other finishes. I think wet sanding will probably be the most effective and easiest on you physically.

What I found worked awesome for keeping my surface wet was using the "mist" setting on a garden hose wand with a squeeze trigger ( cost 8 bucks ). It puts out enough water to keep your sand paper clean without dousing the hull with too much water, plus it has the reach to cover a large area and has a pivoting head. ( you may want to consider getting some gutter material and making a trough for the water coming off the hull to drain into and out of the shop ):cool:
 
Status
Not open for further replies.
Top