I bought a project. On purpose.

PatinIdaho

Chief Petty Officer
Thread starter
Joined
Oct 7, 2014
Messages
451
Thanks. 1708 it is.
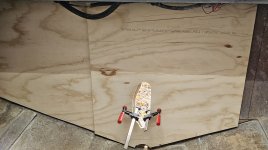
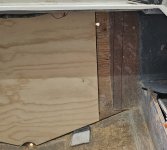
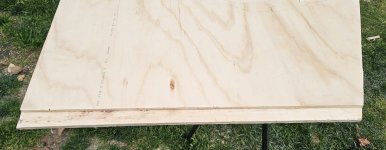
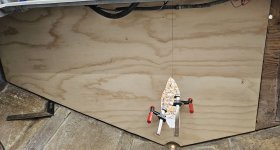
Got the transom plywood cut and fit today
Took most of the day. In and out of the boat about what seems like 100 times trying to get the fit just right.
Been thinking about how i can get the transom installed and i think i have a workable idea.
There is almost enough holes already i could use SS screws with big washers to clamp the wood to the fiberglass. I would need to add maybe 10 more holes.
Then use 1 or 2 heat blankets on the outside with a piece of 1 in thick pink insulation to keep the heat in.
On the inside, crank the Diesel heater up and keep the inside warm.
I would think overnight would be enough.
20261107_132623.jpg20261107_123514.jpg20261107_131406.jpg
 

Attachments

  • 20261107_120636.jpg
    20261107_120636.jpg
    2.6 MB · Views: 3

bakerjw

Chief Petty Officer
Joined
Apr 3, 2013
Messages
412
Long post.
The biggest thing to watch out for is air gaps between the plywood and the existing fiberglass of the hull. On my first transom replacement, I clamped mine with what I thought was more than sufficient force and ended up a with a handful of voids. The inner hull surface was not as flat as I had assumed. Once water got into one of them, it got into all of them eventually. That was 13 years ago. First rebuild transom clamp pics are at the bottom.

This second time, I screwed the Coosa boards together and after the epoxy set, I removed the screws from the inner surface. This gave many air vents to allow any void pockets to bleed out. I marked areas where the inner surface of the hull was low and required additional epoxy. When I started putting the new transom in place, I then troweled thickened epoxy over those areas. The transom and hull surface was then covered in a less thick coat of epoxy. As you can see in the link below, I then started clamping from the bottom and the outer edges. I was able to pour some regular epoxy between the hull and transom and tap it to get it to flow deeper and then continue tightening all of the all thread used as clamps. Hard to explain. As I proceeded, epoxy started to ooze out of the screw holes and when any air stopped coming out, I put screws back into the holes. Like bleeding brakes. It took a while but when I got to the top and center of the transom, epoxy (think and runny) was oozing out. Everything was clamped extremely tight.

Long story short, make sure that you keep an eye on hull imperfections and focus on getting them full filled.

This link shows how I clamped it the second time around.

From the first rebuild.
DSC04369Medium.JPGDSC04371Medium.JPG
 

PatinIdaho

Chief Petty Officer
Thread starter
Joined
Oct 7, 2014
Messages
451
I can't clamp mine like that.
I will drill a bunch of 1/4in holes in the wood for squeez out
Ok, screws/washers will not be sufficient. I was second guessing that anyway.
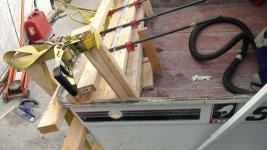
I can drill more holes and bolt the new wood to the transom with 3, 2x6s running horizontally on the inside for clamping pressure.
The outside needs to be relatively flat so a heat blanket can rest against it.
I think using 3/4in, 4x4 square plywood pieces would spread the clamping pressure out on the outside, and in some of the existing holes, use screws/washers for added clamping.
 

PatinIdaho

Chief Petty Officer
Thread starter
Joined
Oct 7, 2014
Messages
451
Here is a question I don't fully understand.
When sealing the plywood with vinylester laminating resin.
I apply 1 coat, then let it soak in and apply a 2nd coat.
Then can i let it dry and install a few days later, or do i need to install right away?
 
Top