drewpster
Commander
- Joined
- Oct 17, 2006
- Messages
- 2,059
Re: My tri-hull transom replacement w/ pics
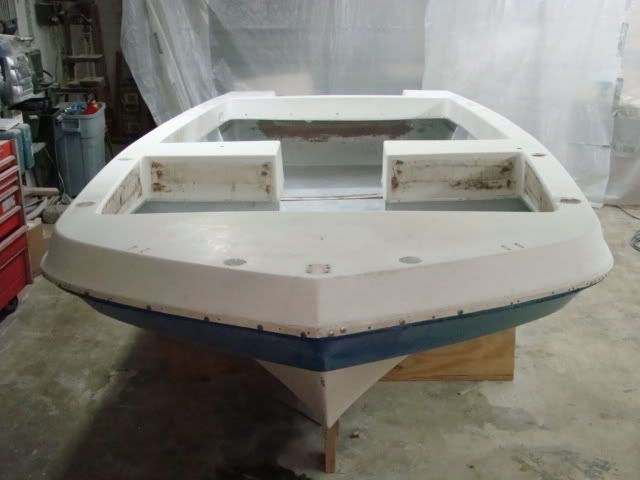
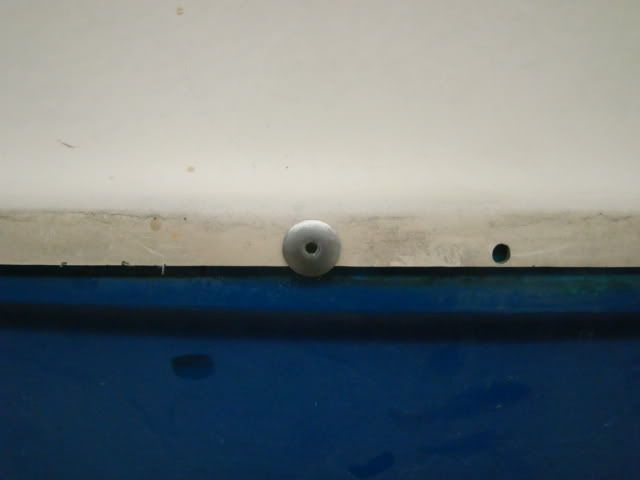
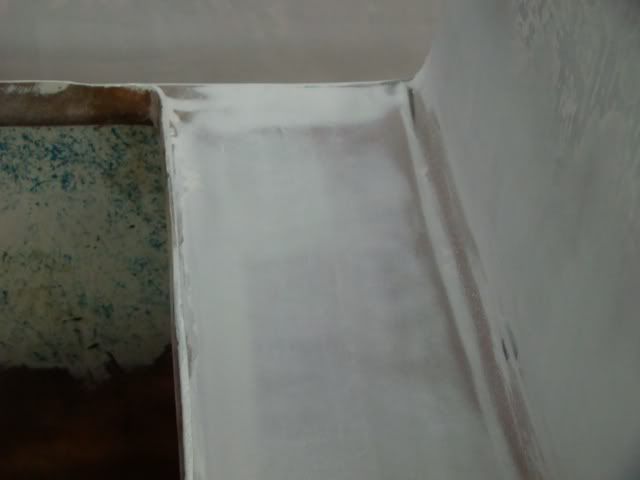
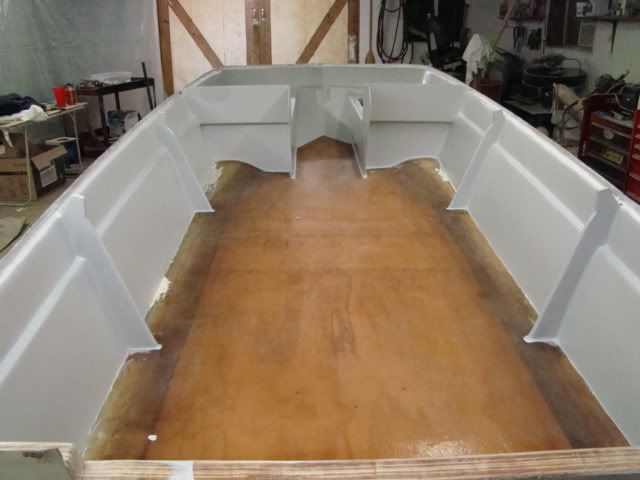
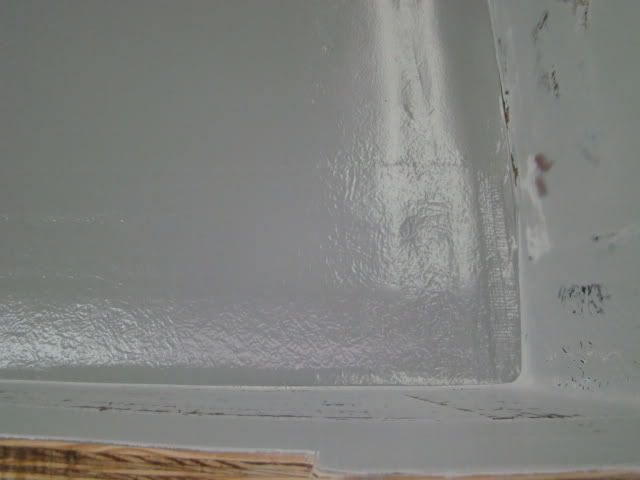
I got the first coat of primer all sanded. The way this stuff sands out is why I like it so much. After some passes with 150 grit and some hand sanding in the corners the surface feels like talcum. Baby butt smooth! I did see some flecks of roller sponge in the cured surface of the primer. If you look closely you can see them in the pic below. Well no big deal, I'll sand it out and use the right rollers for the paint.
I used a pretty aggressive grit to do the initial sanding. I know 150 is a bit steep. The primer calls for 220 but this stuff was curing a week before I started to sand it. I was careful but 220 was just going to slow. Here is how it looked after a little work with a sander and by hand. If you use care speed is possible. I sanded all of the primered areas out and had a second coat on in just a few hours.
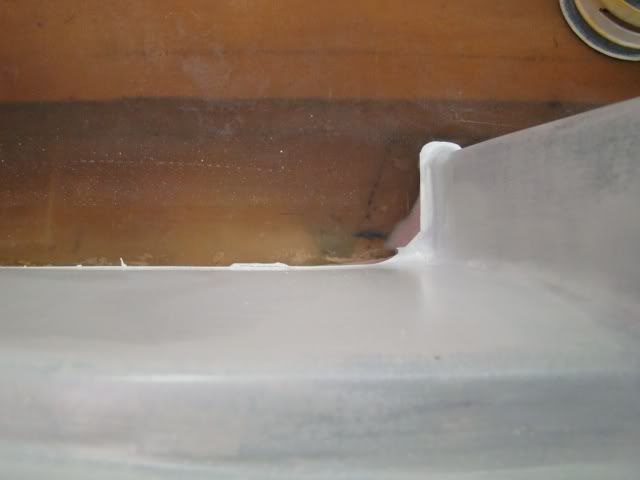
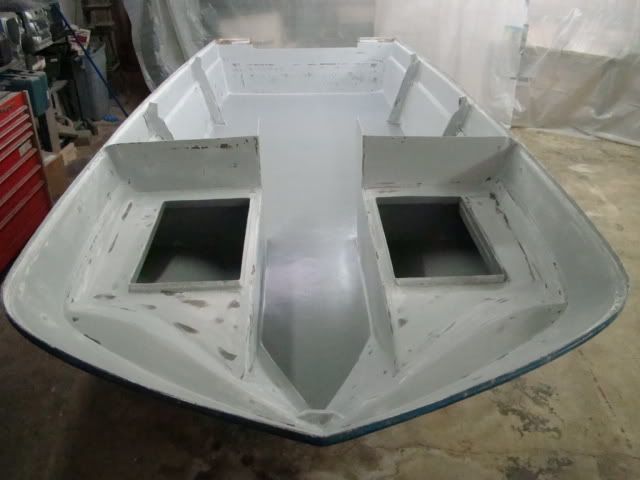
Before starting the application of the second coat of primer I decided it was time to get some gelcoat inside the seat boxes. This was a bit of an experiment to see how the US Comp gelcoat was going to tint and roll down. The small pint can of tint should go a long way. Just a few drops in the batch of gelcoat yielded the gray color I was looking for inside the boxes.
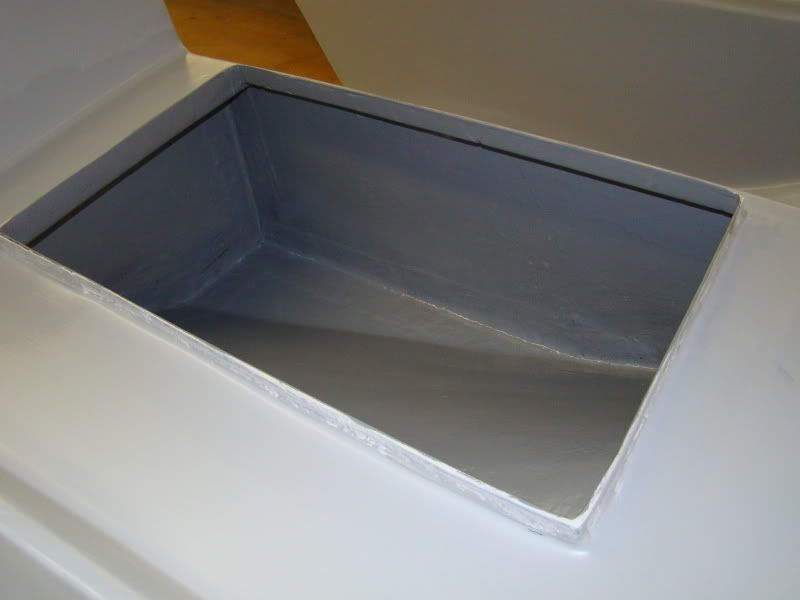
It will need a second coat so I did not add any wax or use PVA on the first coat. I kicked the gelcoat with the normal amount of mekp, instead of the recommended double amount. It made the gelcoat stay in the pan longer which gave me more time to get it rolled in all those tight corners. Again I used a plain old roller and a cheap brush. I left the insides rough anyway so the gelcoat is for protection rather than finish.
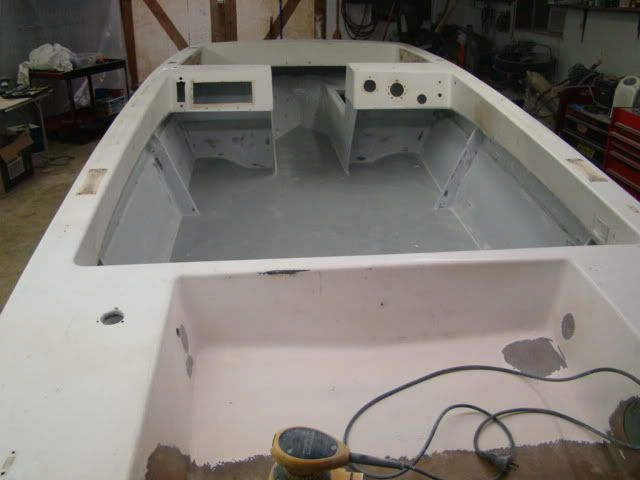
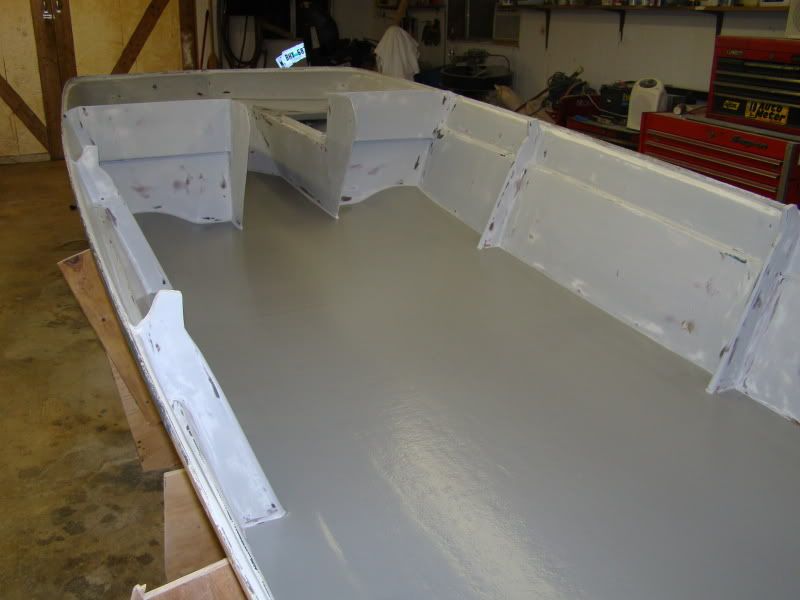
Since I was playing around with the tint anyway I decided to add a little gray tint to the next primer coat. I would have worked better as a guide in the first layer, but this will do. The second coat of primer went on much smoother and covered much better than the first coat. If the paint goes this well I will be more than happy.
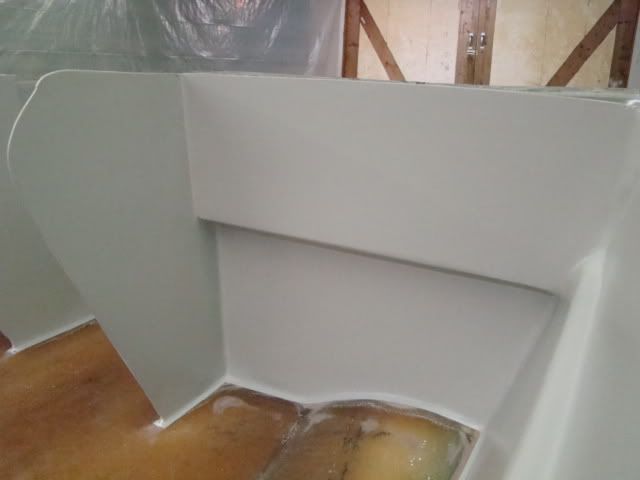
You can see some variations in the color here because I just eyeballed the tint in the two batches of primer I mixed up. I will try to be more accurate when I tint the gelcoat for the deck.
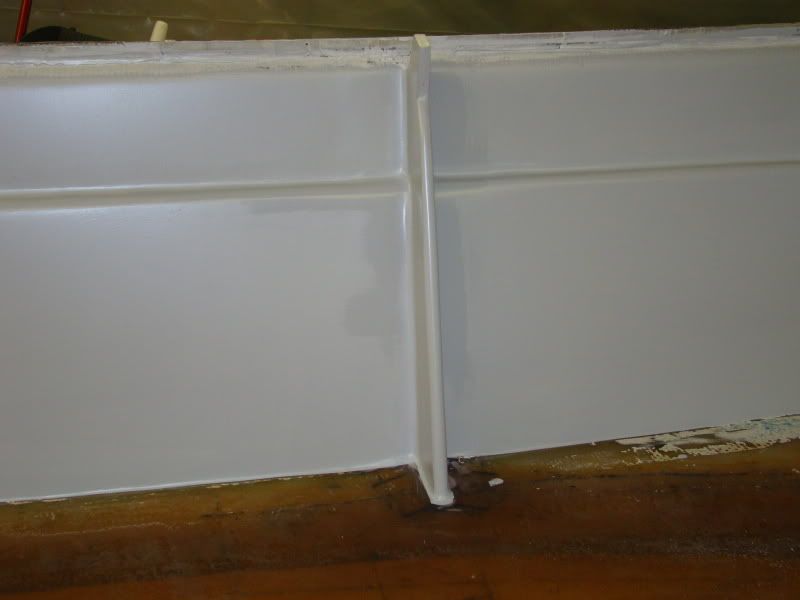
This stuff covers great. I still had some small pin holes in the first layer of primer. After the second went on those holes are gone. I will be glad to avoid the filler for awhile. Lets hope those pin holes don?t show back up after this coat gets sanded.
So far I have not seen any major defects I cannot live with. I did not say there aren't any, just that they are livable.
I got the first coat of primer all sanded. The way this stuff sands out is why I like it so much. After some passes with 150 grit and some hand sanding in the corners the surface feels like talcum. Baby butt smooth! I did see some flecks of roller sponge in the cured surface of the primer. If you look closely you can see them in the pic below. Well no big deal, I'll sand it out and use the right rollers for the paint.
I used a pretty aggressive grit to do the initial sanding. I know 150 is a bit steep. The primer calls for 220 but this stuff was curing a week before I started to sand it. I was careful but 220 was just going to slow. Here is how it looked after a little work with a sander and by hand. If you use care speed is possible. I sanded all of the primered areas out and had a second coat on in just a few hours.
Before starting the application of the second coat of primer I decided it was time to get some gelcoat inside the seat boxes. This was a bit of an experiment to see how the US Comp gelcoat was going to tint and roll down. The small pint can of tint should go a long way. Just a few drops in the batch of gelcoat yielded the gray color I was looking for inside the boxes.
It will need a second coat so I did not add any wax or use PVA on the first coat. I kicked the gelcoat with the normal amount of mekp, instead of the recommended double amount. It made the gelcoat stay in the pan longer which gave me more time to get it rolled in all those tight corners. Again I used a plain old roller and a cheap brush. I left the insides rough anyway so the gelcoat is for protection rather than finish.
Since I was playing around with the tint anyway I decided to add a little gray tint to the next primer coat. I would have worked better as a guide in the first layer, but this will do. The second coat of primer went on much smoother and covered much better than the first coat. If the paint goes this well I will be more than happy.
You can see some variations in the color here because I just eyeballed the tint in the two batches of primer I mixed up. I will try to be more accurate when I tint the gelcoat for the deck.
This stuff covers great. I still had some small pin holes in the first layer of primer. After the second went on those holes are gone. I will be glad to avoid the filler for awhile. Lets hope those pin holes don?t show back up after this coat gets sanded.
So far I have not seen any major defects I cannot live with. I did not say there aren't any, just that they are livable.
")