Oh no. Here I go again.......

tgp***

Senior Chief Petty Officer
Joined
Oct 18, 2009
Messages
768
I wonder if I could use this 1.5" aluminum radiator hose elbow. May be cheaper than having it welded.
JEGS Performance Products 511175 Radiator Hose Connector $20
$_35.JPG
 
Last edited:

Watermann

Starmada Splash of the Year 2014
Joined
Jan 12, 2013
Messages
13,822
I would think for fuel flow into the tank something with more of a sweep would be best rather than a hard 90.
 

dozerII

Admiral
Joined
Oct 25, 2009
Messages
6,527
Check you local auto parts store for 1.5"pre-bent aluminized exhaust elbows, most have them on press bent and Jegs has them on mandrel bent, less than $10.
 

tgp***

Senior Chief Petty Officer
Joined
Oct 18, 2009
Messages
768
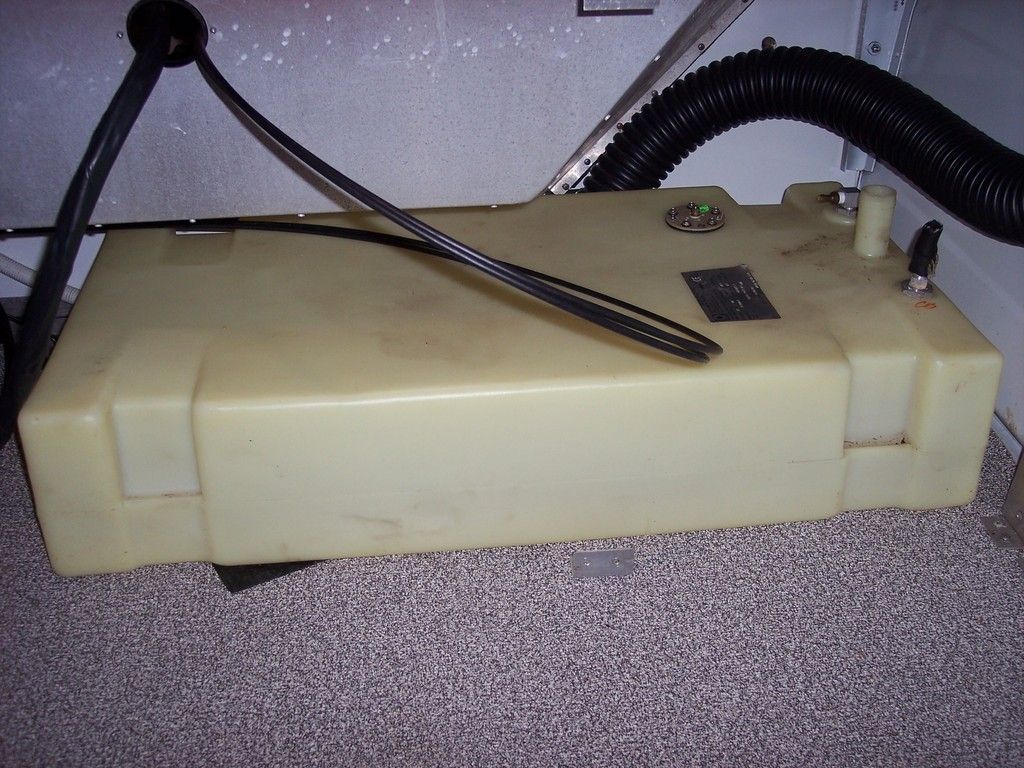
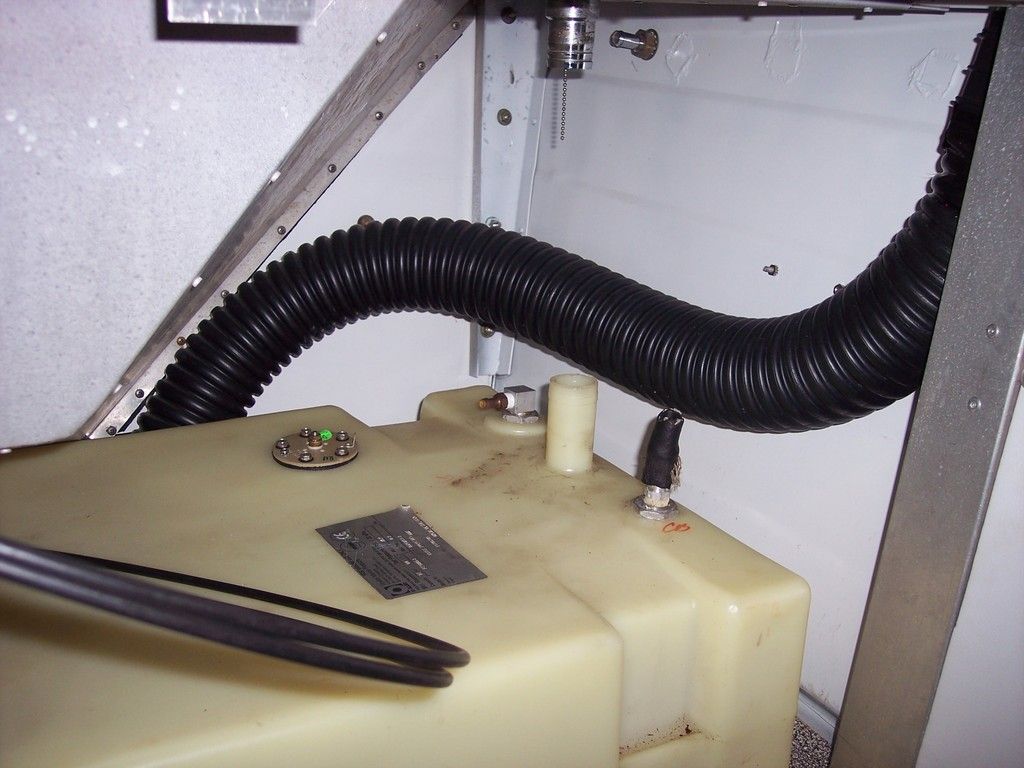
Ok, I've moved on. Tank #3. Poly Moeler 17 gallon. Horse trading has me in this for $0, plus cash in the pocket!! (Even appears to have a new sending unit).

Lines up much better, just hope that the fuel filler hose has enough flexibility to make a slight "s" bend as it does not line up perfectly (a couple inches off).

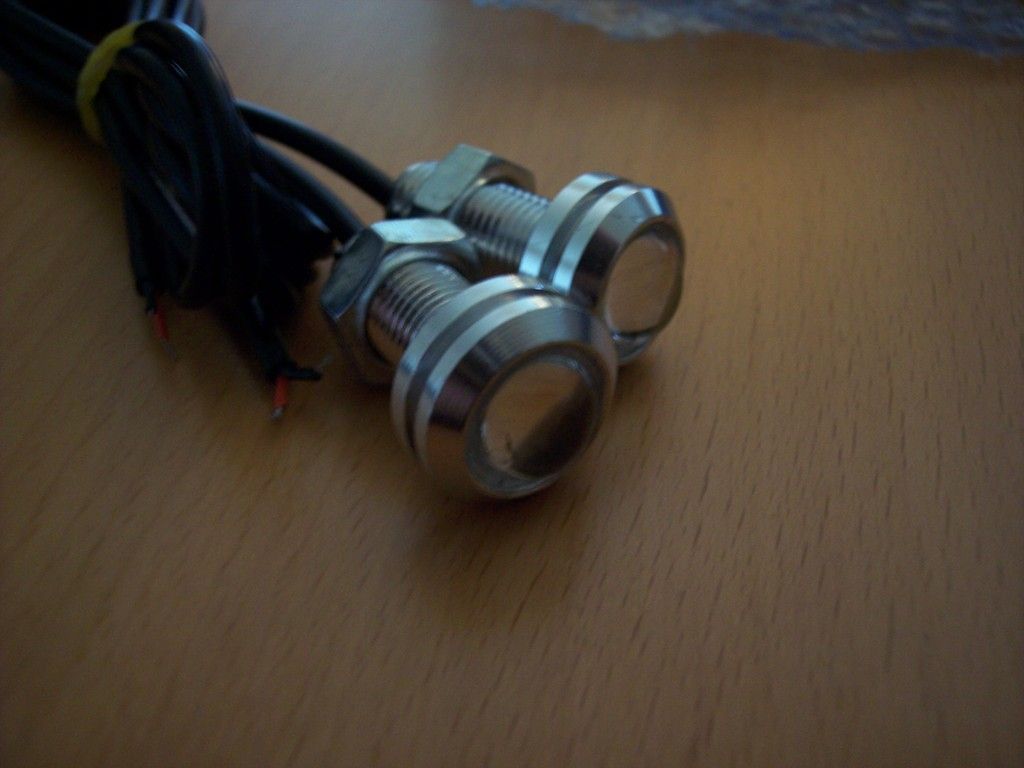
Then check out my LED bolts for my interior courtesy lighting I picked up. 9 watts @ 110 lumins per unit. 10 for $14 ebay. May need to get some for the Nassau!

Units to be placed at strategic locations in vessel.:cool:


64osby

Admiral
Joined
Jul 28, 2009
Messages
6,826
LED's look nice be interesting to see them lit up.

Is your hose going to fit on that inlet?
 

tgp***

Senior Chief Petty Officer
Joined
Oct 18, 2009
Messages
768
LED's look nice be interesting to see them lit up.

Is your hose going to fit on that inlet?

Curiosity killed the cat.:D They're Bright! When I get some mounted up I'll do an "in the dark photo" and post it up. The bolt mount will make it slick for where ever I want to put them. Maybe this weekend if I get some time.

As far as the hose goes, it appears to be a 1.5" so I should be good. Got'ta buy some new hose, although, I may have used piece that might work, I have to look.
 

tgp***

Senior Chief Petty Officer
Joined
Oct 18, 2009
Messages
768
Not the best picture, but, this is just 1 LED sitting on the floor of the boat.
 

tgp***

Senior Chief Petty Officer
Joined
Oct 18, 2009
Messages
768
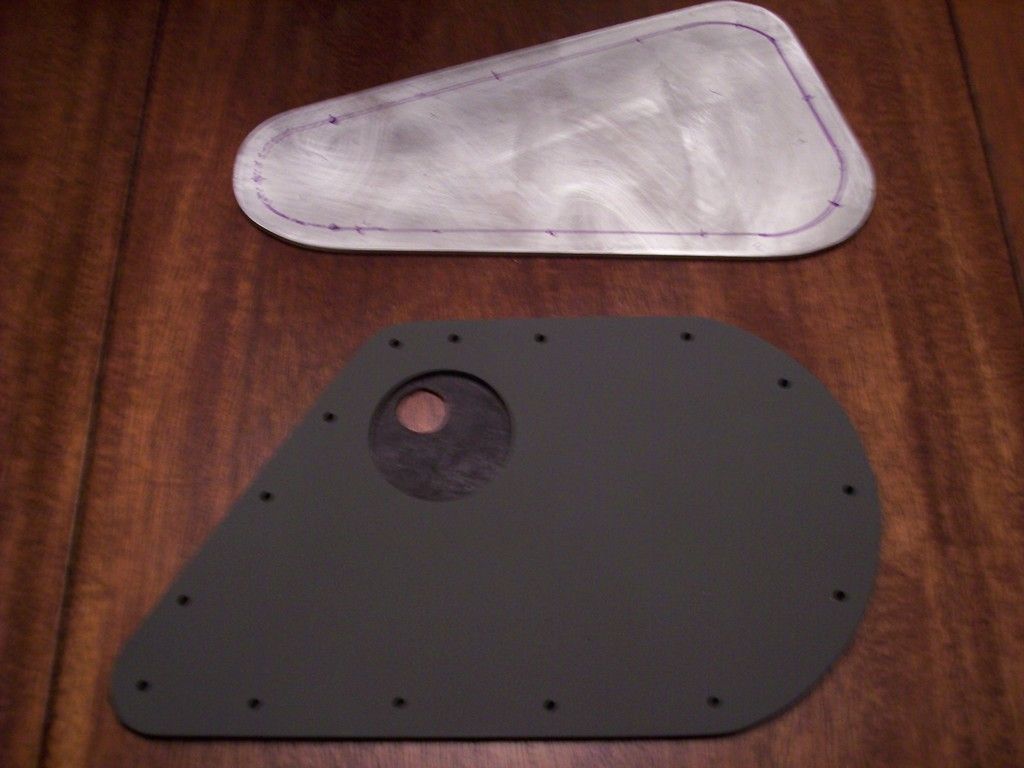
Ignored the spring clean-up outside this afternoon. With an old No Parking sign, a vintage WEN saws-all, and a hand drill, I fab'ed up 2 panels. 1 for the steering cable (had move it because it was so off from the old post mount on the transom (see old pictures) it just didn't line up, I'm going thought the title tube this time.). and a panel for the fuel filler to move it ,so it lines up (still need to put a big hole in it).
And that's an all afternoon job! :facepalm:Yikes! I must be getting old.
 

Watermann

Starmada Splash of the Year 2014
Joined
Jan 12, 2013
Messages
13,822
Doing it right once usually takes less time than doing it wrong on the first shot and having a do over.

Lookin good!
 

tgp***

Senior Chief Petty Officer
Joined
Oct 18, 2009
Messages
768
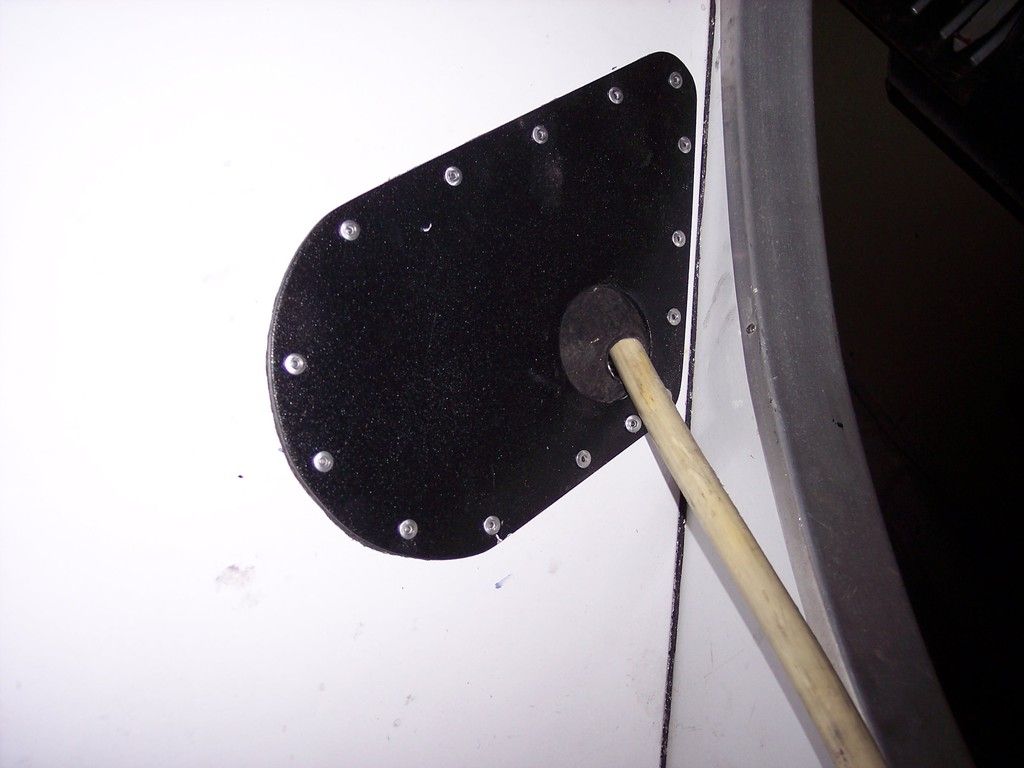
Finished my parts and cut new locations for the steering cable and fuel fill, then installed part. Inching closer and closer to the end.


Watermann

Starmada Splash of the Year 2014
Joined
Jan 12, 2013
Messages
13,822
The finishing touches are always fun to work on, in fact I'm still doing it! Looks great, I like the protection bib idea on the fuel filler :thumb:

Man my hats off, you used straight head screws and nuts on the that fuel filler cap, you must be pretty darn limber. I took the easy way out and had ordered some counter sunk head blind rivets for my finishing touch items that needed fastened to the gunnels. Everything got rivets, right down to the nav lights!
 

tgp***

Senior Chief Petty Officer
Joined
Oct 18, 2009
Messages
768
The finishing touches are always fun to work on, in fact I'm still doing it! Looks great, I like the protection bib idea on the fuel filler :thumb:

I just noticed looking at the new photo compared to the old photo. I have the fuel fill turned the wrong way.:facepalm:
 

Watermann

Starmada Splash of the Year 2014
Joined
Jan 12, 2013
Messages
13,822
Even a SOTY winner makes a few mistakes along the way. :lol:

I say leave it and if someone by chance mentions it out there, just tell them your left handed and would rather not have any fuel spillage go into the environment. :rolleyes:
 

tgp***

Senior Chief Petty Officer
Joined
Oct 18, 2009
Messages
768
forum is acting weird tonight when posting.
 
Last edited:

tgp***

Senior Chief Petty Officer
Joined
Oct 18, 2009
Messages
768
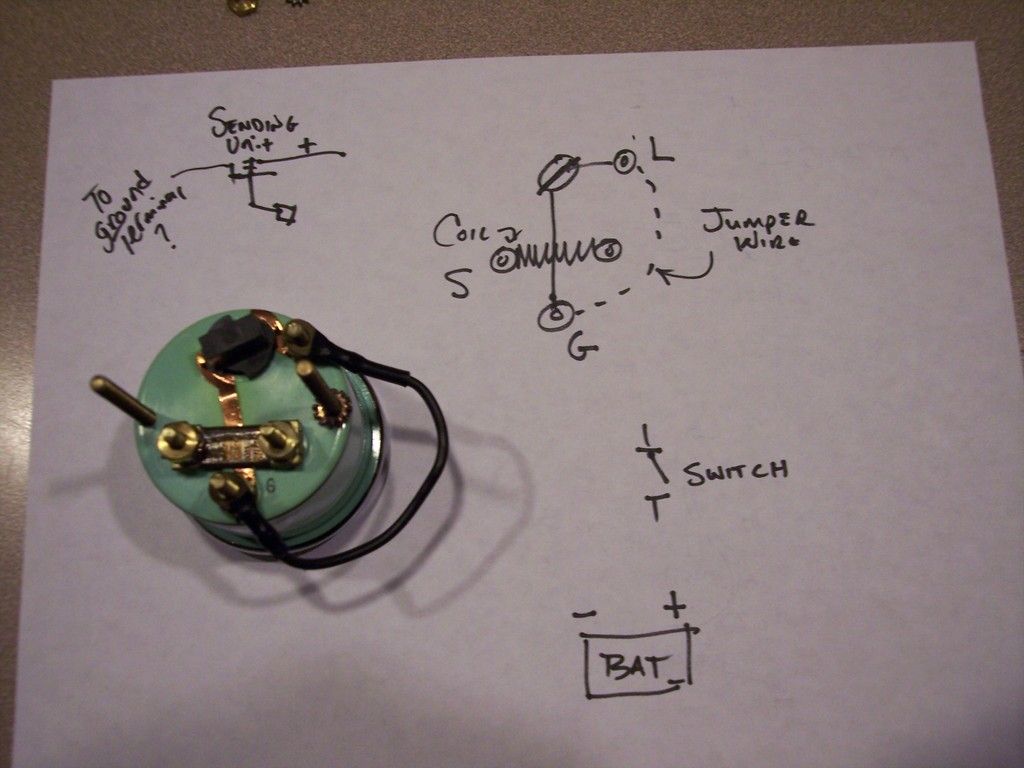
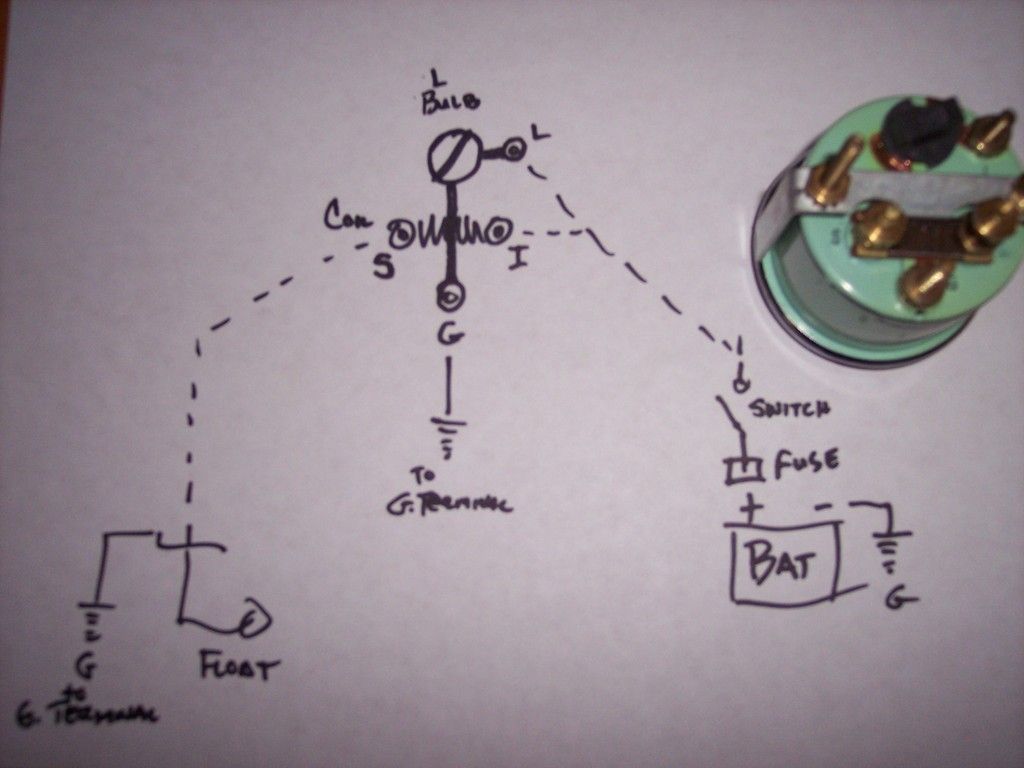
Need a little assistance w/ a fuel gauge I got w/ no wire instructions with it (it was cheep $6 ebay)
I want to add a switch so I can just power it up when I want to check the fuel, should I add a separate fuse too or just run off and existing?
How do I wire this one? Diagrams online have an "I" terminal for Ignition, this one does not.
Your help is appreciated as always.


Last edited:

SigSaurP229

Commander
Joined
Oct 1, 2008
Messages
2,123
Not sure why there is a jumper wire from light to ground. I actually have to look at mine in the morning anyways. What brand gauge is it?

Here is my opinion just studying the gauge.

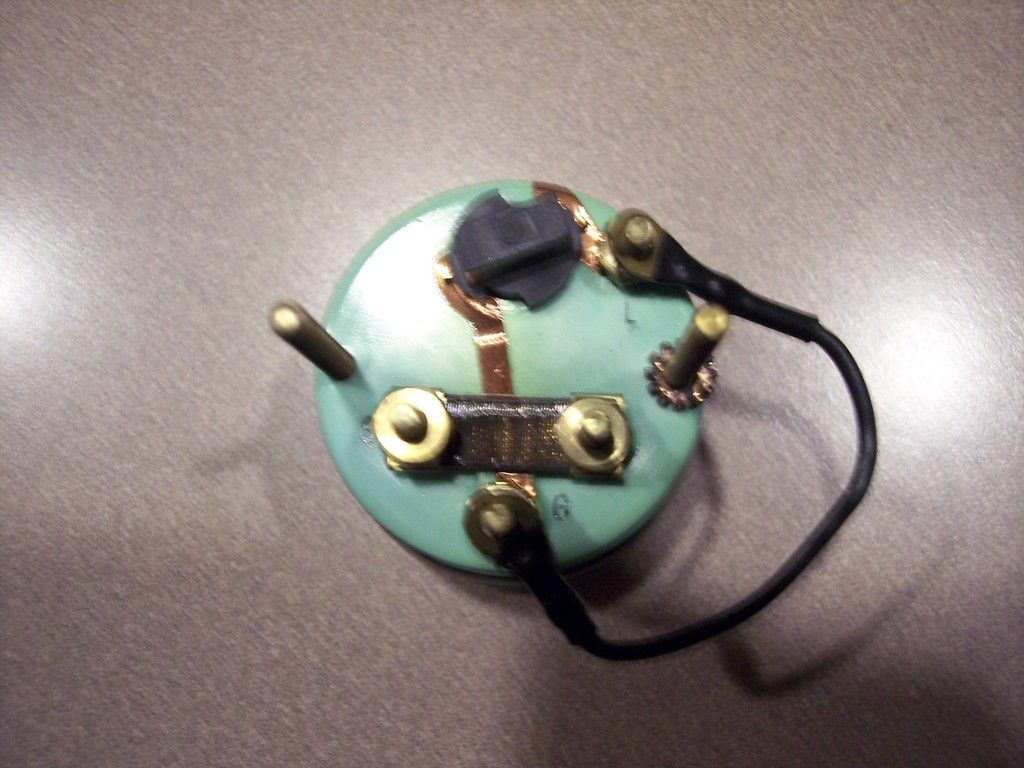
Just My opinion only from studying it. Back light positive only to the L terminal. Ground to the G terminal. It appears as if the gauge is already jumpered from the g terminal to the backlight ground. So I would run my primary gauge ground to the G terminal on the gauge.

The sender to the terminal marked S that you have in your hand drawn diagram.


The backlight needs both positive and negative to work, that jumper is connecting negative to negative so the backlight won't work.

I have my backlights wired to my running light switch so that they only come on when I turn the running lights on.

I.e. All of my backlight gauge grounds wired in Series to ground terminal bus bar.

All backlight positive wired in series to running light switch through fusible link.

All gauge positive wired in series to ignition through fusible link (in box labeled).
 
Last edited:

64osby

Admiral
Joined
Jul 28, 2009
Messages
6,826
I would not worry about an inline switch. The voltage draw on a gauge is very small. Back light will use a little more when on.
 

tgp***

Senior Chief Petty Officer
Joined
Oct 18, 2009
Messages
768
Thanks Sig,

Found an "I" on that other coil terminal after all (I suffer from CSS (Can't See S#*T, as well as a few other ailments CRS and CHS)) . I'm putting this as a stand alone system that I shut on and off when I want to check the fuel level, so I'm assuming my new diagram will work.
 

Watermann

Starmada Splash of the Year 2014
Joined
Jan 12, 2013
Messages
13,822
The jumpered ground isn't right, they just left that wire on there when it was daisy chained to the gauge next to it. Here's the way I would wire it up. Starting from the top (of the pic) moving clockwise - keyed power for the light, keyed power for the gauge, ground and lastly sender.

There's a reason they call this "a cluster" :lol:

IMAG1542.jpg
 
Top