OUR CARVER RESTORATION

drewpster

Commander
Joined
Oct 17, 2006
Messages
2,059
Re: OUR CARVER RESTORATION

I'm still completely impressed with your work. Real Talent.
 

ddennis

Petty Officer 1st Class
Joined
Aug 15, 2006
Messages
351
Re: OUR CARVER RESTORATION

IMPRESSIVE restoration!!!!!
 

JustMrWill

Master Chief Petty Officer
Joined
Aug 12, 2003
Messages
877
Re: OUR CARVER RESTORATION

Any updates? I need a motivation boost.

Great work! Keep it up.

-JMW
 

Nandy

Commander
Joined
Apr 10, 2004
Messages
2,145
Re: OUR CARVER RESTORATION

Ahhhh, to have the TIME, Money, Motivation and Means....This guy is awsome!
 

slia67

Petty Officer 1st Class
Joined
Jul 11, 2007
Messages
272
Re: OUR CARVER RESTORATION

SWEEETTTT!!!! But I need an update. This thing is going to be gorgeous when you're done.


Doug
 

Old Carver

Seaman Apprentice
Joined
Dec 12, 2006
Messages
46
Re: OUR CARVER RESTORATION

Been a little slow in progress with family and moving and just added a trip but we a re still plugging along.

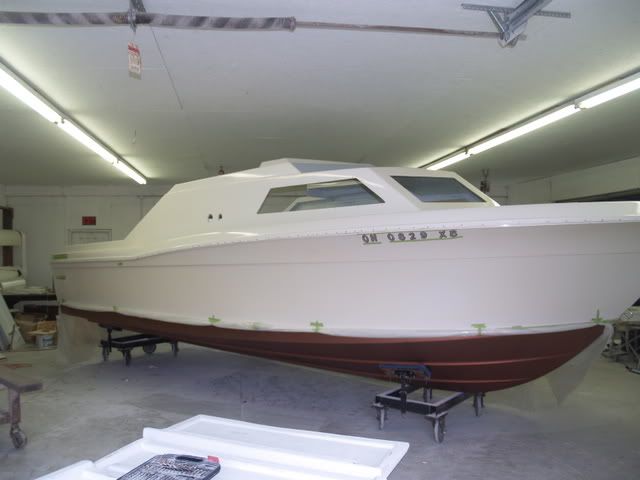
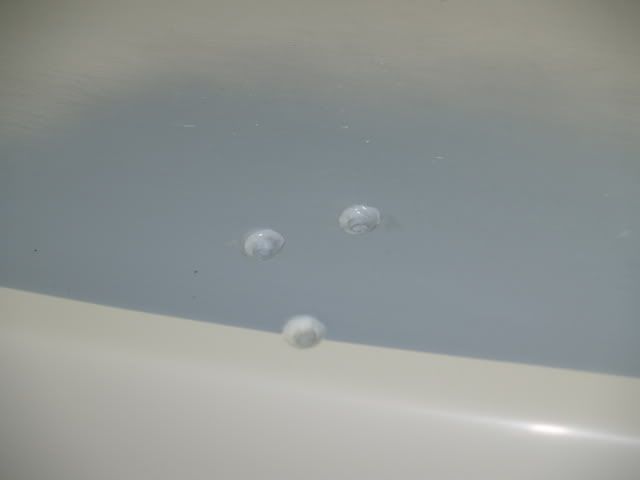
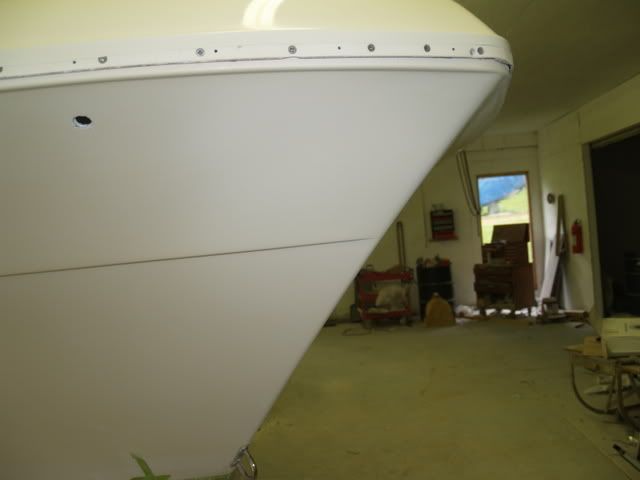
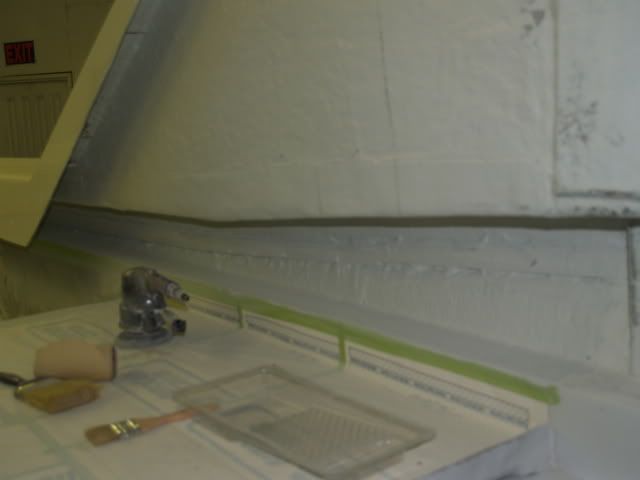
The paint came out pretty good considering conditions but two sags were there to add more work but we spotted them in process to add sandable material to fair the repair.

P9210001.jpg


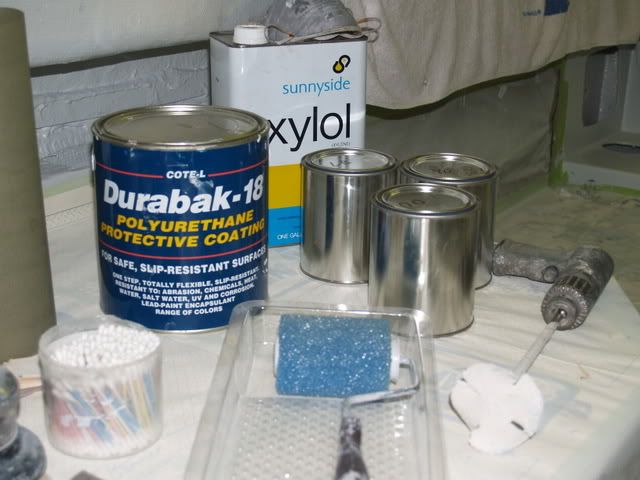
Started with 320 on the sags and took it to 1200 as well as the rest with exception of starting with the finest grit possible all wet.Then followed up with cutting creme and will be Finessed at the tail before graphics and then finally waxable.

P9210004.jpg


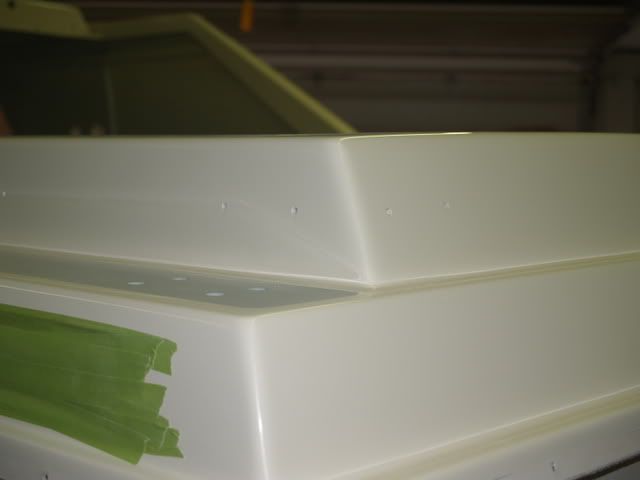
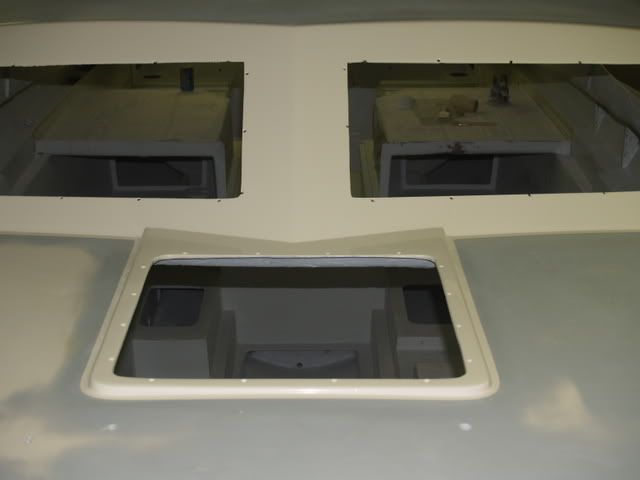
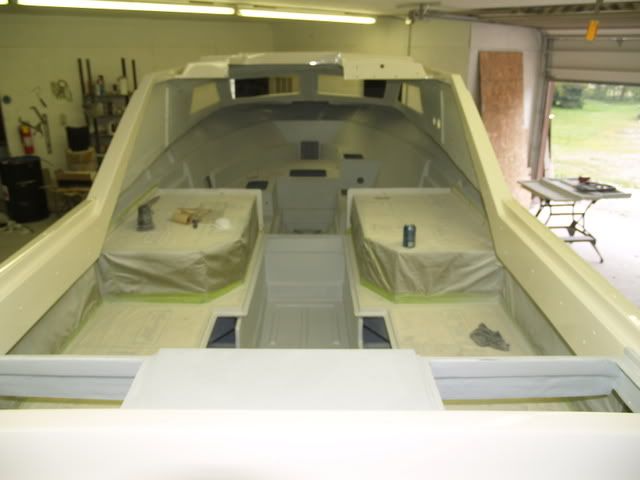
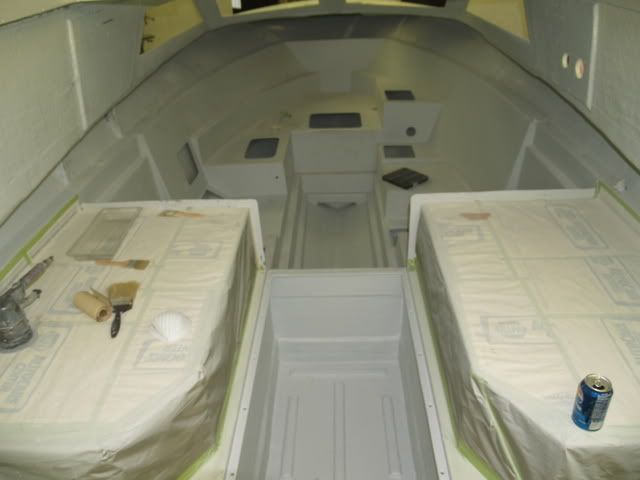
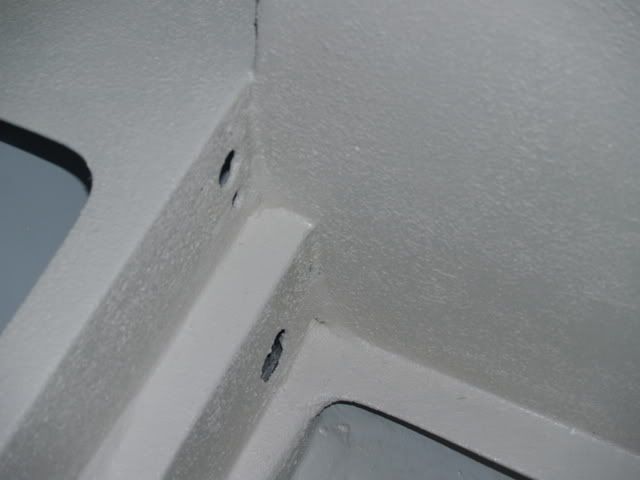
All masking pulled and ready for inverse masking for the antislip.

P9210005.jpg


P9210007.jpg


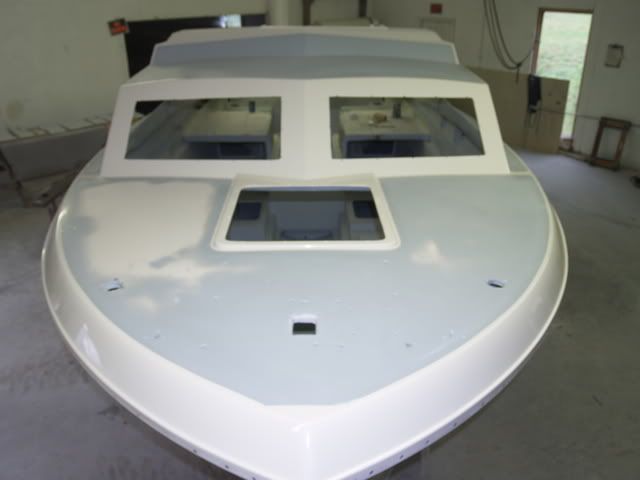
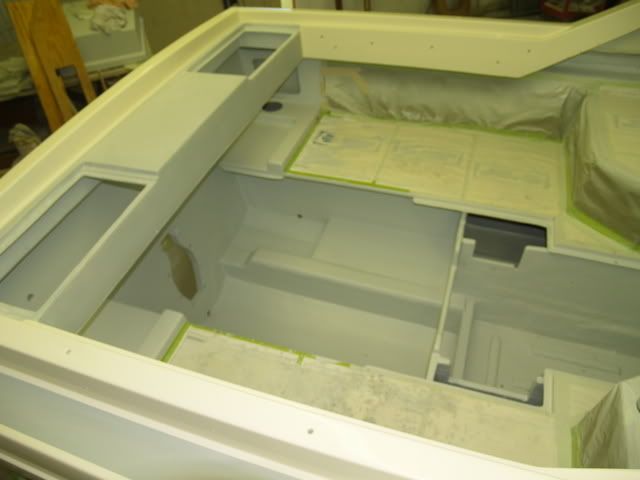
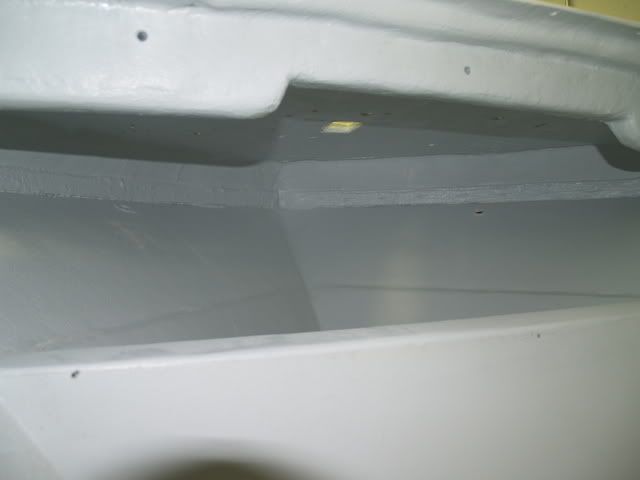
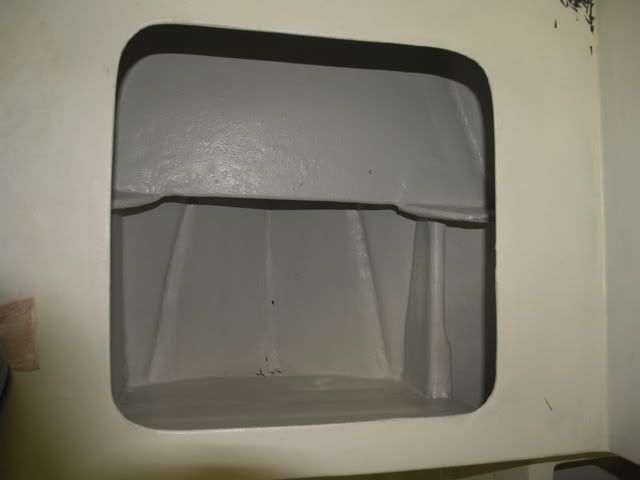
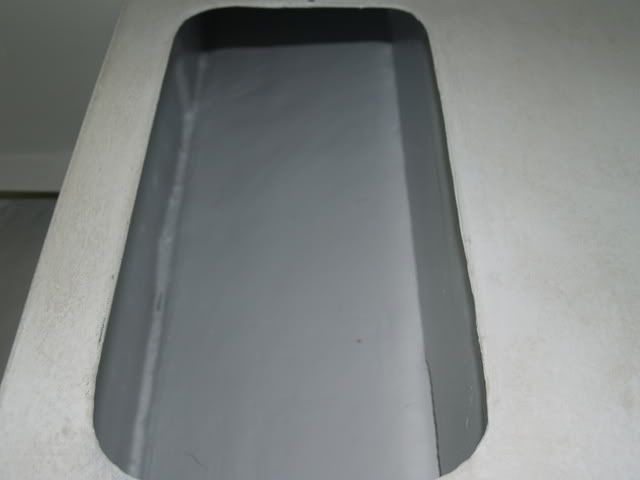
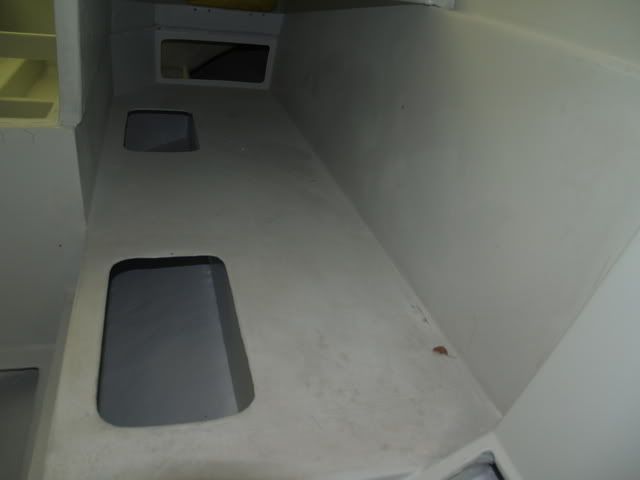
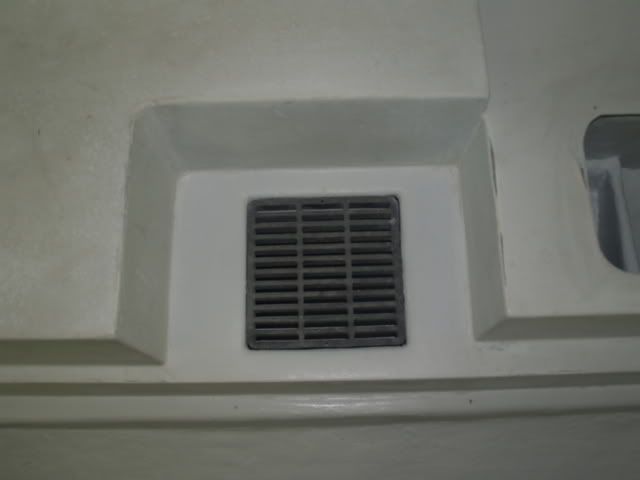
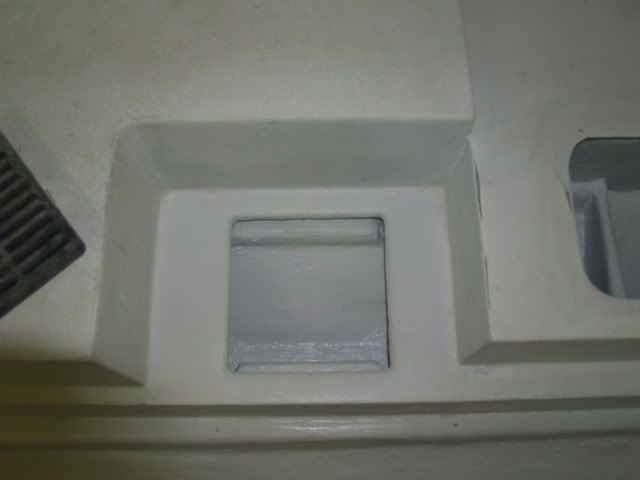
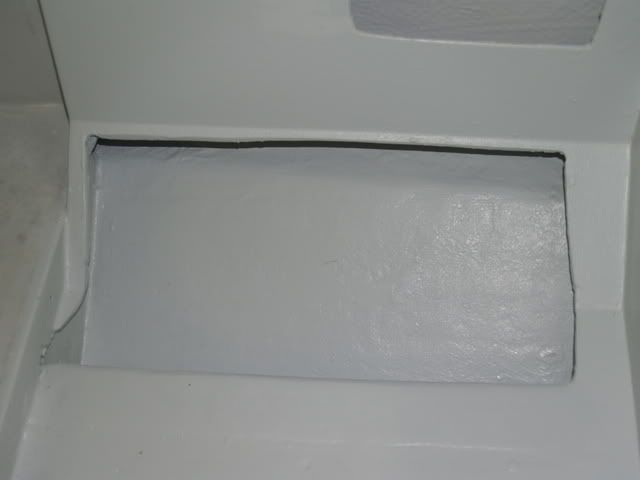
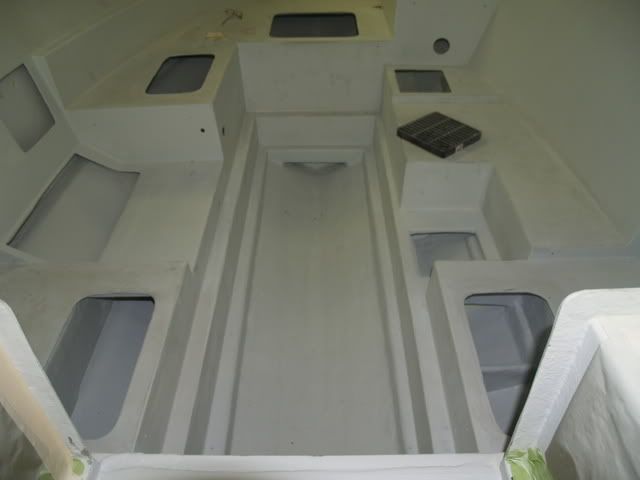
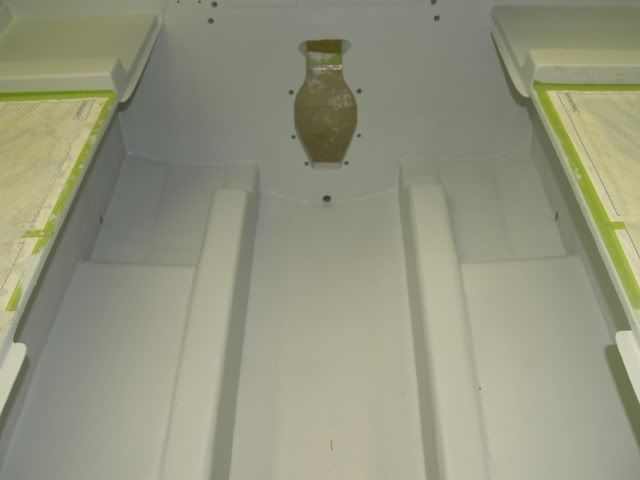
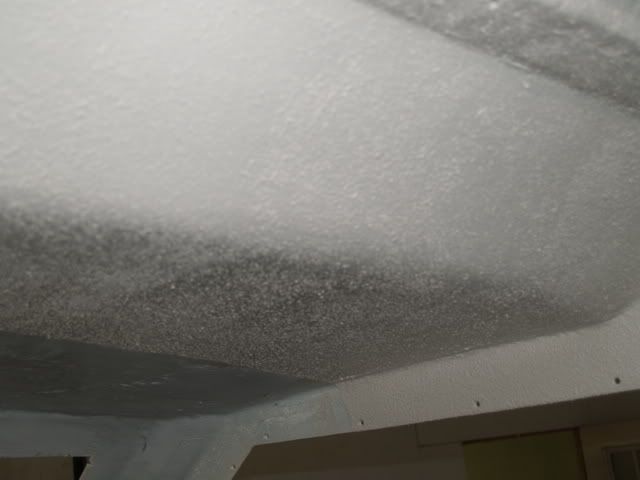
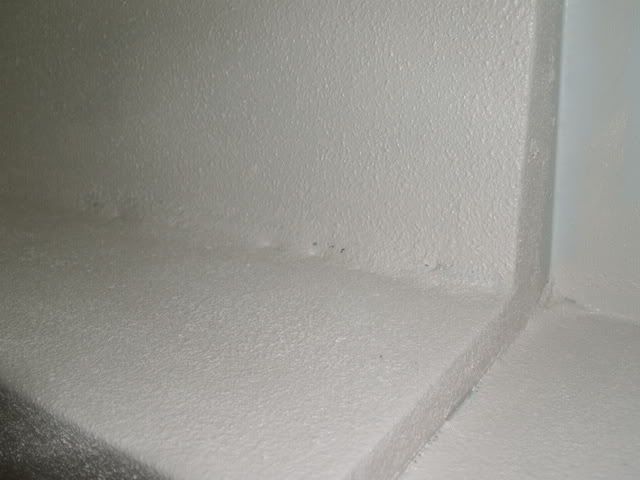
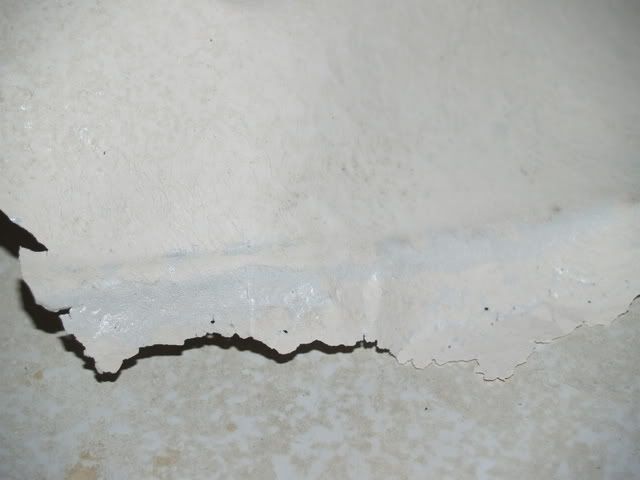
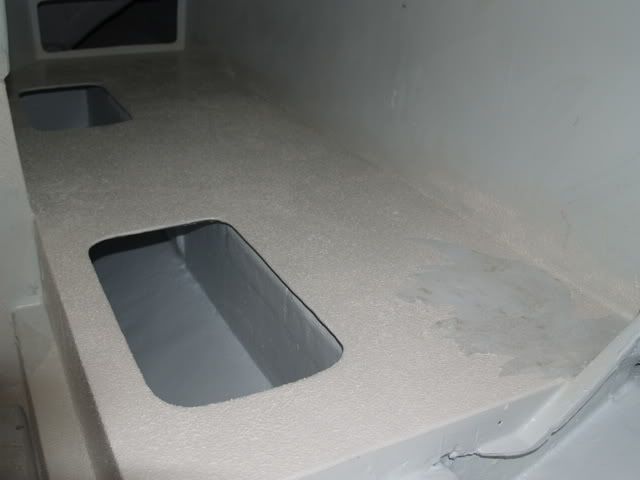
Prepping cabin for final gelcoat in compartments.

P9210006.jpg


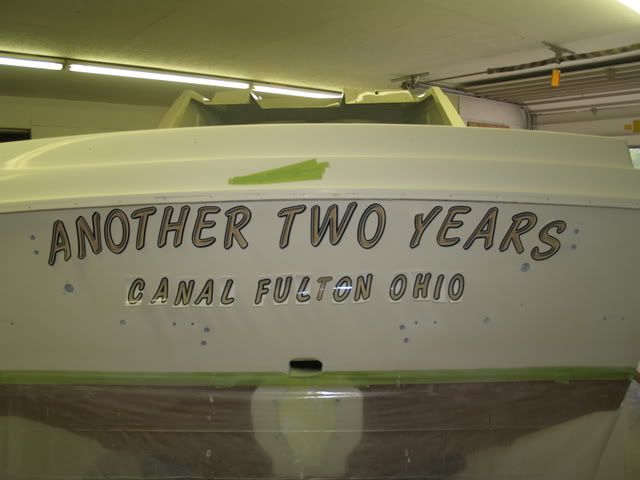
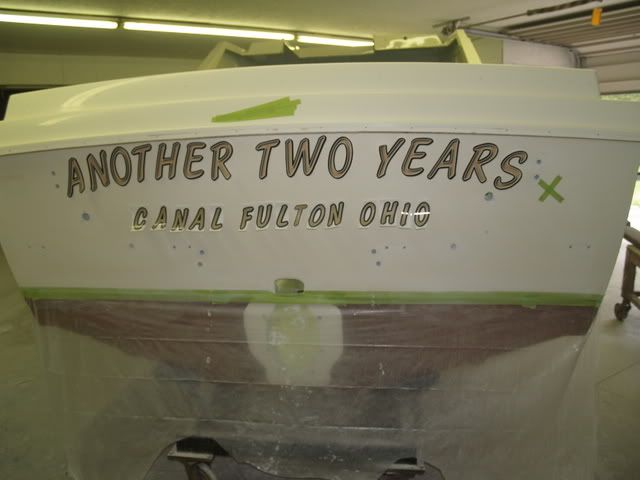
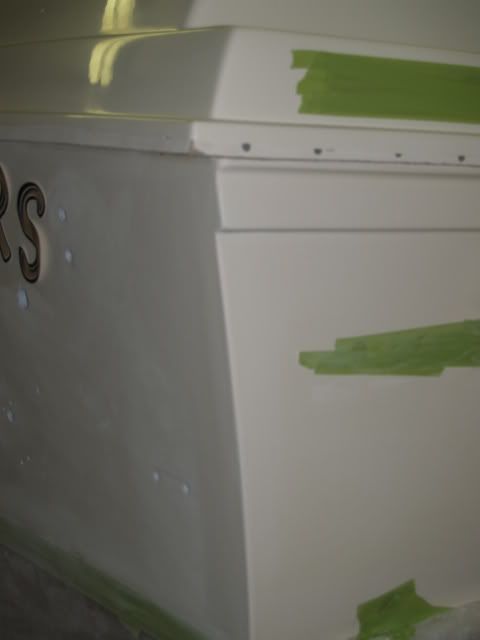
Taped graphics in place to see placement,first I had a single arc for the name and then tried this triple arc set up but I think we like the single.letters are Hardlines in 5 inch 610 style and 3 inch 420 style and reasonably priced.

P9210002.jpg
 

Old Carver

Seaman Apprentice
Joined
Dec 12, 2006
Messages
46
Re: OUR CARVER RESTORATION

Our other project vessel was a two year affair and this has proven to be the same with a little more unfortunately and the name was coined by team High Tek Redneck with a plus due to my procrastination,so I thought this was a worthy thought...lol...

P9210016.jpg


All the hardware bores are getting sweet from the overbore chamfer and gel and epoxy sealant.

P9210008.jpg


The bow had about 50-60 digs from anchoring and carelessness so we pulled gelcoat repair as the hull will be factory gel.

P9210009.jpg


The corners at the gunnel to transom were skinned and are getting the same process.Mixed a gelcoat and thickened it faired dry and finished to 1200 wet before the buffing that will come soon again.

P9210013.jpg


Sanded the areas for final finish waxed gel coat and rolled the final look!!!

P9210015.jpg


The unfinished areas will have hull liner glued to it for cabin headliner.

P9210014.jpg
 

Old Carver

Seaman Apprentice
Joined
Dec 12, 2006
Messages
46
Re: OUR CARVER RESTORATION

Anchor locker done.

P9210018.jpg


All compartments are good to go other than a good sweeping from build debris.

P9210019.jpg


P9210021.jpg


P9210020.jpg


The shower sump grate is checked for fit.

P9210026.jpg


P9210027.jpg
 

Old Carver

Seaman Apprentice
Joined
Dec 12, 2006
Messages
46
Re: OUR CARVER RESTORATION

Catch area behind fridge for any sweating or the like will have a level sensor to the water warning system it this trough fills.

P9210025.jpg


Sealed over the roving at the top of the inner liner both sides.

P9210024.jpg


P9210028.jpg


Cabin bilge final gel.

P9210029.jpg


Same for engine bilge.

P9210031.jpg
 

Old Carver

Seaman Apprentice
Joined
Dec 12, 2006
Messages
46
Re: OUR CARVER RESTORATION

And tank area.

P9210032.jpg


So now we go to apply the anti-slip and will start in the cabin.Using Durabak and Sherwin Williams tint to custom tint to match the cabin walls.

P9210033.jpg


Got it all rolled out looking good.

P9210039.jpg


P9210040.jpg


But MURPHY strikes and inexperience with this product is kicking my butt with the formation of blisters hours later.

P9210037.jpg


It seems the lower into the cabin the worse it got.

P9210036.jpg
 

Old Carver

Seaman Apprentice
Joined
Dec 12, 2006
Messages
46
Re: OUR CARVER RESTORATION

In some areas we were able to peel it in sheets,now I'm proud...lol....!!!

P9210042.jpg


We are thinking it was an airflow problem and thick application causing the surface to skin and trap the solvents with no where to go except in a bubble.

P9210043.jpg


So we are removing the bad areas and will feather to repair but will add fans to the equation and thin the coats before we take this product to the deck.

P9210045.jpg


Live and learn!!!But this is where we have been,getting closer to the end of the trip!!!
 

Tsunami23

Recruit
Joined
Sep 25, 2007
Messages
1
Re: OUR CARVER RESTORATION

Nice work. I got started on a similar project on my 1973 Tsunami about a month ago. It had twin I/O's and I'm converting it to an outboard w/a bracket. I got the transom reinforced and glassed in properly with some tips from a local fiberglass shop. I'm getting ready to get started on the gelcoat. My guy at the fiberglass shop said that I should roll it on. Is that how you did all of yours? All of your finishes looked very smooth and professional. I didn't think you could get that kind of finish by rolling the gelcoat on. Any tips are appreciated.
Thanks,
 
Top