"Pour-in" urethane floatation foam Q's

croSSed

Petty Officer 1st Class
Joined
Jun 13, 2005
Messages
249
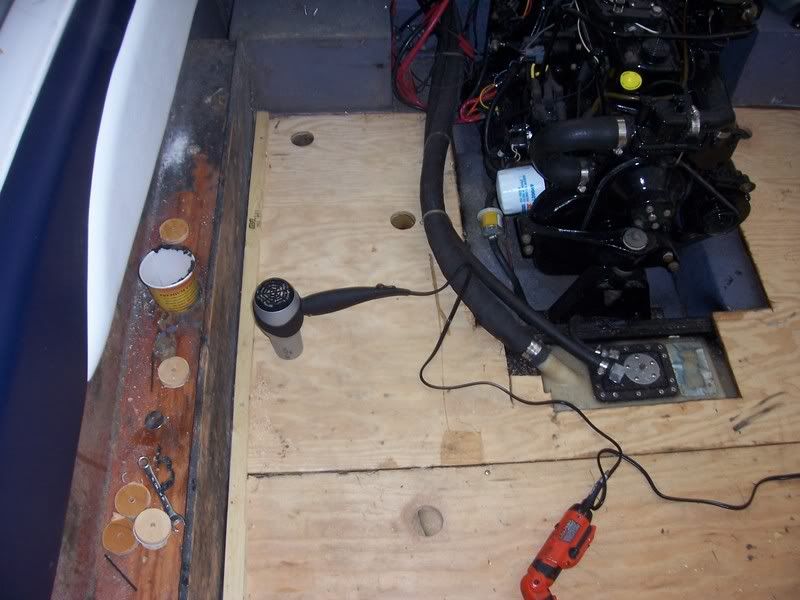
There's two ways I can see of getting pour-in floatation foam in my newly rebuilt boat:

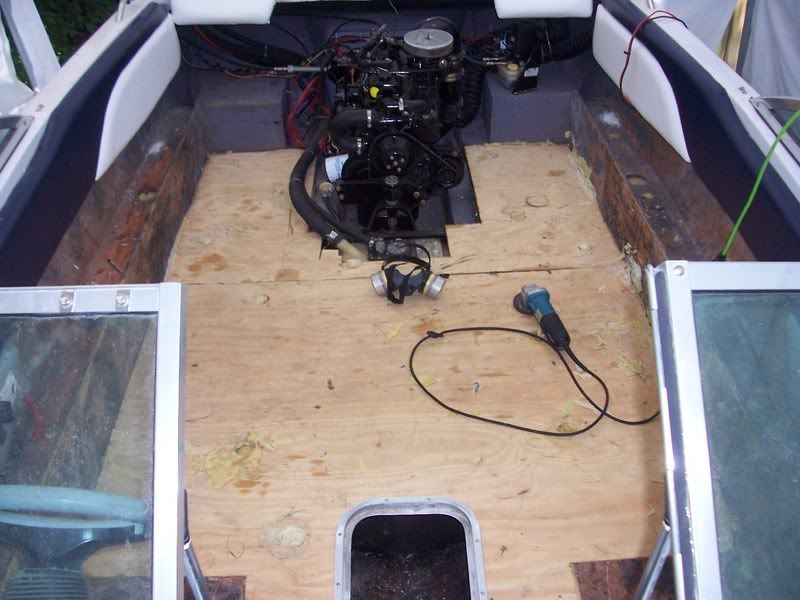
1. Install the floor, cut holes in the floor, pour the foam in through the holes. When it cures and pushes through the holes, trim the excess back, re-install and glass the holes back in.

2. Before installing the floor, pour in or "paint" on the liquid foam onto the bottom of the boat. When the foam expands and cures, cut the excess foam back to the level of the bottom of where the floor will be, and then install the floor.

The thing about number 2 is that if I choose to go that route I don't know how to trim the excess foam down. Doing it this way will ensure that all of the void in the false bottom has been completely filled. If I pour in the foam through holes in the newly-installed floor, I can't be certain that the foam has reached ALL the voids in the false bottom. Thoughts? Thanks.

TG
 

wayno

Seaman Apprentice
Joined
Sep 23, 2006
Messages
30
Re:

Re:

I just put the 4lb kit in my 17ft tri-hull orrion boat. I just messured 1/2 cup of each part; mixed it with a cordless drill and mixing bit for 20 secs, and poured it into the areas i wanted it. I contiuned to do that on each side untill i used it all and the area was full.

Its not going to over fill the area unless you mix to much and pour it where it has little area to expand.

S4300102.jpg

S4300103.jpg


gluck
 

Tail_Gunner

Admiral
Joined
Jan 13, 2006
Messages
6,237
Re:

Re:

If you use method 1. you will recieve better benefit's from the foam, that is it will expand into any crack or corner or seal any crack or corner under pressure and believe me it expand's with force.

In hind sight what i learned was, heat the air space and boat hull up to 80 degree's for proper expansion rate's, fill the void your foaming with up to 40 percent of it's capacity, drill your expansion hole's about 18" apart and stagger them and when you pour just dump it all at once as quickly as you can.

It pour's in as a liquid and will settle to the lowest point's in the hull and expand from there. You only have about 20 sec's for this process to start happening so use large container's that you can agressivley stir the content's without splashing all over. (the faster it get's in the better)

By staggering the hole's you will be able to pour the second pour to any place that might be needed. Dont worry about the foam over expanding your vent's will dissapate any excess volume

If done this way you glue both your floor and hull together with a ureathane bond and that stuff does stick....it's incredibly strong.

And last i would not use anything less than a 4lb foam, 2 lb is very soft and will "dent" if any large pressure is put on it creating a void or a water trap, small yes but none the less it is there and will accumalate over time.

Just a opinion your mileage may vary.........8)

Picture016.jpg


Picture019-1.jpg


Picture029.jpg


Picture032.jpg
 

Realgun

Commander
Joined
Jul 31, 2003
Messages
2,484
Re:

Re:

Personally I think the two pound foam is fine if your pouring into an enclosed area as you not going to be touching the foam! It takes a lot of work to get off your fingers. The way my floor went in was easy to get foam under the floor. The floor consisted of 4 sections. I screwed the first section in the rear are and poured my foam in with the bow held high. Then I installed the next section and poured foam into that. In the last section I poured both sides from a big container and stood on the floor. It kind pushed up a bit but was flush with the stringers. I then screwed it down. In my hull there were two void areas on either side of the bildge/ski locker.
To fill the big area under the seats I drilled a bigh hole and poured the foam in. We felt the hull 20 minutes after the big pour under the consoles and it was extremly warm.
 

louc

Seaman Apprentice
Joined
Sep 7, 2002
Messages
39
Re:

Re:

If you do # 1 make sure that there is room for it to escape, that stuff can exert a ton of force and pop things loose.
When I did mine I poured it before installing the floor, and then just cut the excess off with a handsaw. It cuts pretty easily and you can then bond the floor to the stringers with 3M 4200 and stainless screws.
What the other posters said about working fast is true, you will need a number of mixing buckets because with each batch the bucket will get more partially cured foam in it. Messy as can be stuff.
 

croSSed

Petty Officer 1st Class
Joined
Jun 13, 2005
Messages
249
Re:

Re:

Thanks everybody! Very helpful, and pics are great.

TG
 

Nova II 260

Senior Chief Petty Officer
Joined
Jul 27, 2006
Messages
681
Re:

Re:

You mght try spraying your bucket with sylicone spray or Pam before ya start. That may release the access and make it easier to clean. Dunno, just a thought. Here's a pic of a mfg's foam job.
mfg's foam job
 

A Fn Noob

Cadet
Joined
Oct 12, 2006
Messages
13
Re:

Re:


I used 4lb foam in my boat. It really provides a lot of rigidity to the boat.

The key, I found to getting your money's worth out of the stuff, is to use it when it's warm outside, or preheat the area really well AND you will get MUCH greater expansion rates if it is "compressed" while expanding, or if it can push against itself, if that makes sense.

Doing it like the pictures above wont give you the mileage out of a can like pouring it into a semi-enclosed space will. What I did was take a scrap piece of plywood, waxed it, and screwed it down over the space between the stringers I was trying to fill. There was a 2-3" gap on each end for the stuff to expand out. Then I poured the foam in and moved the wood to the next stringer space after it cured. The only "ugly" areas were the ends, which I cut flush with a hand saw and then leveled it with a random-orbital sander.

The foam is messy stuff, really really messy!
 

Willyclay

Captain
Joined
Sep 8, 2006
Messages
3,263
Re:

Re:

Super job on the rebuild. Thanks for sharing. That's the way we all learn more. Question - Was the ski locker original to the boat and you saved it or did you buy it separately for installation after the rebuild? If you bought it, can you tell me where? Having trouble locating one for my project boat as they seem to be only OEM items for the boat builders. Thanks for any info.
 

croSSed

Petty Officer 1st Class
Joined
Jun 13, 2005
Messages
249
Re:

Re:

Willclay, thanks for the props! Re. "ski locker"; I'm not sure what you are seeing in the pics, but this boat doesn't have a ski locker. There isn't enough boat for there to be one.

TG
 

jddenham

Petty Officer 1st Class
Joined
Aug 8, 2006
Messages
393
Re: Ski Locker

Re: Ski Locker

I think he's referring to Tail Gunner's ski locker !
 

PiratePast40

Lieutenant Commander
Joined
Mar 21, 2009
Messages
1,734
Re: "Pour-in" urethane floatation foam Q's

Re: "Pour-in" urethane floatation foam Q's

Hi guys. Reading your thread to try to figure out the quantities of foam I'll need for my boat. Was hoping some of you might be able to help. The boat is an 18' runabout so there is quite a bit so open space under the decks. I want to build an under deck storage locker but rough figures lead me to think it's around 14 cubic feet of foam. At marinefoam.com, that's close to $200. I spent all day today laminating marine ply for the stringers and transom and hope to have them installed tomorrow but realize I can't start the deck until I get the foam issue worked out. Haven't shopped for AB foam locally but if the e-store mentioned above is any indication -that's getting a little spendy! Does that price sound about right to you guys?

Thanks for any help and hope I'm not hijacking your thread. I got tired of reading about ping pong balls, 2 liter bottles, and arguments against foam. I just want to get this danged thing done.
 

Paul Bell

Seaman
Joined
Nov 22, 2008
Messages
66
Re: "Pour-in" urethane floatation foam Q's

Re: "Pour-in" urethane floatation foam Q's

I lamented the use of foam and did a lot of searches of alternative methods.
The cost first of all was quite expensive. The temperature is critical to get proper expansion. (The nightmare of chopping out the old foam kept running through my head).The concern for keeping all my drains that drain each compartment to the bilge also played on my mind.
I know I did not want to drill any holes in my new deck.
Some say not to foam....but it has a purpose.
I built the new deck solid so I dont need or want any support from foam.
Here is my alternative.http://picasaweb.google.com/pacerdude/EntireDeckReplacement89Celebrity224se#
 

PiratePast40

Lieutenant Commander
Joined
Mar 21, 2009
Messages
1,734
Re: "Pour-in" urethane floatation foam Q's

Re: "Pour-in" urethane floatation foam Q's

Paul,
Very professional looking job on your boat. The project shows a tremendous amount of carpentry skills as well as planning. I can see that the amount of support you built into your boat would minimize the amount of extra deck support. In my case, the boat needs the support for the deck and I believe support for the hull shape will also benefit. There are plenty of reasons to use foam and everyone can make their own decisions so I'm not going to argue pros or cons here.

My main concern was price. I'm seeing better prices from US Composites so the initial sticker shock is easing a bit. I like the idea of making water pathways along the centerline and on the outside of stringers with foam sheets. In any case, the pictures and recommendations from others are fantastic. Conflicting opinions is also helpful to see both sides of the discussion. Will start shopping for foam tomorrow. Thanks.
 

D.spencer

Petty Officer 1st Class
Joined
Sep 5, 2008
Messages
200
Re: "Pour-in" urethane floatation foam Q's

Re: "Pour-in" urethane floatation foam Q's

why not just pour the foam componets in at the same time and then just shake the whole boat to mix? :D
 
Top