Woodonglass
Supreme Mariner
- Joined
- Dec 29, 2009
- Messages
- 25,932
Re: Practice Boat - New Transom, Gel Coat, Seats
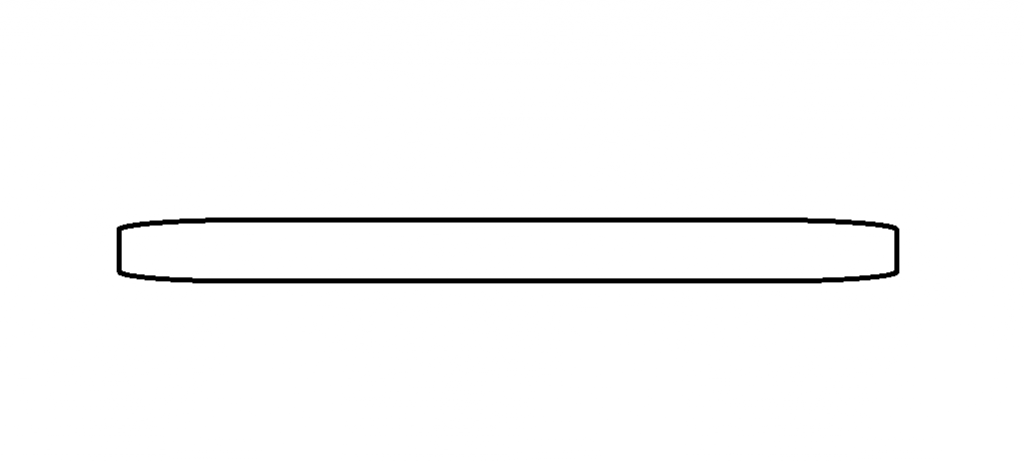
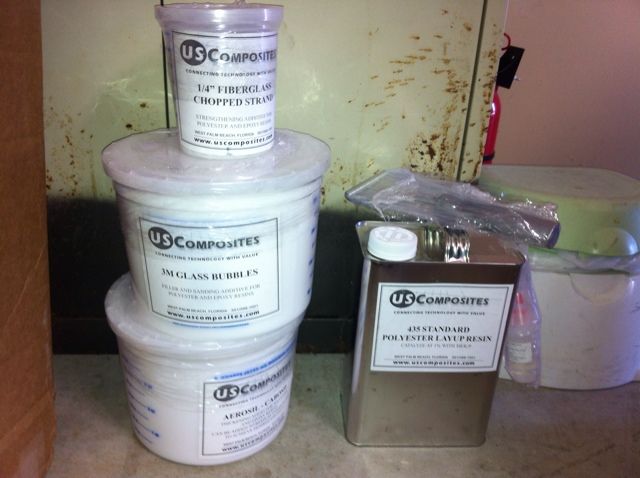
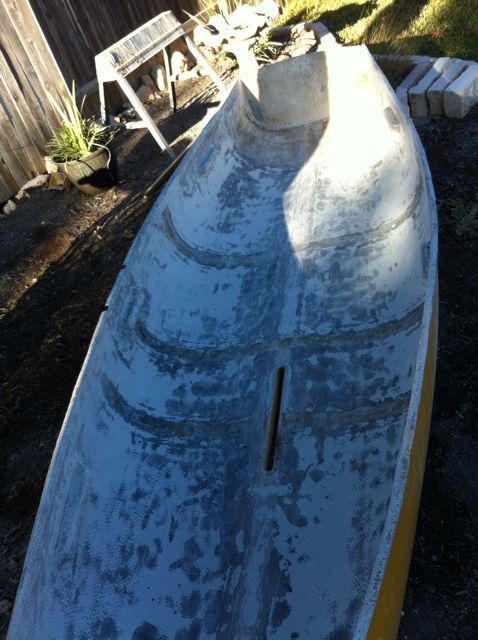
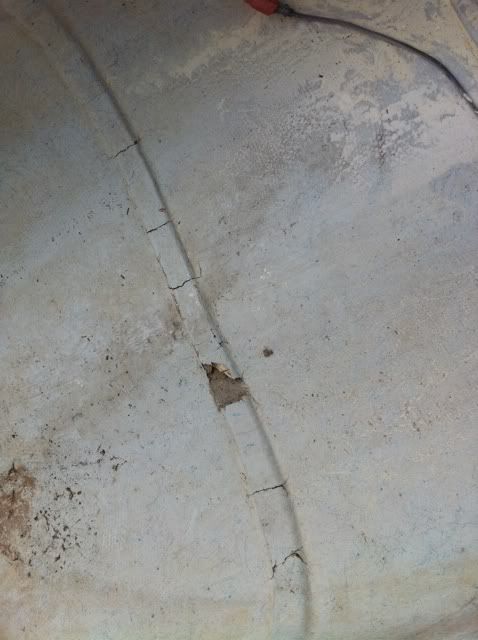
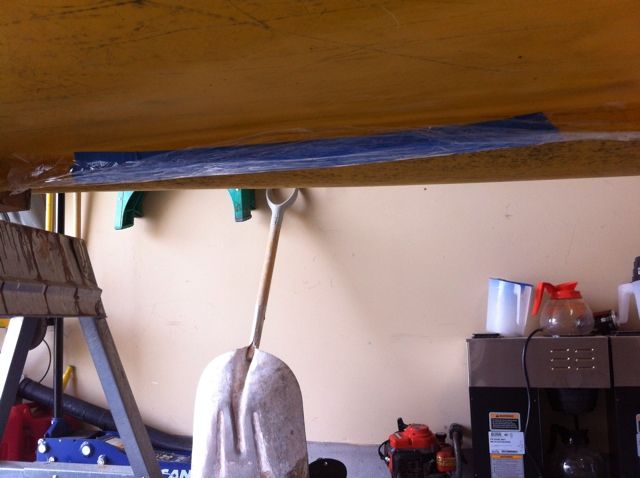
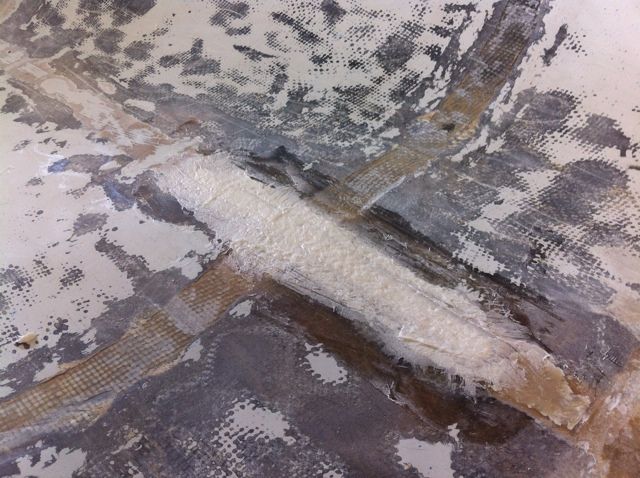
Yes, I have done this stuff before. Yep, that last pic confirms you have a curved transom. For the inside bottom any major "low" spots can be filled with filler but NOT Bondo!!! Make your own filler from the supplies you ordered. 1 cup resin, 2 tblspoons of cabosil and the rest glass bubbles and then add the appropriate amount of hardener, until it's the consistency of THICK mayonaise. Fill em with that then in an hour sand it smooth. What's your plan for the Dagger Board opening?
Yes, I have done this stuff before. Yep, that last pic confirms you have a curved transom. For the inside bottom any major "low" spots can be filled with filler but NOT Bondo!!! Make your own filler from the supplies you ordered. 1 cup resin, 2 tblspoons of cabosil and the rest glass bubbles and then add the appropriate amount of hardener, until it's the consistency of THICK mayonaise. Fill em with that then in an hour sand it smooth. What's your plan for the Dagger Board opening?