bdbuster
Seaman Apprentice
- Joined
- Aug 12, 2012
- Messages
- 36
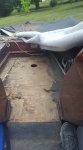
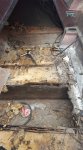
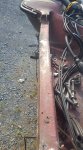
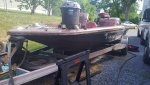
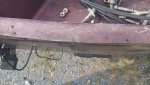
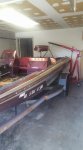
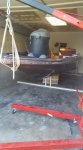
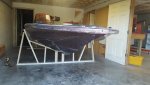
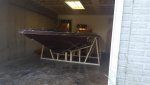
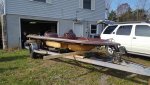
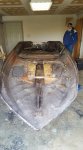
It's time to jump into a project with both feet and I know the right guys are here to help along the way, been reading this forum for years. I have a 1990 SF 175D and it's time to build it the way Skeeter should have. Everyone knows that the Skeeters of that era had issues with transoms getting weak but mine is shot from bow to stern. The previous owner had a bump board screwed to the front floor which allowed water to get in, I found a small soft spot and knew I had a little work ahead of me. Everything else I found was a bit shocking and could be from the boat sitting the better part of 2 years.
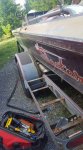
Going to be a complete tear down and rebuild. I have my son on board to help and some guys who can help with the heavy lifting. I want to do this right because I love the boat and the price of anything decent is ridiculous.
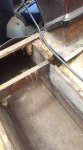
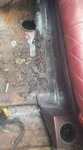
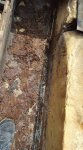
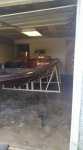
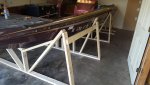
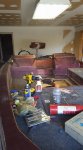
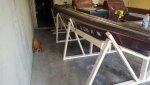
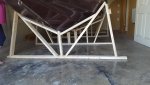
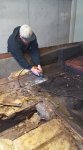
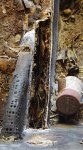
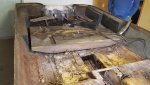
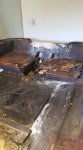
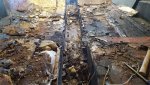
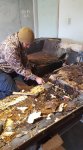
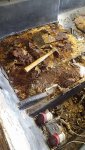
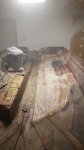
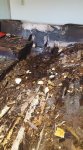
Here are some pictures of what I found and of course, everything is completely rotted away.
Going to be a complete tear down and rebuild. I have my son on board to help and some guys who can help with the heavy lifting. I want to do this right because I love the boat and the price of anything decent is ridiculous.
Here are some pictures of what I found and of course, everything is completely rotted away.