Re: Repair to damaged Skeg advice for new owner
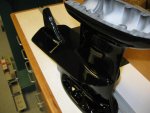
Okay folks...I did a repair to my engine project for the record. BUT to do this correctly and make it worth money when selling it down the road, you have to shell out the money and do it right. That means disassembling the lower foot and have it welded via a TIG professional that seriously knows how too. I actually make the replacement part for my OB and took it to a pro shop for them to do their magic. Once I got it back, I filed, grinded, and polished it to the original shape again and cleaned it up and applied Zinc Chromate primer for the first coat of prep. Then I used PPG K36 Prima high build sandable catalyzed primer (the real expensive stuff) for the second and third and fourth coats. Sanded between all coats to fill in any and all pits and imperfections. Once I had it to a smooth baby's butt finish, I applied three coats of AU PPG paint. Then followed that up with three coats of PPG catalyzed clear coats on top. It now looks new and as if nothing ever happened to it ever. But that is just how I do things. I know I could straighten this skeg out and file reshape and finish this project to look like it never happened as well. But it does take time and patients...and a lot of work!
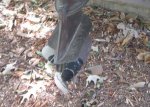
Before;

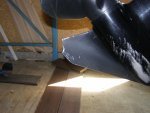
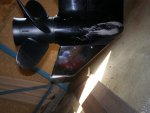
After;

The cavitation was broken as you see but also the skeg area was cracked as well... Not anymore...


