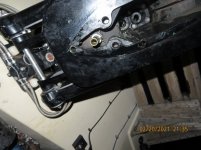
There is what look like the burnt remnants of a piece of plastic in that spot.
I think you are referring to the (plastic) water tube. If you overheat, that tube will likely melt. Get a new one and make sure it mates up when you put the lower half back onto the upper half. If it doesn't line up, the water will not make it up to the engine and you will overheat...again.
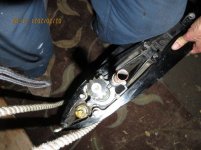
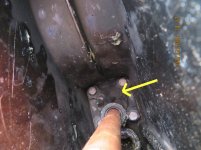
As far as flushing goes...
Flush it good from the engine back. You don't want any of those rubber parts from the trashed impeller blocking water flow.
You mentioned antifreeze. I don't know why you added that. I can't think of any reason to do that unless you have a closed cooling system, which you said you do not. It's not a car. It's a completely different animal. I hope it was non-toxic (RV, the red stuff), not automotive antifreeze since it will immediately exit the boat and end up in the water.
As far as your engine goes, what you describe doesn't sound good. All that smoke doesn't sound good.
You'll have to diagnose it to determine how bad it is. I'm no expert on that. I hope the experts will chime in and give you advice.
I would pull the oil dipstick and see and smell if the oil is burnt. Maybe do an oil change and then check compression on all cylinders.
Maybe you caught it in time and didn't score any cylinders or trash any pistons, rings or connecting rods.
If something like that ever happens again, do not restart it, get a tow before you cause more damage.
Keeping my fingers crossed for you.