Re: Restoring my MFG
The little bit of work I've been doing on my boat the past few weeks, meant climbing in and out of it with the winter-tarp still in place. The weather here in New England is very unpredictable. Major snow storms are common this time of year. So I've been a bit reluctant to uncover it for the season. But today, I said the heck with it!
"no more fiddley-fartin' around" 
Caution to the wind.... I pulled off the tarp and took down my support frame!!! Time to
rock n' roll!
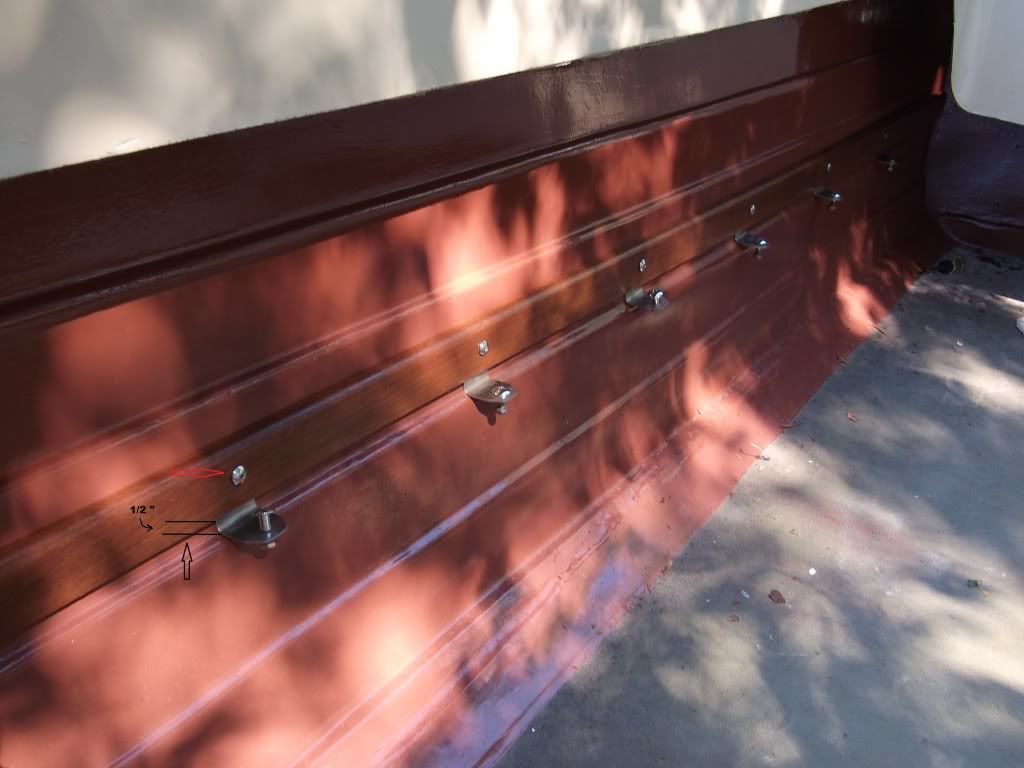
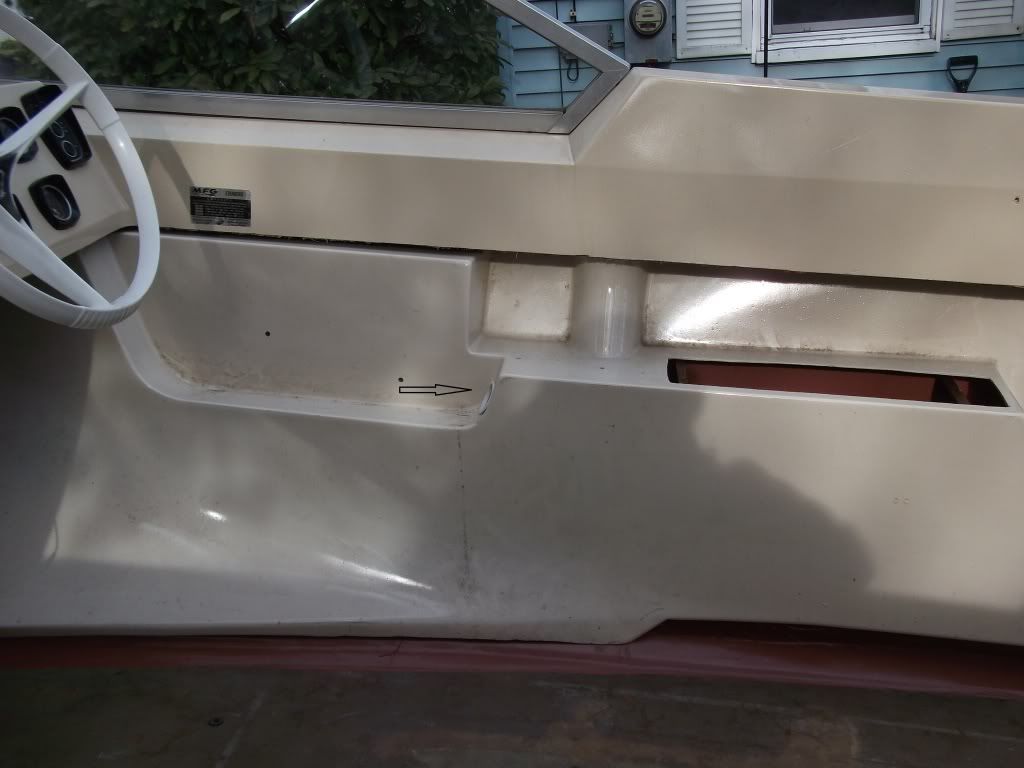
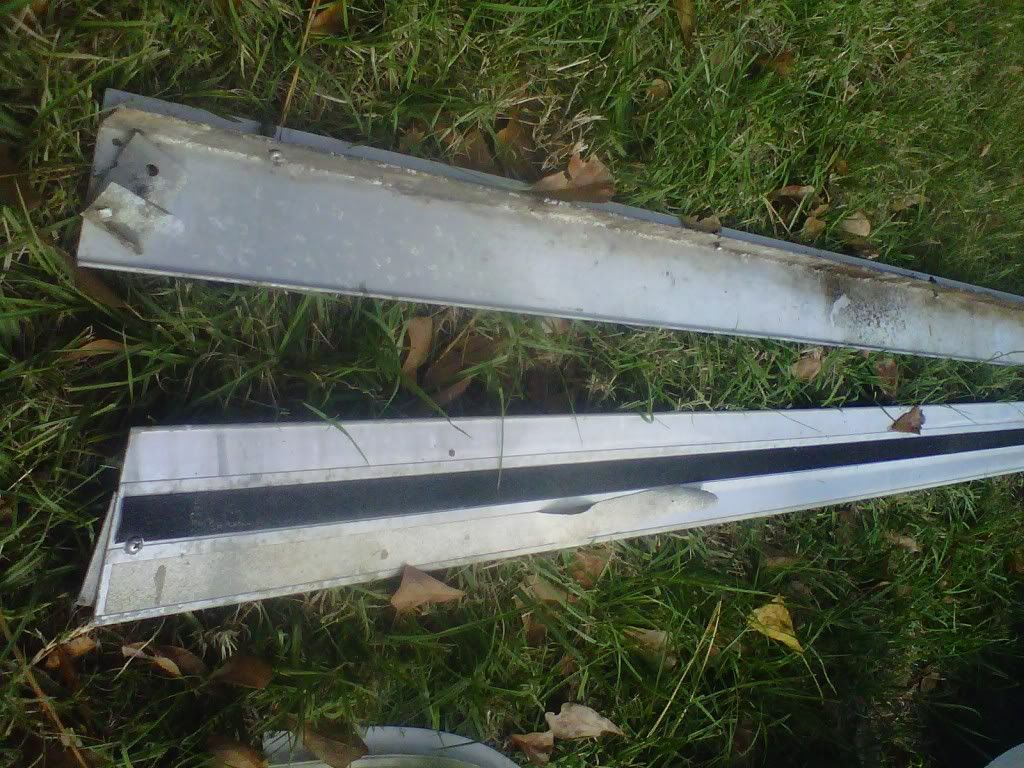
I've been wrestling with the starboard inner side panel for some time. Just when I thought I could get it mounted for good, I realized I could not get the edge trim on with the panel in place. My Edinboro has aluminum edge trim.
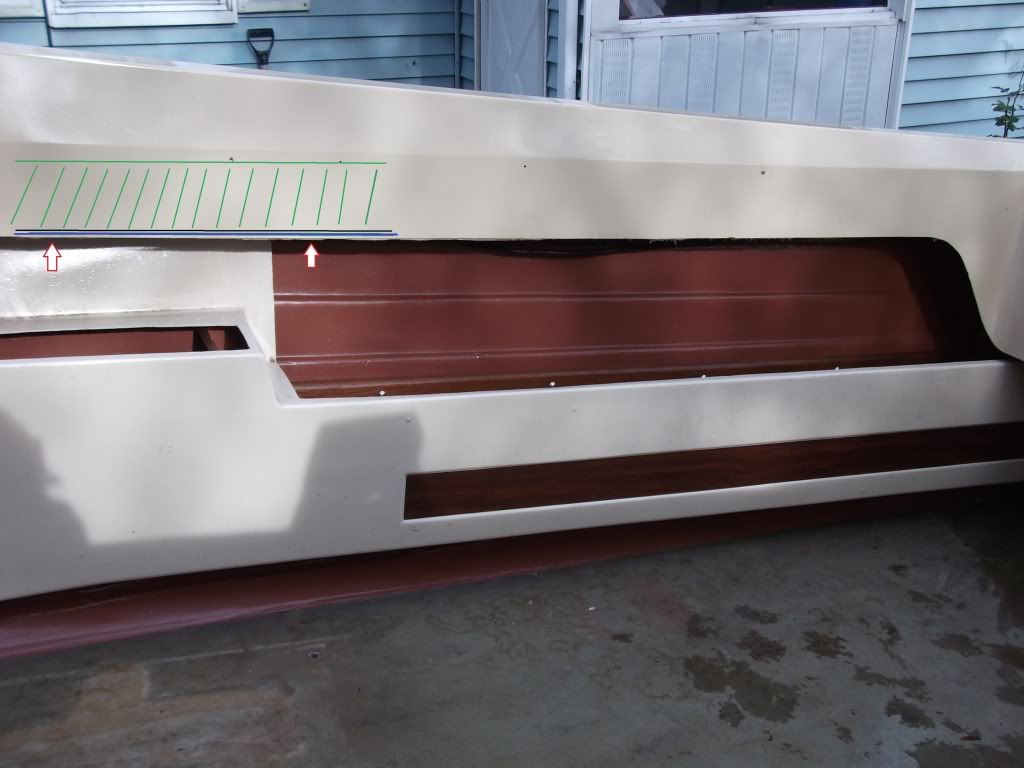
The blue line represents the alum. trim and the red arrow shows the tight space. So, there is no way I can fasten the trim with the panel in place. Bummer! I was looking forward to finishing this part. Over the last couple of years I've been able to scavenge all the aluminum edge trim needed for this project. It's rough, but I can re-form it where needed and polish it up to a usable condition. So the panel installation has gotta wait till I do, at least, this piece of trim. A minor let-down for sure!
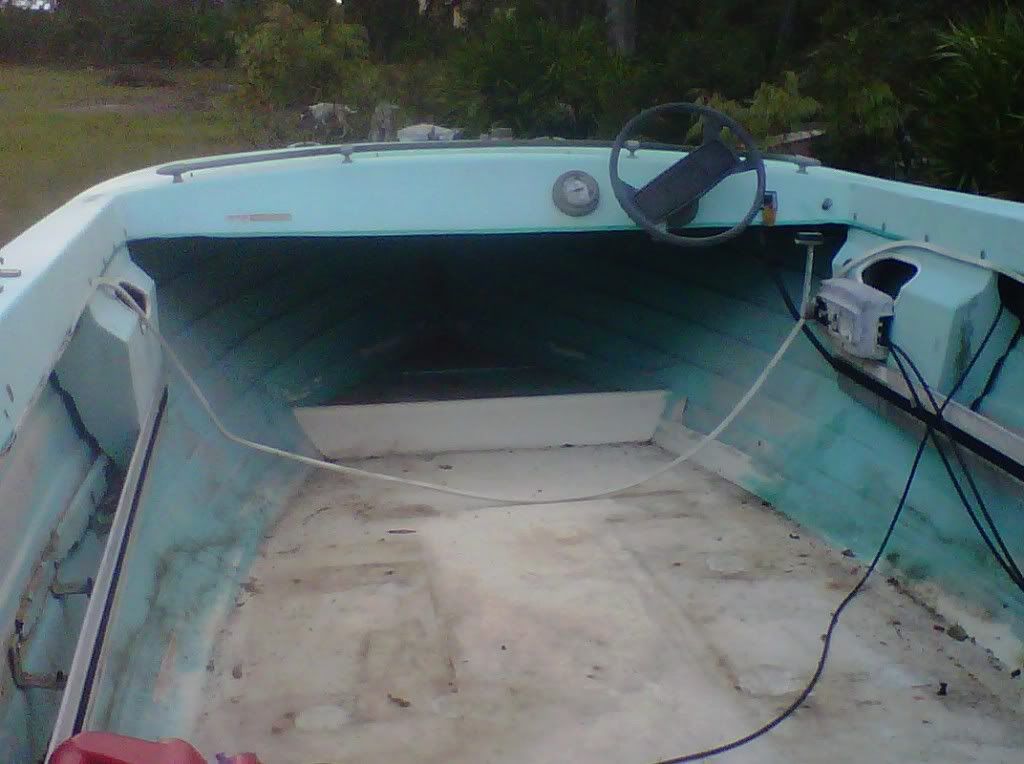
So I put the panel back in the shed, and took out the trim piece for that side. Not as bad as I thought, definitely usable! Cool! Next, I decided to check out just how this stuff was mounted. The factory had used nails...
to fasten it. Hummm... gotta look at that. Climbed back in, and looked up under the gunnel...... Plywood....Running along the entire back side. BUT, the whole lower edge was rotted.. toast!
Now.. no panel, no edge trim and no surface to mount it to!
I call these situations "the domino effect" Time to" suck it up and git er done!"
Unfortunately, this little set back is not very photo friendly. So I'll explain what's going on in the pic below.
The green slashes represent the plywood behind the gunnel. It's a half inch thick, and about six inches wide and runs around the entire cockpit. I could see were the factory had nailed the trim to the lower edge. What were they thinking... Nails on the edge of plywood? Surely doomed to fail!
The black line represents the rot. It was along the whole length. I decided to cut out the rot rather than try to remove the whole board. After a close look-see, the rot was not too deep. I got out my Dremel, put on my router base attachment and chucked up a saw blade. I set the depth to 5/8" and had at it. The router base was run along the fiberglass edge for a guide. And the blade had a maximum depth of cut of a 1/2". Slow going, but worked rather well. I cleaned out the remains with a chisel, and finally a sanding flapper wheel.
I made the filler piece from some mahogany I had left over from the ski rack project. I ripped a 6' piece on the table saw to 1/2" x 5/8". A quick test fit and I was good to go!
Hopefully I can get the filler piece installed soon. I plan to apply some PB to the edges and then screw them together. Then add a strip of glass at the back seem. That should fix it! Now all I have left, is the other three sides