KnottyBuoyz
Senior Chief Petty Officer
- Joined
- Mar 6, 2006
- Messages
- 712
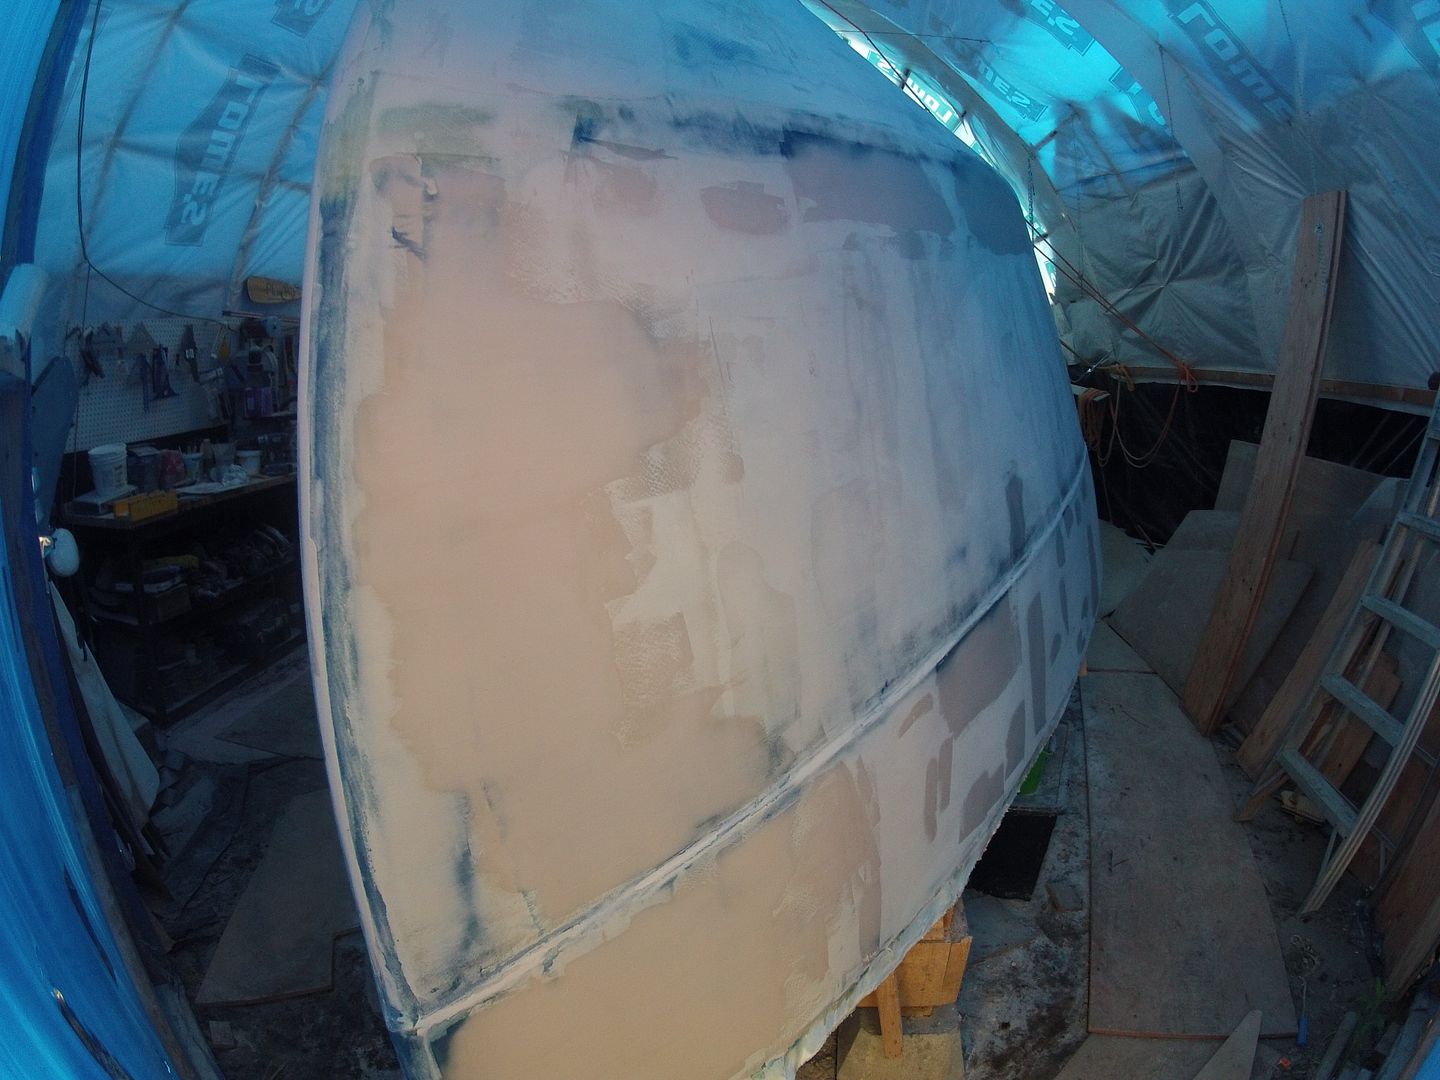
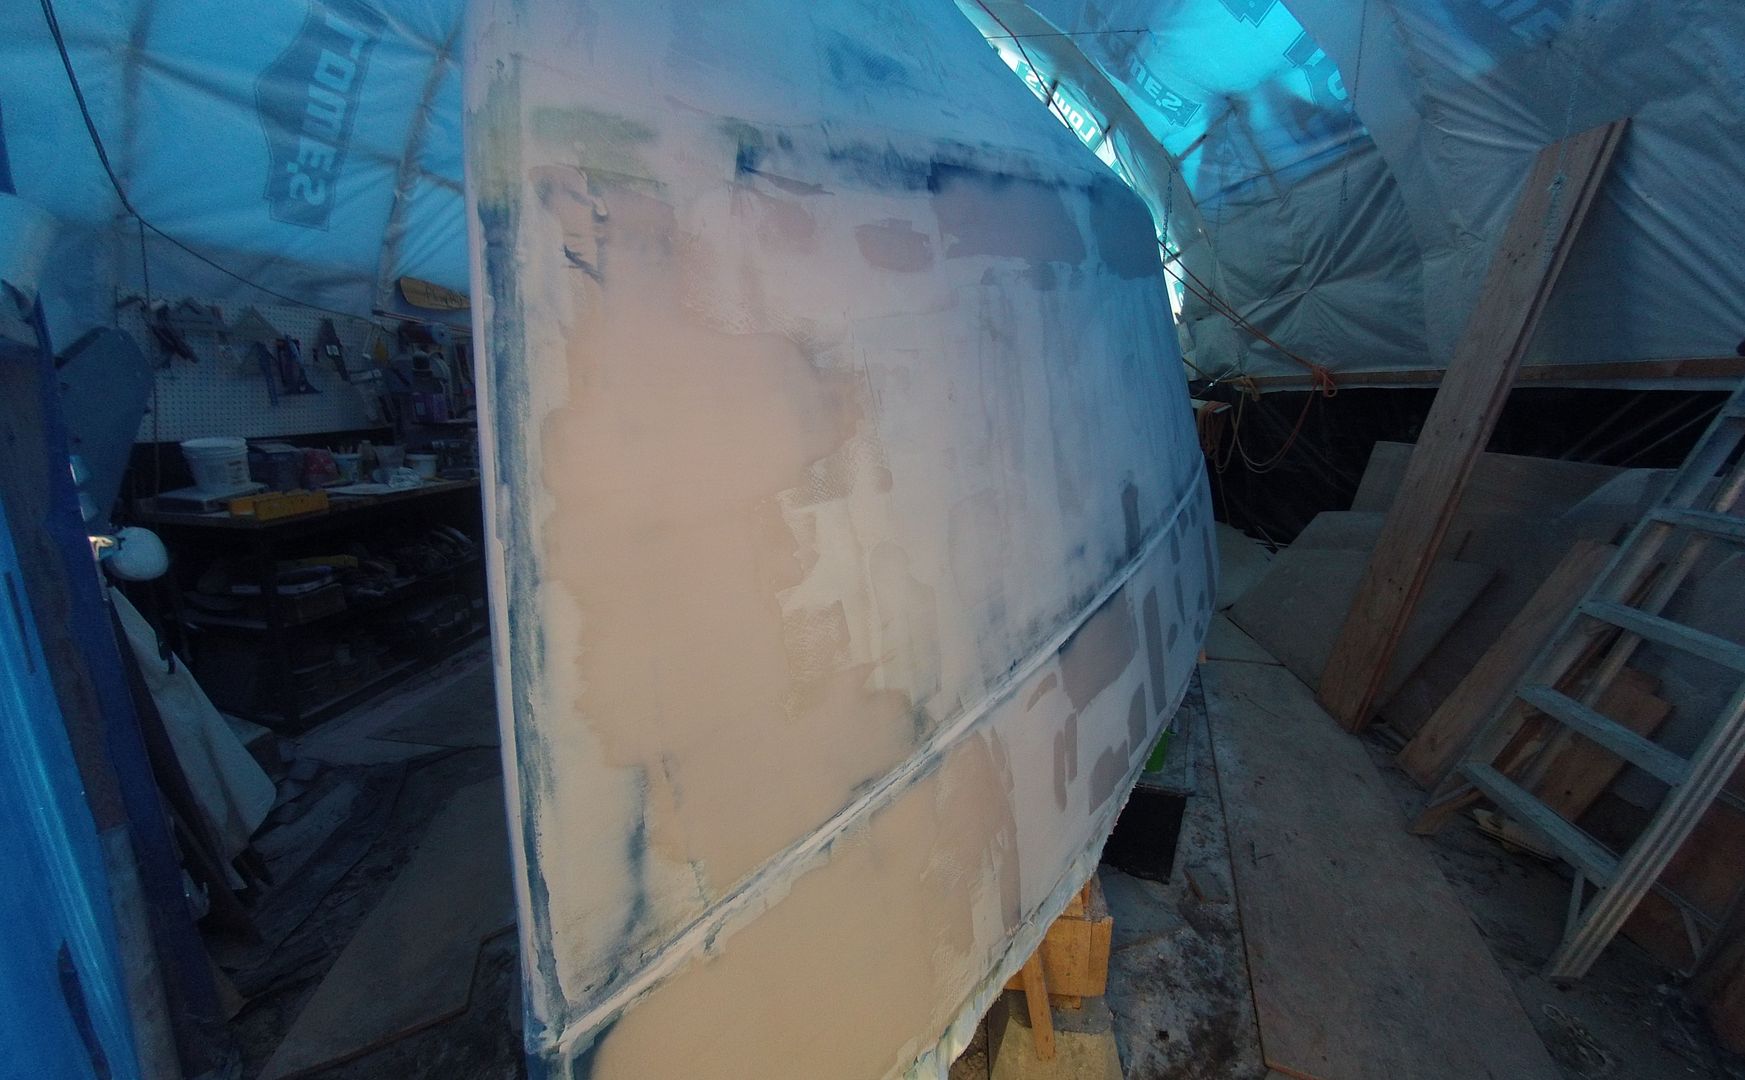
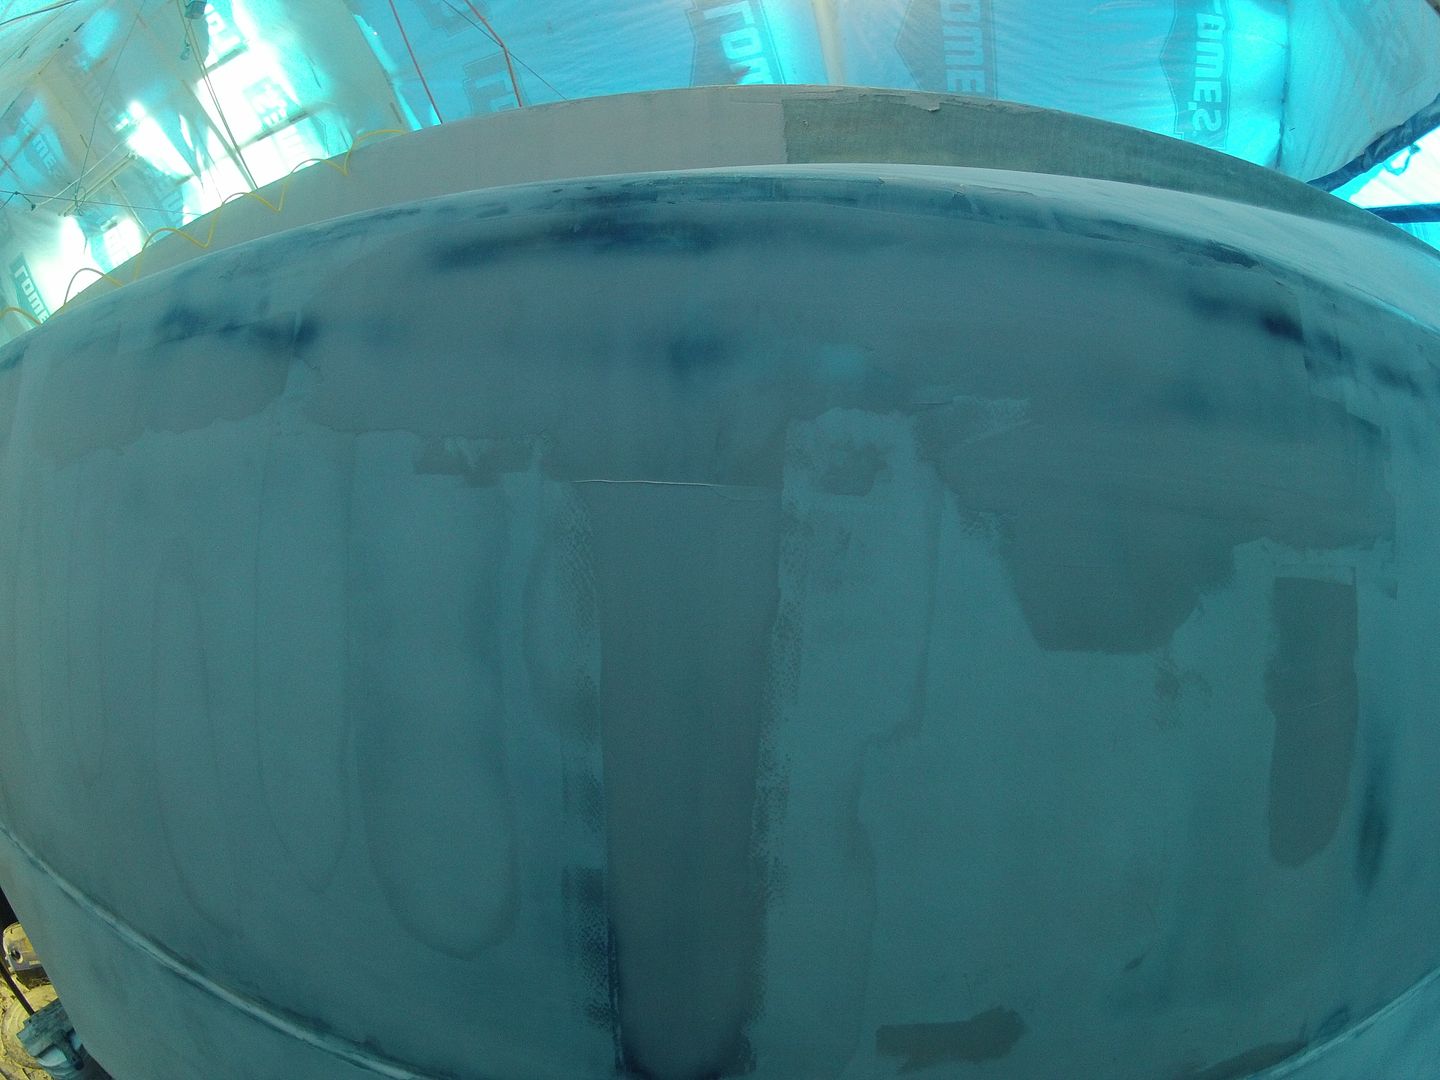
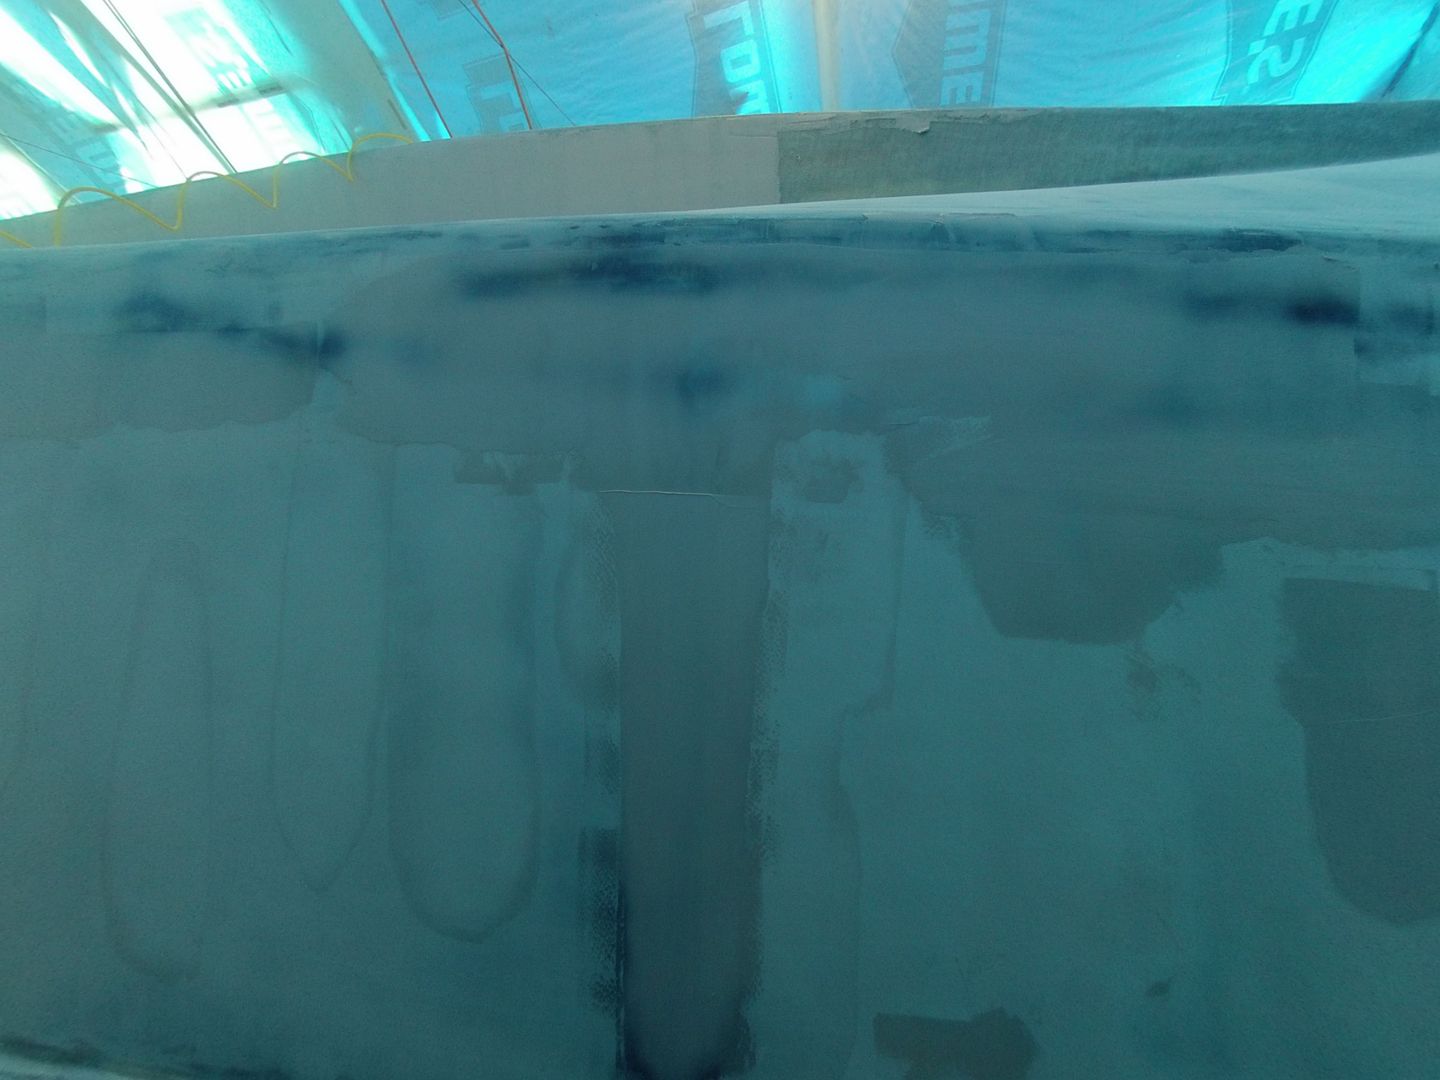
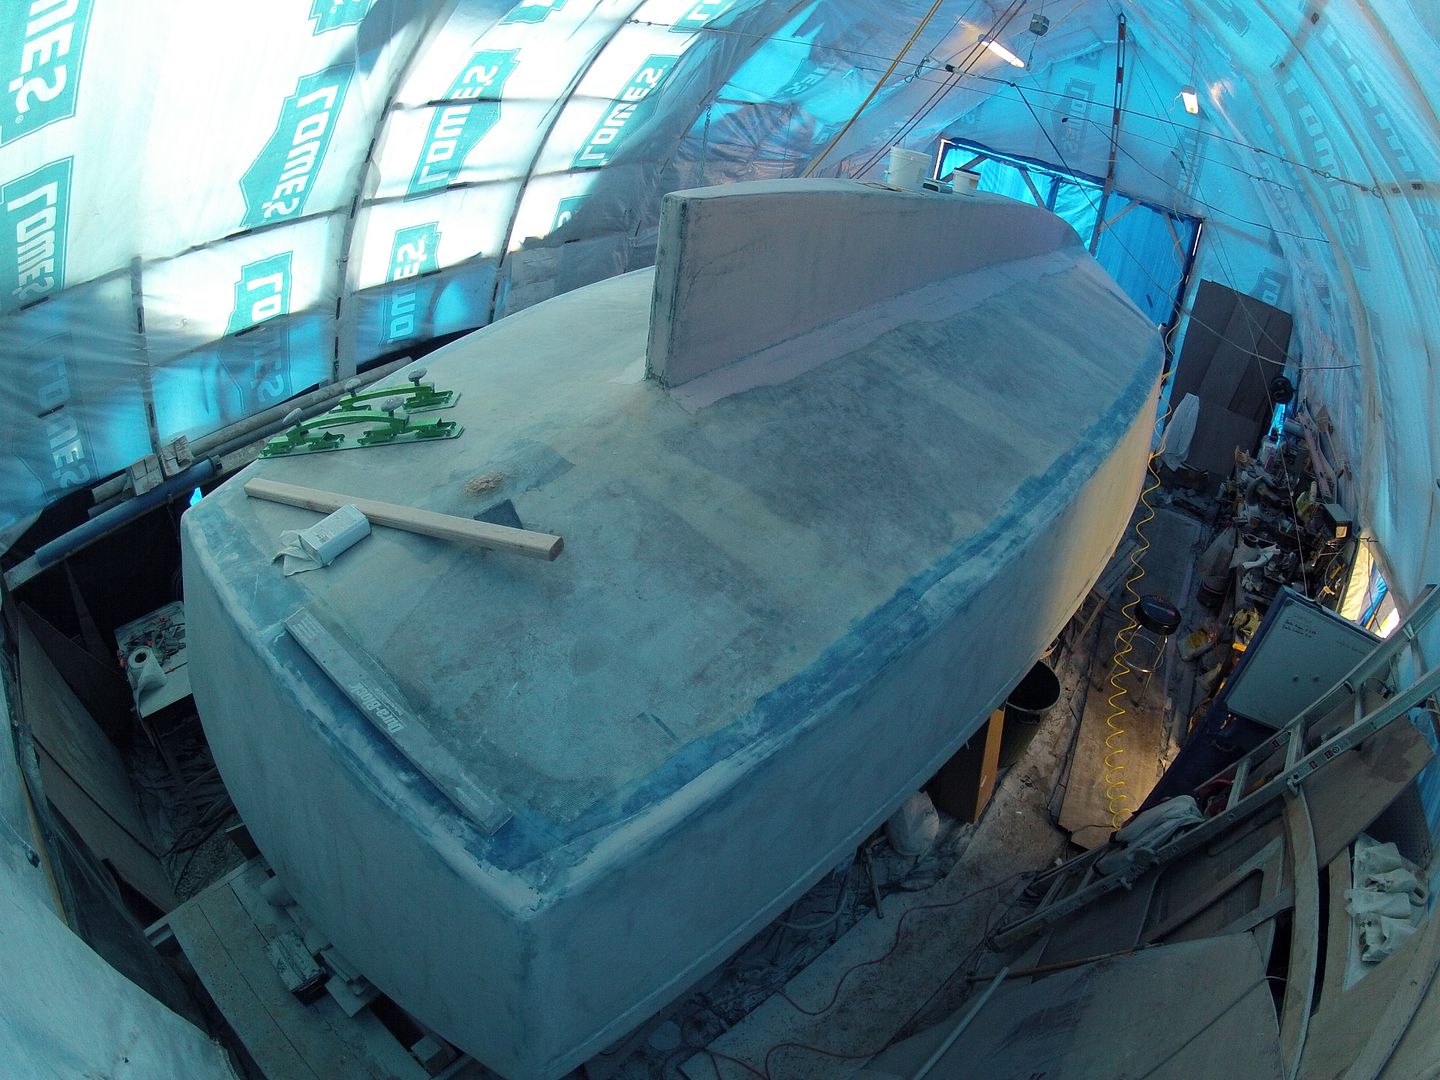
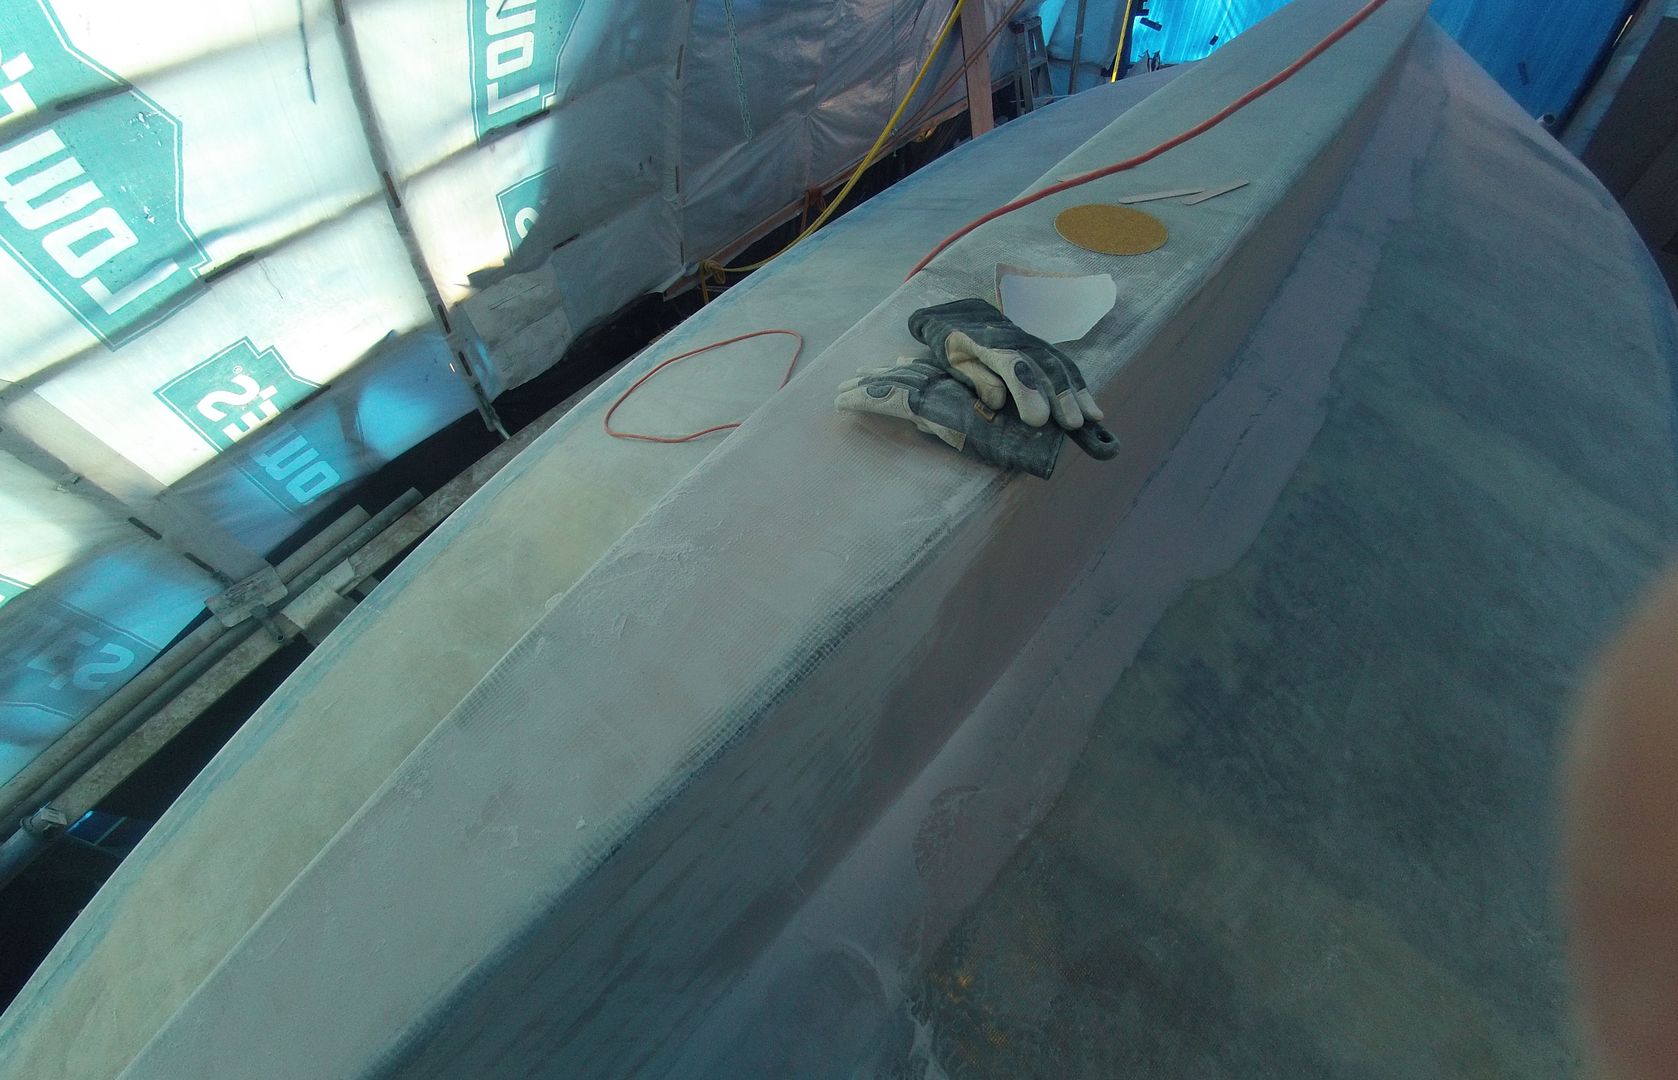
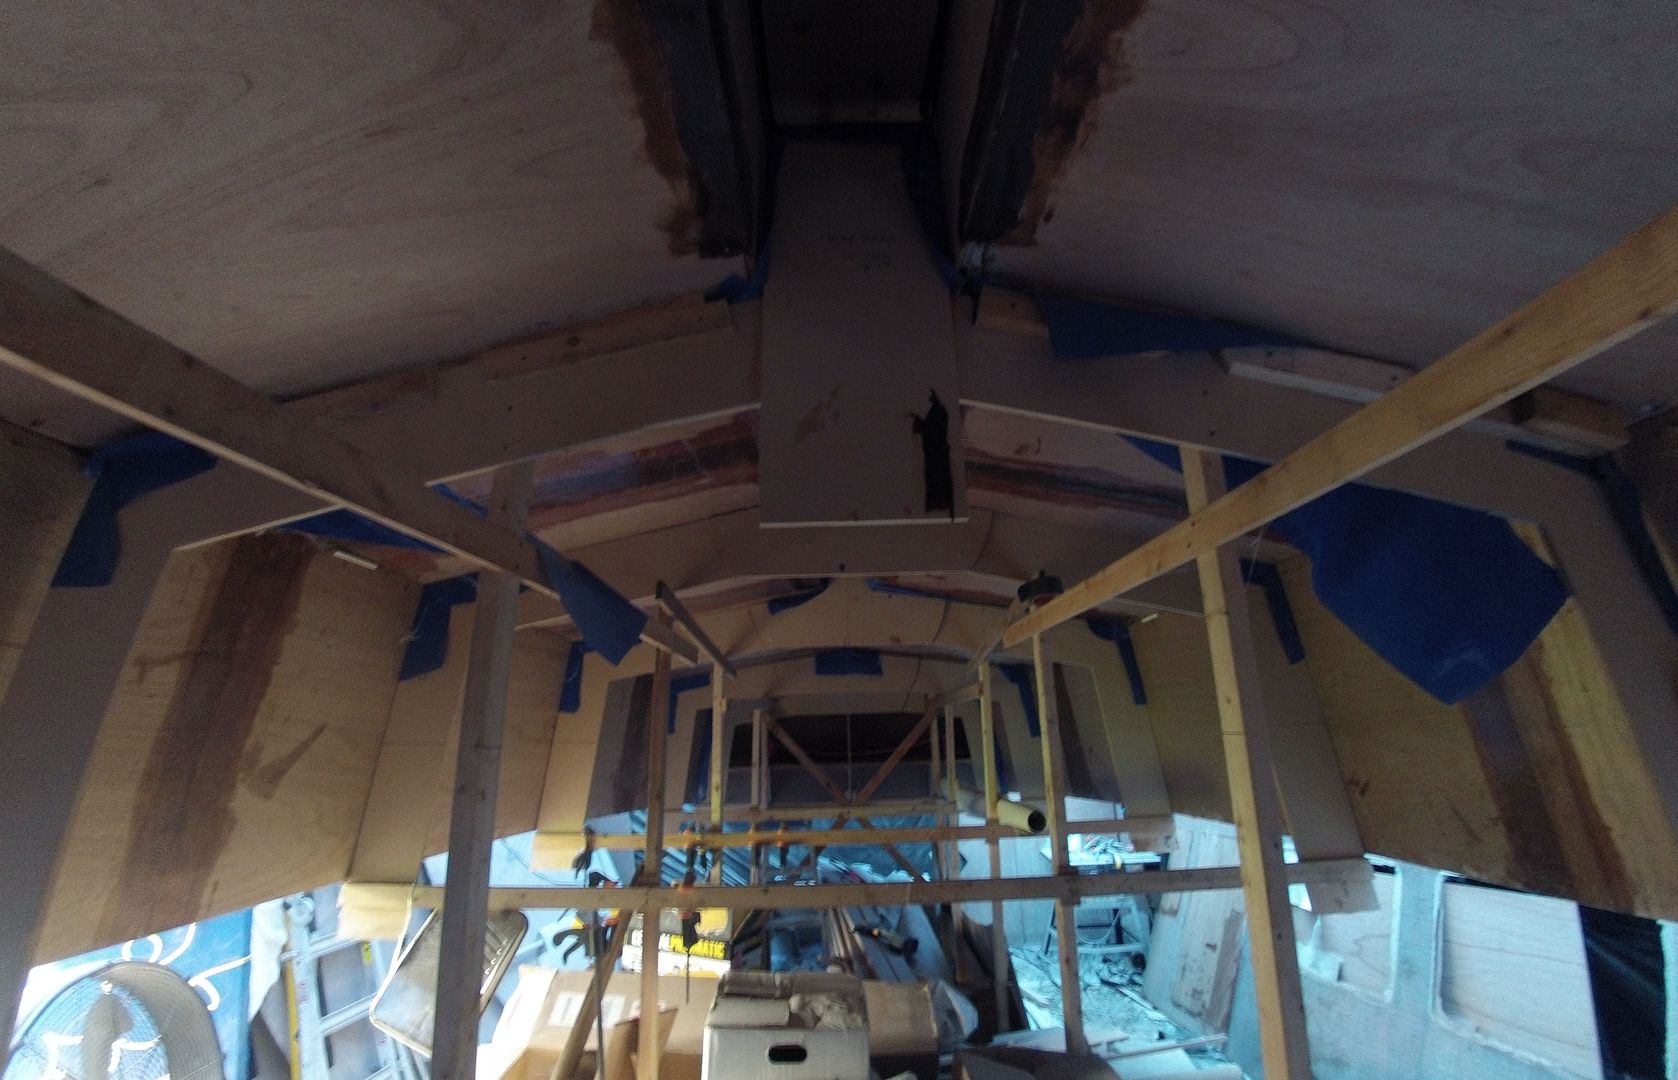
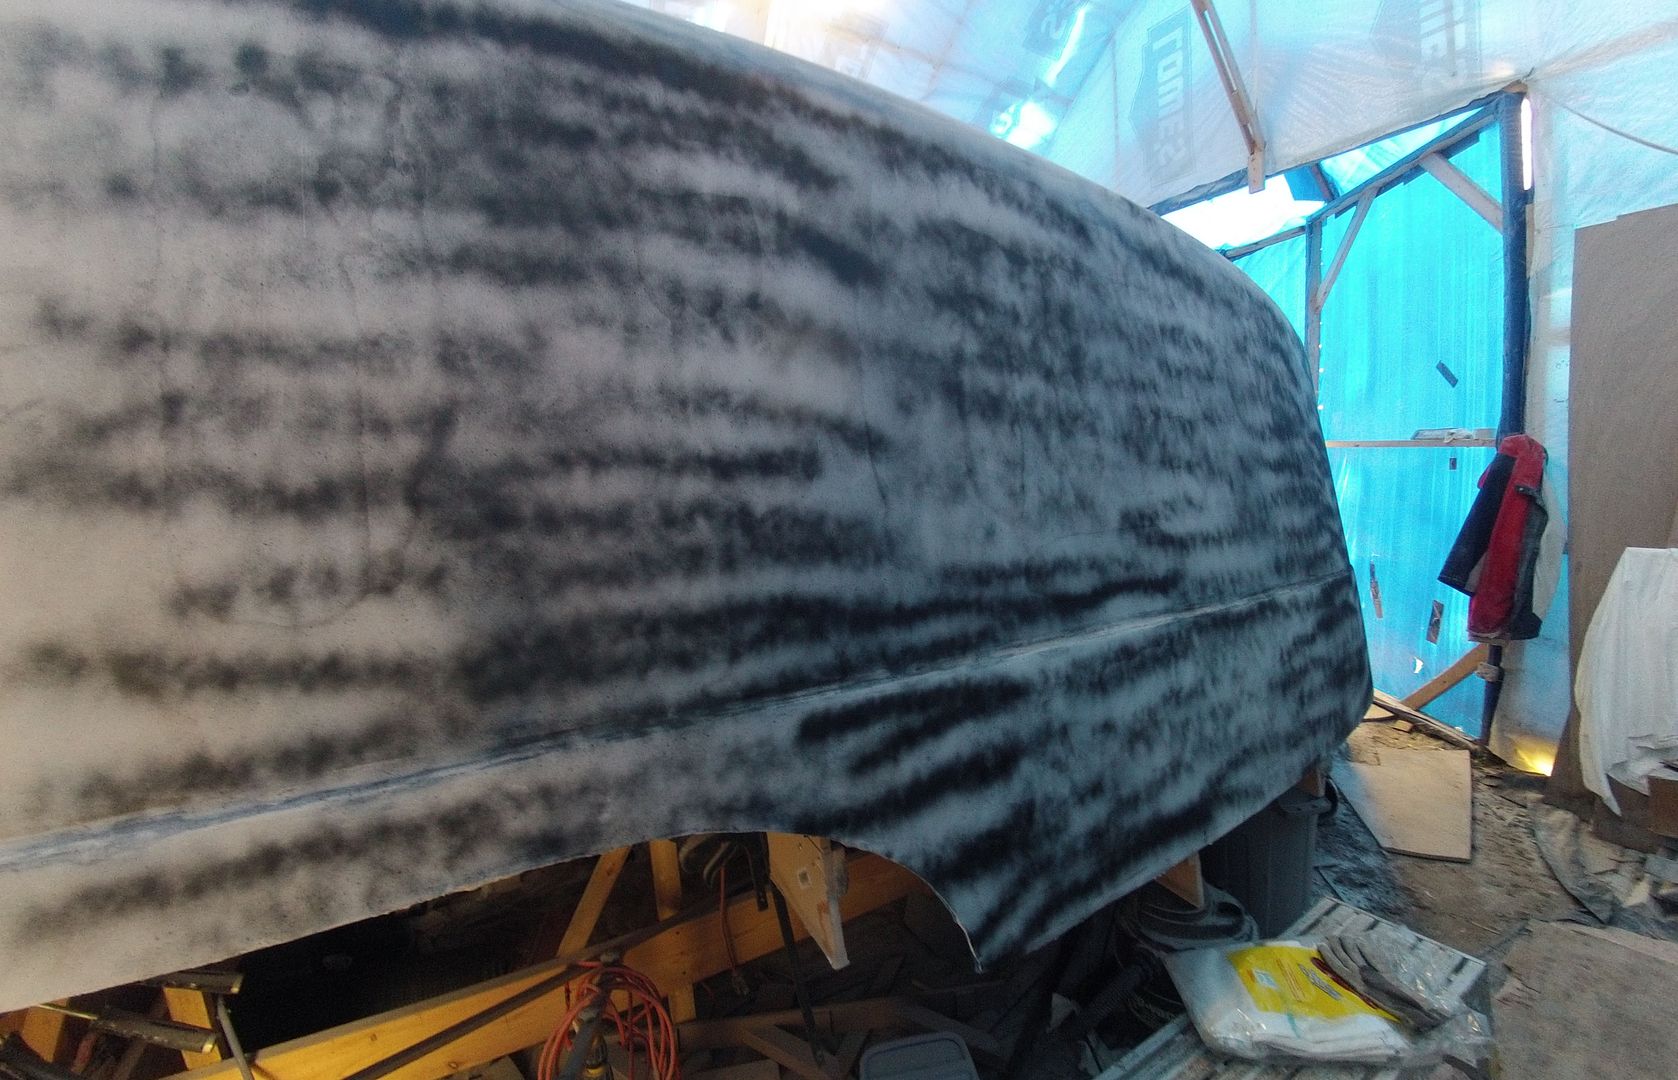
Re: Under Construction: Bateau.com TW28 Stretched
[FONT=Verdana, Arial, Helvetica]

Sandinsanity 2014 has begun! Web Log Updated: M/V She:Kon: Sandinsanity 2014 has begun[/FONT] |


")