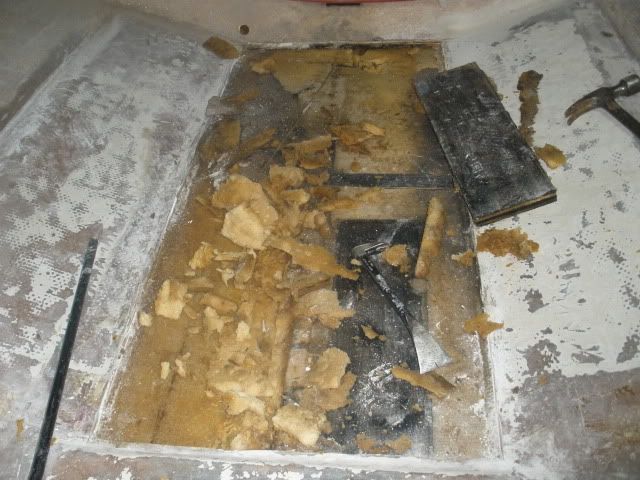
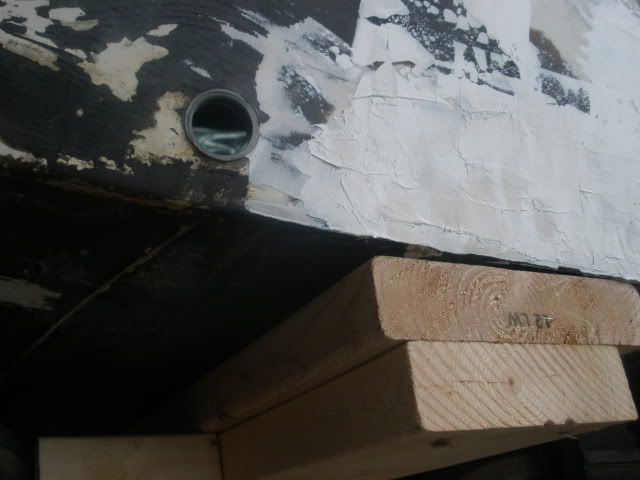
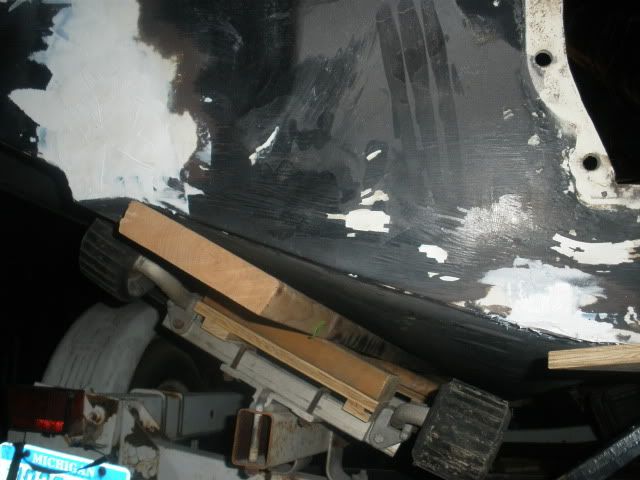
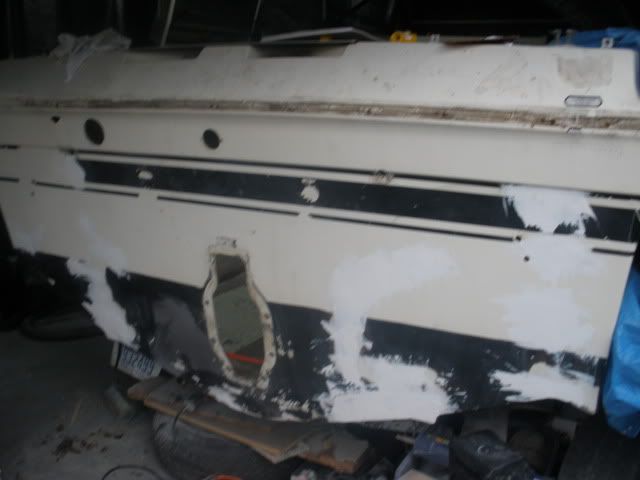
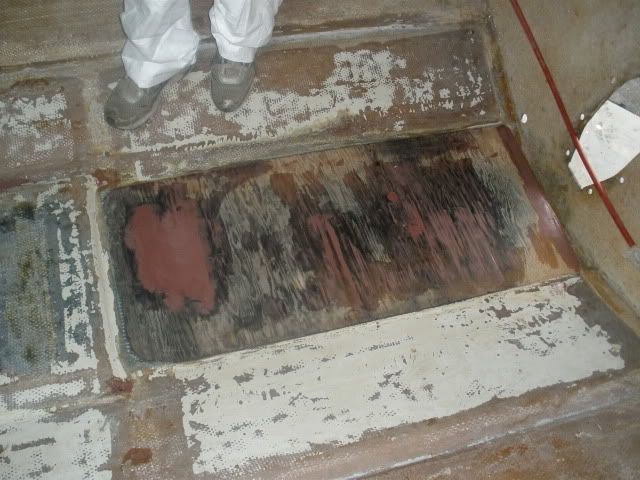
Man that third pic looks like they just slapped some putty in there ??? how does it look from the out side ? John
Hey Steve,
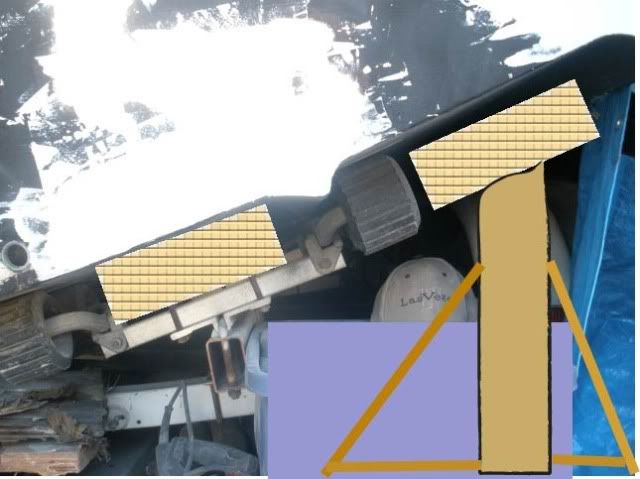
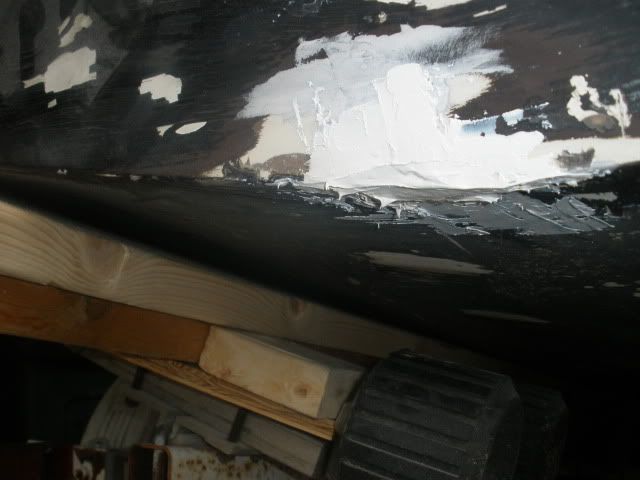
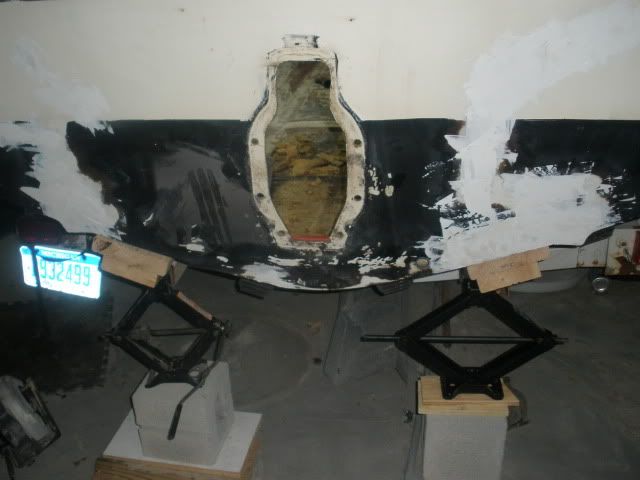
Looks like your project is moving right along. With that hole you show in the port side I would put a couple layers of cloth on it from the inside to repair it. start with a big piece extending past the hole and work down to small. Use the 1708 or seeing your using epoxy as Oops had pointed out to me you can just use something like 7533, it won't suck up as much resin. Do the same for the cut you put in the hull, 1708 or 7533 on the inside then fair the outside . As John pointed out that repair looks very poor, I would grind doen to solid glass and perform a proper repair
Hey Bill, good to see you. Yes, i'm going to start tearing it out tomorrow. Big dropping down to small for the glass pieces, eh? I was thinking opposite, glad you detailed that. I'll have to look up 7533, not sure what it is. I have some 6 oz. cloth and some 1708 on hand.
Bill, what do you use in your fairing compound? And peanut butter, for that matter?

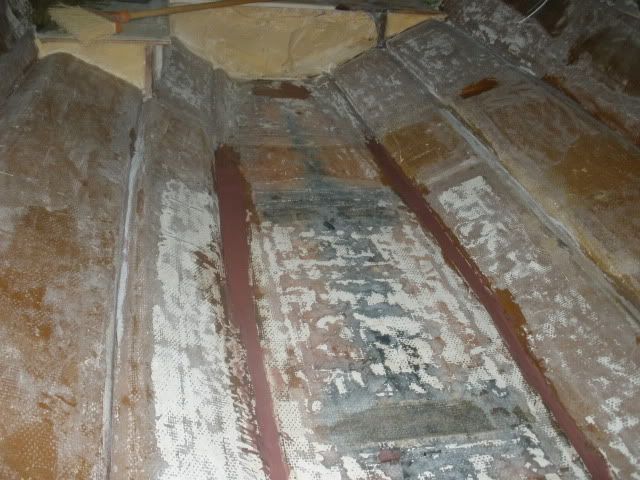
Looks good there steve !! I used a work light in mine and just left it going all night to make sure it cured !! did you get them spots ground ?? John
Big to small is what I have read here and its also what the West system says to do, initially I was going to do it the other way around too. It has to do with stress points, and concentrated load. If you go small to big at each ending of the piece you will concentrating the stress. If you start off big, and reduce from there the underlying piece helps to disburse the load. 7533 is 6oz 5.85) cloth with a 18x18 thread count 250#/in what you have should be fine, its the thread and load to look at. I switched to that when the resin supply got low, with epoxy you really don't need the mat thats on the 1708. Oops or on the river can explain it a lot better than me hopefully they will chime in.
For PB I just use cabosil to thicken for fairing I use cabosil and glass bubbles. It all depends on what I am using it for, I also have been known to use epoxy sanding dust(clean no junk in it) for PB and sanding dust+ talc for fairing. Although I will probably get yelled at here for that