Vernonbean's Bayliner Restoration

vernonbean

Seaman Apprentice
Joined
May 25, 2010
Messages
38
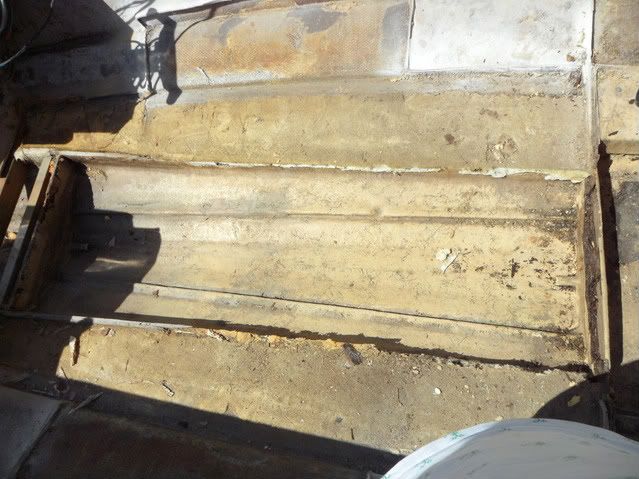
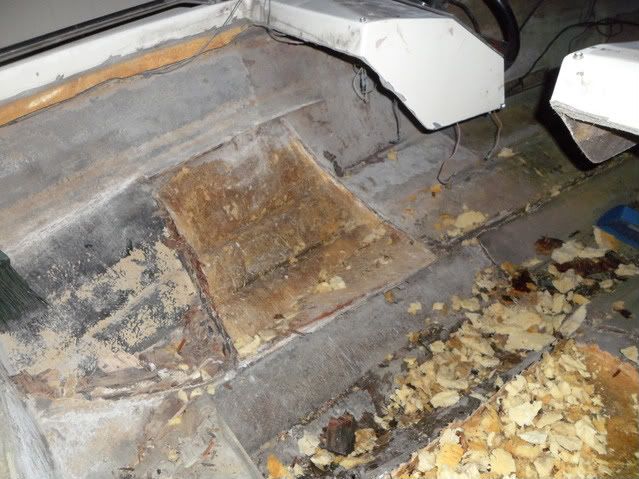
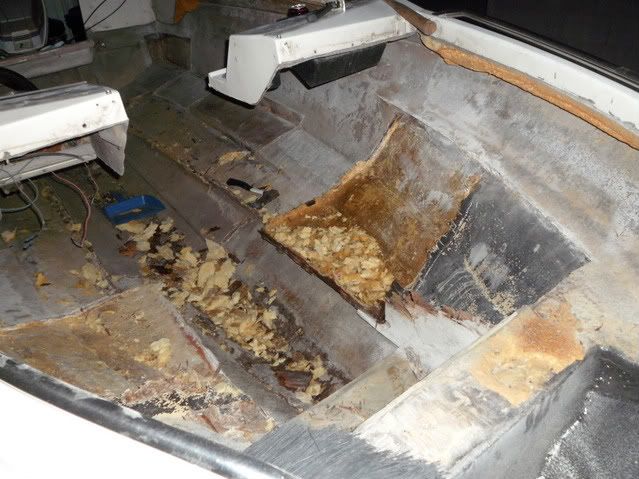
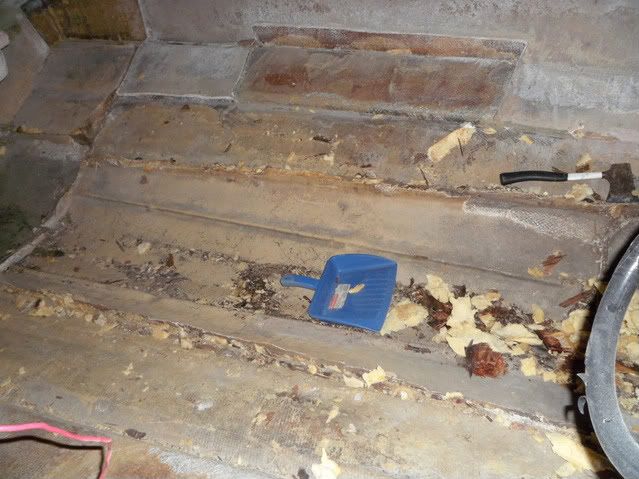
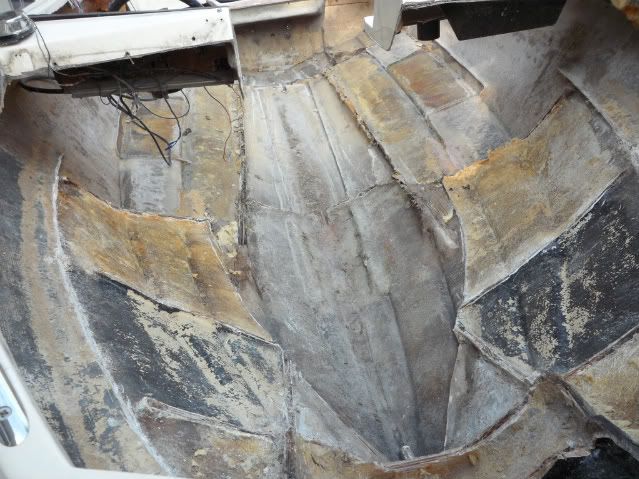
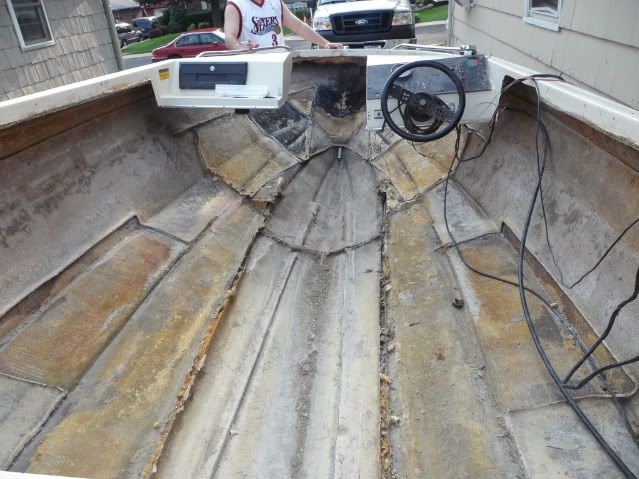
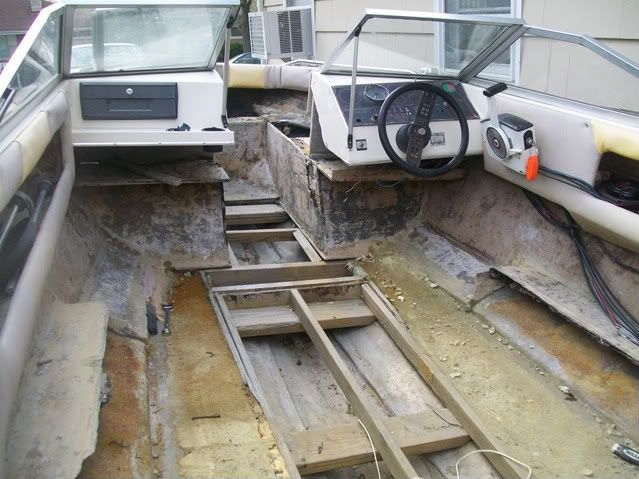
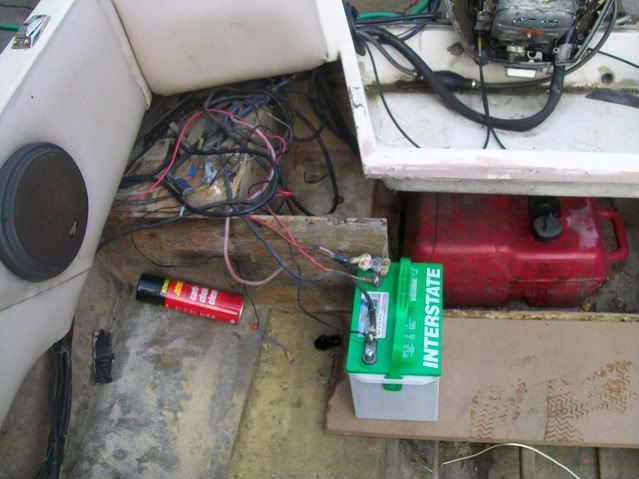
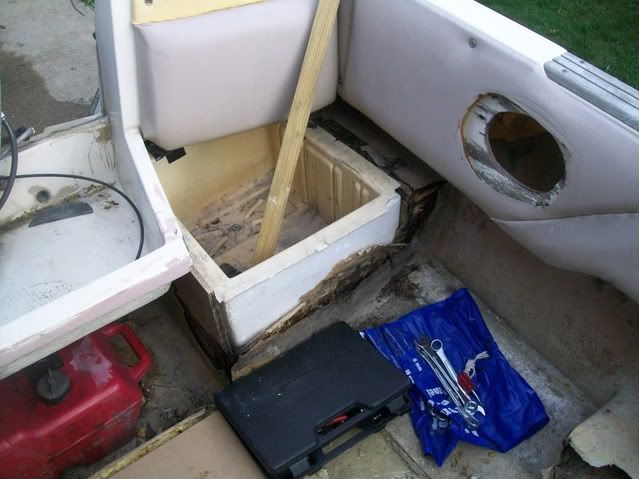
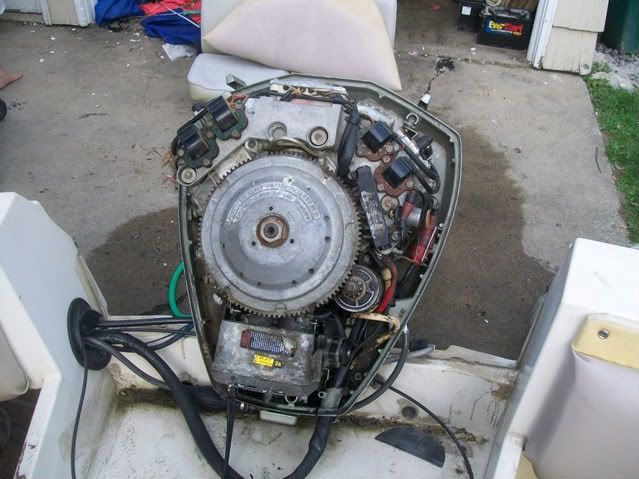
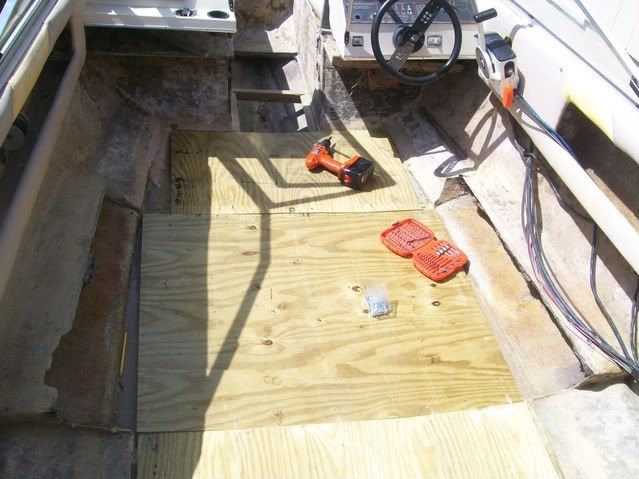
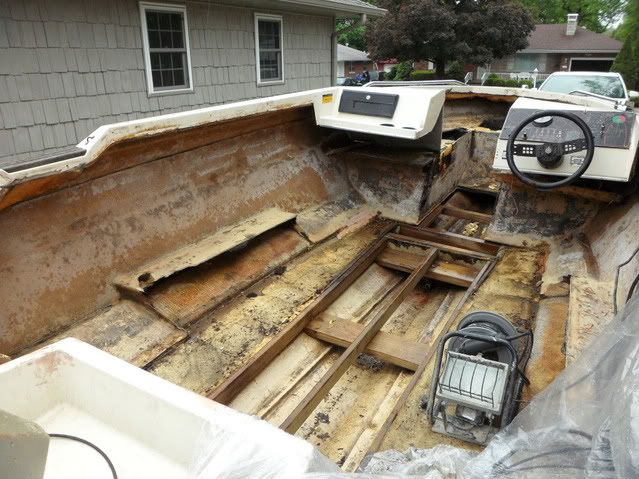
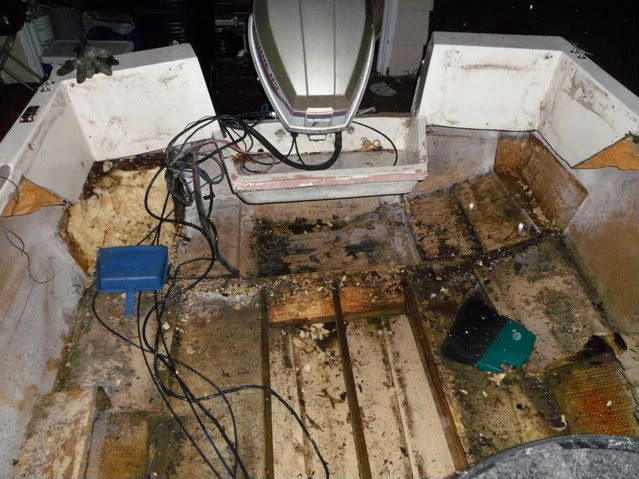
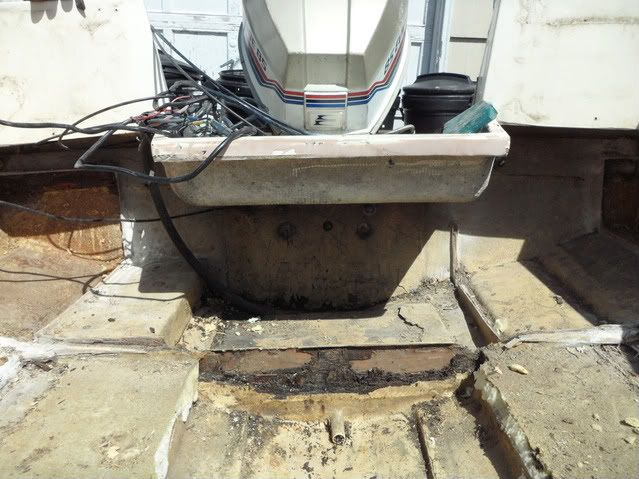
First off, hello everyone. I've been reading through the forums and have found so much useful information. I've gone and purchased a 1983 Bayliner Capri with an old Evinrude 85 hp motor. and guess what? All the wood is rotten. Can you believe it? Transom is no good, stringers were basically a mixture of mold/powder and on and on. The deck had already been removed, so of course that needed to be replaced. Anyways, it was a good deal and was sold as a project boat. I originally intended to just throw on a quick deck with some plywood I already had and run it as is for this season. Well, that didn't sit well for too long and I've started tearing her apart. So, I figured it's my turn to chronicle my restoration and ask questions/advice along the way. This is my first boat and I know very little about them, but I've learned a bit already from the forums and just tearing into her. Well... on with the pictures!

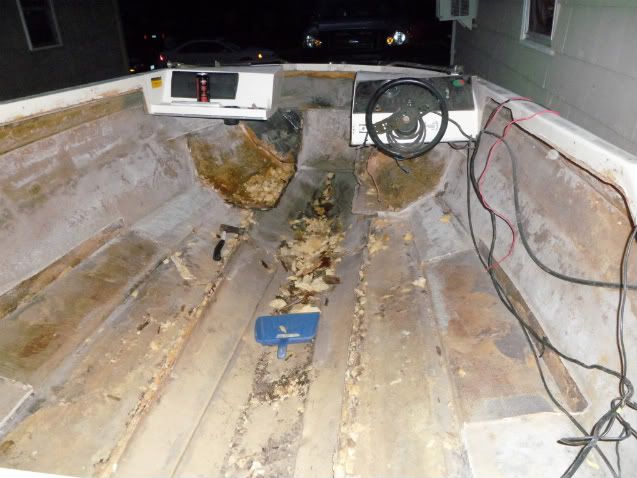
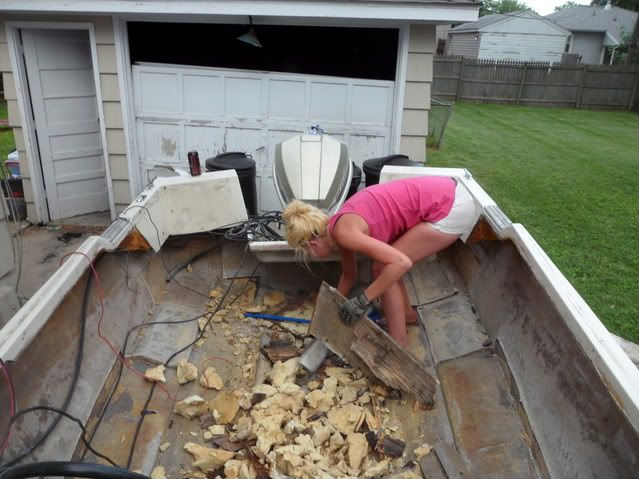
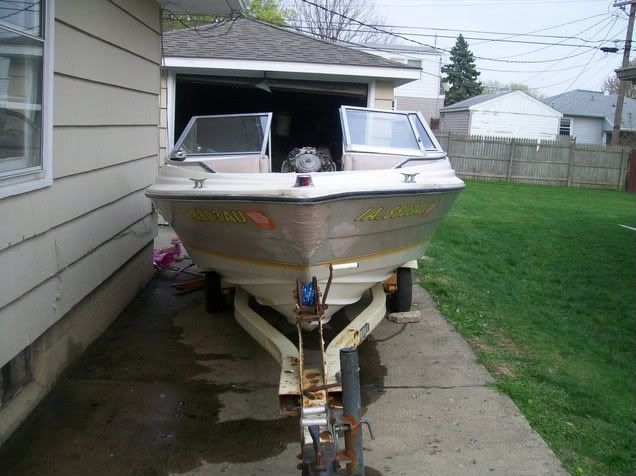
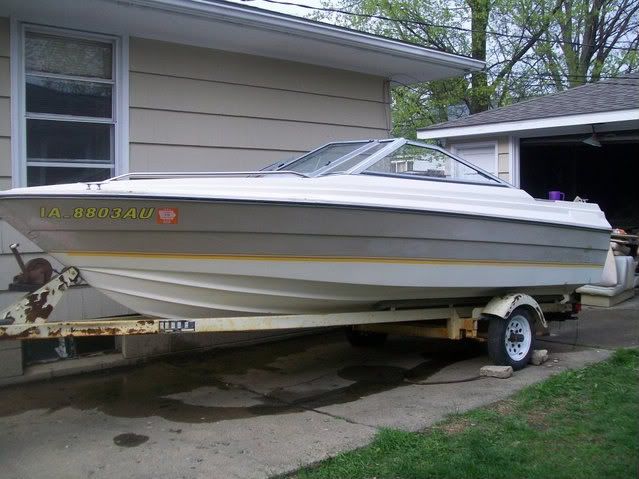
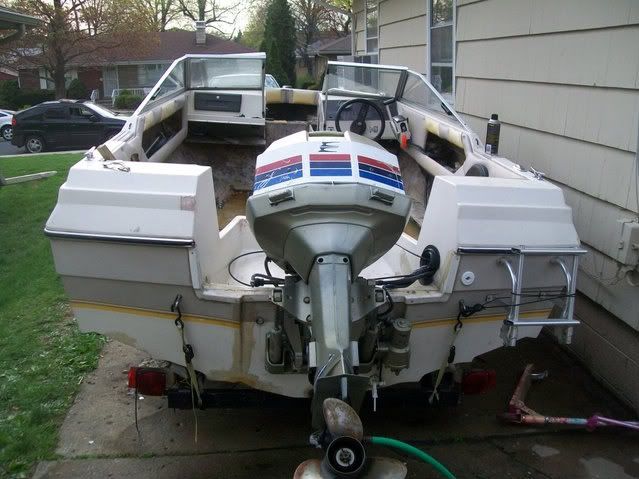
These are the pics of when I first parked it in the driveway:
100_0588-1.jpg

100_0589-1.jpg

100_0590-1.jpg

100_0591-1.jpg

100_0594-1.jpg

100_0595-1.jpg
 

vernonbean

Seaman Apprentice
Joined
May 25, 2010
Messages
38
Re: Vernonbean's Bayliner Restoration

1977 85hp Evinrude
100_0592-1.jpg


The quick deck that I threw in and ran with for about a week.
100_0605-1.jpg


And then started gutting her
SAM_0081-1.jpg


First order of business, off with the windshield
SAM_0084-1.jpg


Started cutting out the back seat
SAM_0086-1.jpg


And ran into this foam. Not too bad at the top, but the bottom was pretty wet.
SAM_0087-1.jpg
 
Last edited:

vernonbean

Seaman Apprentice
Joined
May 25, 2010
Messages
38
Re: Vernonbean's Bayliner Restoration

This is what I ended up with on the first night.
SAM_0090-1.jpg


Cleaned up
SAM_0097-1.jpg


Cut out the seat bases
SAM_0098-1.jpg

SAM_0100-1.jpg


Cut back the left over deck that was jutting out behind the seat bases. This way it's a little more even on both sides.
SAM_0099-1.jpg

SAM_0101-1.jpg
 
Last edited:

BigBoatinOkie

Senior Chief Petty Officer
Joined
May 28, 2009
Messages
763
Re: Vernonbean's Bayliner Restoration

Well, it's a project that's for sure.:D 
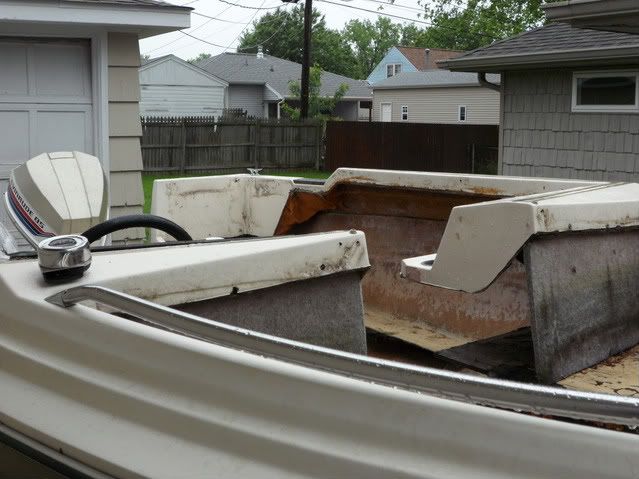
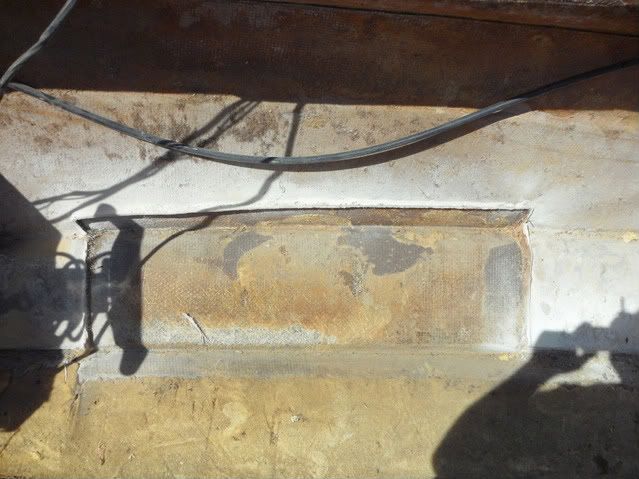
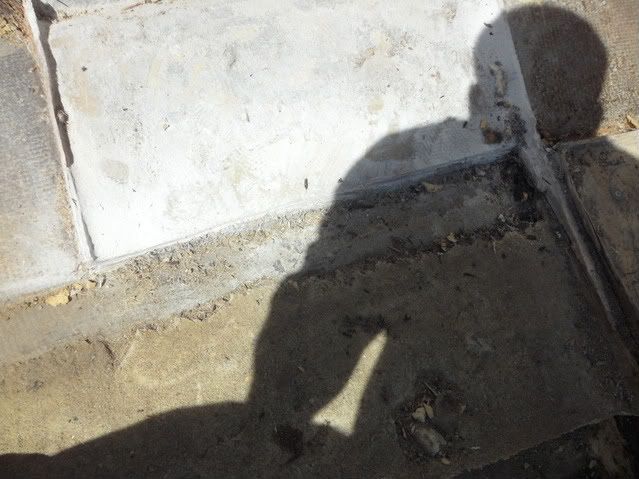
That's a pretty professional looking patch on the keel. Nice looking hull though, could be a real nice boat. Good luck.
 

vernonbean

Seaman Apprentice
Joined
May 25, 2010
Messages
38
Re: Vernonbean's Bayliner Restoration

There were makeshift stringers that only ran up to the console, short of the bow, right alongside the rotten originals. Well, this all came out, too.

Now empty
SAM_0102-1.jpg


And laying in the grass.
SAM_0103-1.jpg


First garbage can full of foam and fiberglass.
SAM_0104-1.jpg
 
Last edited:

BigBoatinOkie

Senior Chief Petty Officer
Joined
May 28, 2009
Messages
763
Re: Vernonbean's Bayliner Restoration

The whole layout seems kinda complex and inefficient. Looks like you could simplify some of the construction for a cleaner look. If the deck was raised up to the top of that bevel you would have quite a bit more floor space and it would look cleaner and would allow you to have below deck storage space. That may make it too high though, but from the pics it doesn't look like it would be. Just a suggestion.
 

vernonbean

Seaman Apprentice
Joined
May 25, 2010
Messages
38
Re: Vernonbean's Bayliner Restoration

Well, I got what I feel was a lot of work done today for having only put in about two hours. I tore out all the foam on either side of the stringers. I also cut out most of the wood from the bow and got all the foam torn out of one side. I found out something interesting. Ants like to make a nest inside of saturated foam.

So, I've still got to remove the rest of the bow. Then I've still got to cut out the transom. Of course I'm going to have to remove the engine and pop the cap. Wish there was more room. Having the cap removed from the hull seems like it makes for good time to paint it. Which brings me to a question... is it ok to paint over the gelcoat or what do I need to do there?

Any and all feedback would be appreciated.

Silly me, I forgot my camera, so I'll take some pics and post them tomorrow.
 

solar7647

Lieutenant Junior Grade
Joined
Apr 23, 2009
Messages
1,218
Re: Vernonbean's Bayliner Restoration

You can paint over gel coat but you need to make sure you do three things or the paint will be more likly to peel.

1) wipe the entire boat done with a acitone soaked rag
2) sand the entire boat with a 220 grit
3) wipe again with acitone

There is a mold release agent that the manufacture uses when they make the hull and it is a wax. I needs to be removed before you paint or the paint will peel. The way I discribed is the way that was recomended to me by a local shop.

Looks like you got a good project going. I am finishing up one of my own. Dont get discurged and keep on trucking it will be worth it in the end.
 

BigBoatinOkie

Senior Chief Petty Officer
Joined
May 28, 2009
Messages
763
Re: Vernonbean's Bayliner Restoration

That's just two hours worth of work. Man you were gettin with it. If you can keep up that kind of pace you'll be done in no time. I'll be watching your progress. Keep it up man. Oh, hope you didn't think I was being critical in my last post, just had an idea.
 

vernonbean

Seaman Apprentice
Joined
May 25, 2010
Messages
38
Re: Vernonbean's Bayliner Restoration

Solar, that's basically what I was thinking I should do anyways. Clean it real well, sand it down, and clean it again before priming and painting. Thanks for the info, though.

Okie, I had to work fast if I wanted to get anything done before little ones begged me to clean out the pool and do some bellyflops lol. Which, by the way, don't try to bellyflop into one of those inflatable kiddie pools... it's not enough water... I didn't take the other post wrong. I was thinking that I would probably build some bracing up to the bevel in the sides of the hull. Not sure which way I'll do it yet, but I've definitely got a lot of ideas and examples to pull from this site.
 

jayjr5

Recruit
Joined
May 27, 2010
Messages
2
Re: Vernonbean's Bayliner Restoration

looks like you've got a good project. good luck and hope you well
 

tschmidty

Chief Petty Officer
Joined
Mar 24, 2010
Messages
462
Re: Vernonbean's Bayliner Restoration

Looks good and will be a cool little boat when you are done.
 

vernonbean

Seaman Apprentice
Joined
May 25, 2010
Messages
38
Re: Vernonbean's Bayliner Restoration

Didn't get much done today. I just ripped up the rest of the foam that was up in the bow and did an overall clean up. Still have to cut out some plywood from the bow, lift the engine, pop the cap, cut out the transom, and grind everything down. Once that's done, I think I can get the rest finished up pretty quickly. Here are the pics I got of everything as it sits tonight.

SAM_0130-1.jpg

SAM_0131-1.jpg

SAM_0132-1.jpg

SAM_0133-1.jpg


And I couldn't believe it... I actually got my sister to help sweep up the debris.
SAM_0129-1.jpg
 

BigBoatinOkie

Senior Chief Petty Officer
Joined
May 28, 2009
Messages
763
Re: Vernonbean's Bayliner Restoration

Man, you don't mess around. Nice work.
 

solar7647

Lieutenant Junior Grade
Joined
Apr 23, 2009
Messages
1,218
Re: Vernonbean's Bayliner Restoration

Holly cow at this rate your going to be on the water in time to enjoy the Forth!....good work!
 

vernonbean

Seaman Apprentice
Joined
May 25, 2010
Messages
38
Re: Vernonbean's Bayliner Restoration

Well, today was a waste. Sat around all day waiting on my buddy to come over to help me take the motor off. Of course he never came around. I was going to get some grinding done today, but instead I was trying to figure out how to take the throttle out without having to cut wires (finally figured it out the hard way.) I now know how the inside of the throttle works. (it took me about forty five minutes to find the little ball bearing that shot off about ten feet into the grass. So, anyways, today ended up being shot. Gonna get up early tomorrow. My daughter is sleeping at her cousin's house, so I'm gonna get as much done as possible before she comes back. I'll have more pics of what I complete tomorrow night.
 

solar7647

Lieutenant Junior Grade
Joined
Apr 23, 2009
Messages
1,218
Re: Vernonbean's Bayliner Restoration

Well, today was a waste. Sat around all day waiting on my buddy to come over to help me take the motor off. Of course he never came around. I was going to get some grinding done today, but instead I was trying to figure out how to take the throttle out without having to cut wires (finally figured it out the hard way.) I now know how the inside of the throttle works. (it took me about forty five minutes to find the little ball bearing that shot off about ten feet into the grass. So, anyways, today ended up being shot. Gonna get up early tomorrow. My daughter is sleeping at her cousin's house, so I'm gonna get as much done as possible before she comes back. I'll have more pics of what I complete tomorrow night.

I found earlly in my project, that you can wast a ton of time waiting on people. I started adding insentives for people when I really needed and extra person, beer and dinner works great to get peoples help!
 

vernonbean

Seaman Apprentice
Joined
May 25, 2010
Messages
38
Re: Vernonbean's Bayliner Restoration

Just got a little more cutting done today. Stillllll need to remove the engine and pop the cap to get back at the transom. Lots of grinding left to do, then glass in some plywood. I think I'm going to go ahead and go with exterior grade and poly resin, lots of mat, and some cloth. I know the pressure treated needs to be dried for like forty two years, so I don't want to go that route. If I were to decide to go with the marine grade, does that need to be dried out at all?

On another note, playing around with the tilt motor, I ended up breaking a piece in there. I'm going to see if I can find a replacement part, but I'm not sure if I need an engine specific part or what. All I can see is a sticker on the carb cover that says it's a 1977 85 hp evinrude. Where do I found the model number stamped on the actual engine itself?

And pics:
SAM_0173-1.jpg


SAM_0172-1.jpg


SAM_0174-1.jpg
 

BigBoatinOkie

Senior Chief Petty Officer
Joined
May 28, 2009
Messages
763
Re: Vernonbean's Bayliner Restoration

Lookin good man. You may already know, but when you get to grinding, flap discs are the way to go. They will make short work of that fiberglass tabbing. Just thought I'd let you know in case you weren't aware.

flap%20disc1.jpg
 

vernonbean

Seaman Apprentice
Joined
May 25, 2010
Messages
38
Re: Vernonbean's Bayliner Restoration

Appreciate it, Okie. I already picked up a couple of those flap discs, but I really wasn't sure if they were the best choice or not. Thanks for confirming my choice. This is the first time I've ever done anything like this, so I wasn't too sure. Anyways, thanks. Those flap discs are gonna get put to work here soon. And Happy Memorial Day to everyone.
 
Top