14' Larivee restore

friderday

Chief Petty Officer
Joined
Apr 1, 2012
Messages
463
LOL....character...something I am not lacking...nor should my boat! Mike, I used almost a gallon overall. When I did the 2 coats of white, I think I used 32oz total. About the same on the 2 coats of gray before sand...maybe just a bit more. Then 2 coats after sand at 32oz. Maybe a bit more but I did have some waste in the beginning until I got dialed in on the kick time with this South Florida heat. I figure a gallon of gel did this at roughly 35 sq. ft., 4 or so coats. Keep in mind I did thin with styrene at about 10%. Can go up to 15% I think. Some people thin with acetone. I chose the styrene. As far as the hardener is concerned, check with your resin or gel supplier. They will give you calculations. Some people prefer metric over standard. Just keep in mind your kick time is directly related to your temperature. The hotter it is, the less time you have to work. Be ready to start rollin' as soon as you have adequately mixed. Also, I learned this the hard way...the hard way meaning I have thrown away a lot of kicked gel because I mixed not more than what I needed, but more than what I could use in the time frame before kick. Work in small batches...on this deck, I only mixed 16 oz batches at most. You may find you get good coverage after only a few coats. It's tricky, shootin' in the dark here, since I am rolling, not spraying, but still trying to get my thickness/mils. Time will tell, I guess. Until then.....bring on the character!
 

Corjen1

Lieutenant Junior Grade
Joined
Aug 24, 2013
Messages
1,237
Looks great FDD, hope your thumb gets to working soon!!
 

ahmincha

Lieutenant Commander
Joined
Jul 21, 2012
Messages
1,512
Great feeling isn't it I thought woo hoo no more itching was true till I drilled some holes LOL. Looks A1 and done one handed you just can.t keep good people down
 

friderday

Chief Petty Officer
Joined
Apr 1, 2012
Messages
463
Thanks for the well wishes..thumb not doing the greatest. Hoping a little more time will help. Sadly, it is EXACTLY the way it was before surgery. Still pain in the distal joint and can't bend it very much without pain. Really, no different. Go back to dr in a couple wks. Gonna have a pow-wow if no better. Don't tell him yet, but I have already considered firing him...shhh. Starting to get the "ick" about him(for you boys, the "ick" is a feeling we chicks get when things are starting to go sour in a relationship)...I have learned over the years to listen to my inner-ick! (and it's starting to whisper)...Yeah, minch, isn't it great when something that big finally gets done? I'm not itching near as much as I was the last year, but you are so right....today....drumroll please....I put my keel guard on. (I'll prove with pics another time...hot 'n tired right now). Had to scuff it up. Just the little that I did with some 120 grit got me itching. It went on pretty nice. Hardest part was taping/preparing the appropriate size/area. Didn't want to go too much or too little. There's a slight bend right in the front about a foot down from the eye (of course it couldn't be under the boat where only Flipper would see it....grrr!!), but all in all, I'm satisfied. I keep remembering some advice woody gave us some time ago on his BF thread...He had splashed(the first time) and there was a pic of him & the grandkids...I think he was smiling more than they were. Anyway, he reminded us what was truly important, and I don't think it would include whether or not a keel guard had a little bend. My buddy is supposed to have my transom aluminum plate made by mid-wk. Once fitted...off to powder coat.
 

friderday

Chief Petty Officer
Joined
Apr 1, 2012
Messages
463
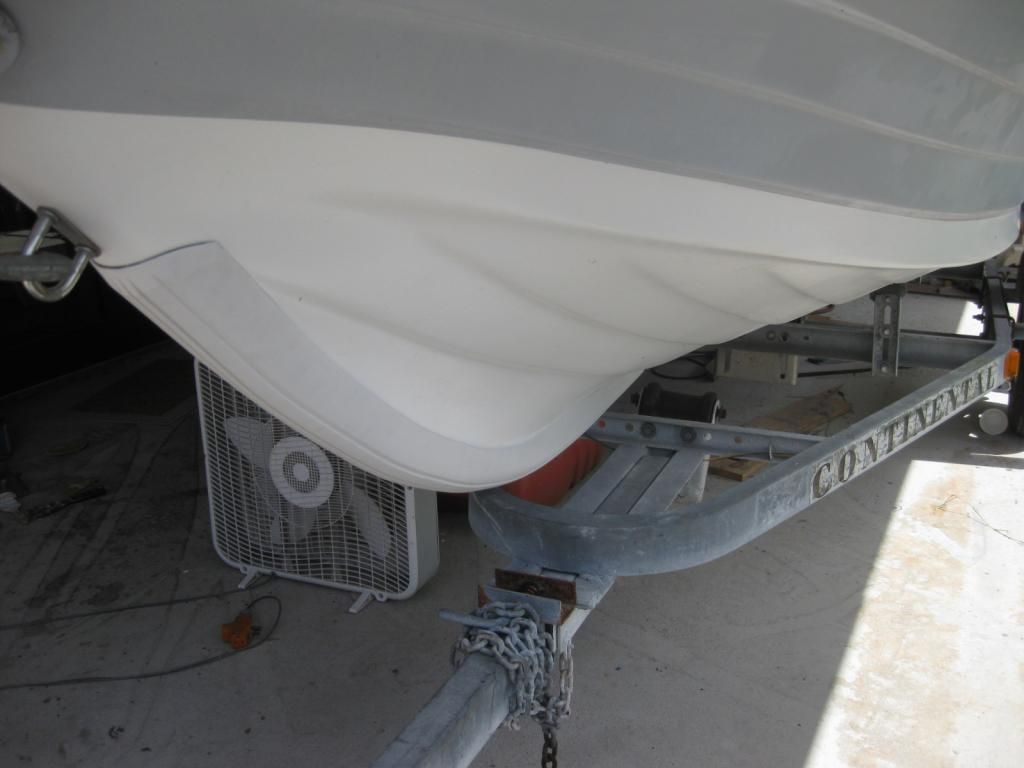
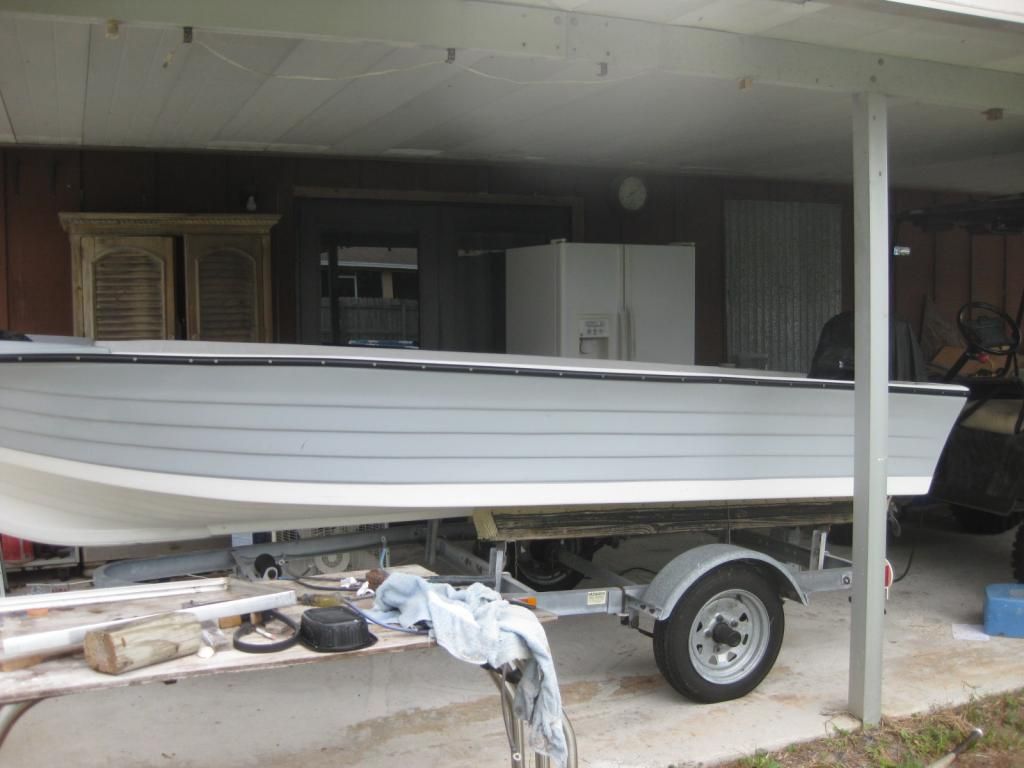
Time for some pics & questions.....first of all, here is the keel guard. As I previously stated, satisfied with it as long as it stays on.
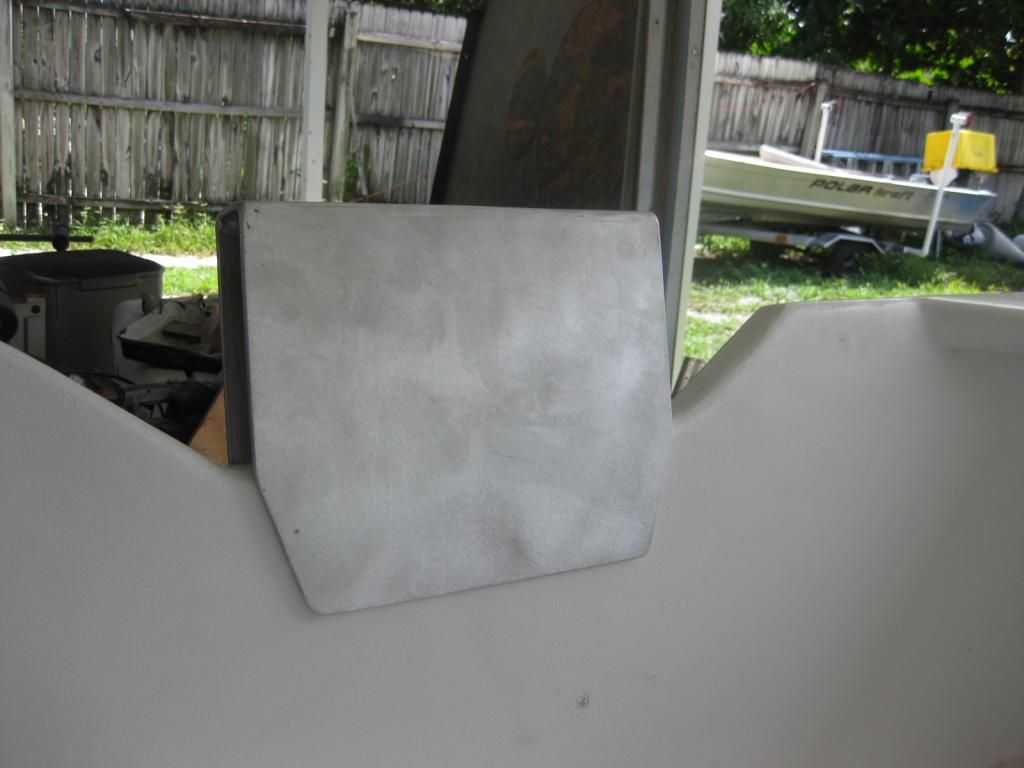
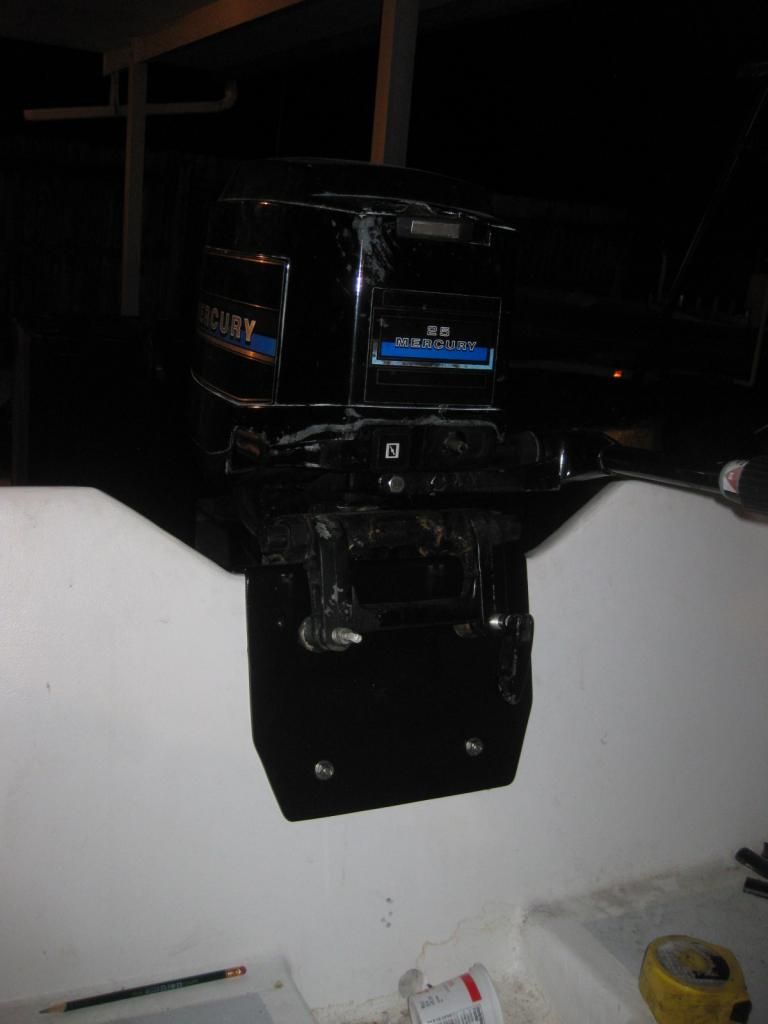
I picked up my transom plate this wk. Here is a view of it above it's final resting place. I need to push it down(it's a little snug but still able to slide down), attach the motor and take the boat out for a little run....for a couple of reasons: I have not ran the motor except for on the hose/stand since replacing the impeller. You may recall it started pee-ing' a little warm couple months ago..still with great force, but a little warm. After dropping the lower unit, I did find an intact impeller, but one of the pegs was bent over the wrong way. I have yet to find out if this motor has a thermostat. Need to look into that...I'll be darn if I see one on any of the diagrams or on the motor. I will dig into this quandary further. In addition, I have not ran this engine on the boat since cutting out and finishing the transom. I "think" I'm at a good shaft height, but need to put it in action and confirm before I bolt thru plate/motor for a more permanent fit. Hopefully, by the time I figure this out, my guy will be making progress on the seats. Powder coating will come for this plate as well.
I am having doubts about attaching the original rub rail & insert. They are both in questionable shape and the insert is not real bulky(understatement). Just not sure how much "protection" & durability it will offer.
I have been looking all over online at rub rails. Don't they make a rubber piece (one piece) that can be screwed directly onto the gunnel? Not 2 pieces, just one? No frame? I can't seem to find.
 

friderday

Chief Petty Officer
Joined
Apr 1, 2012
Messages
463
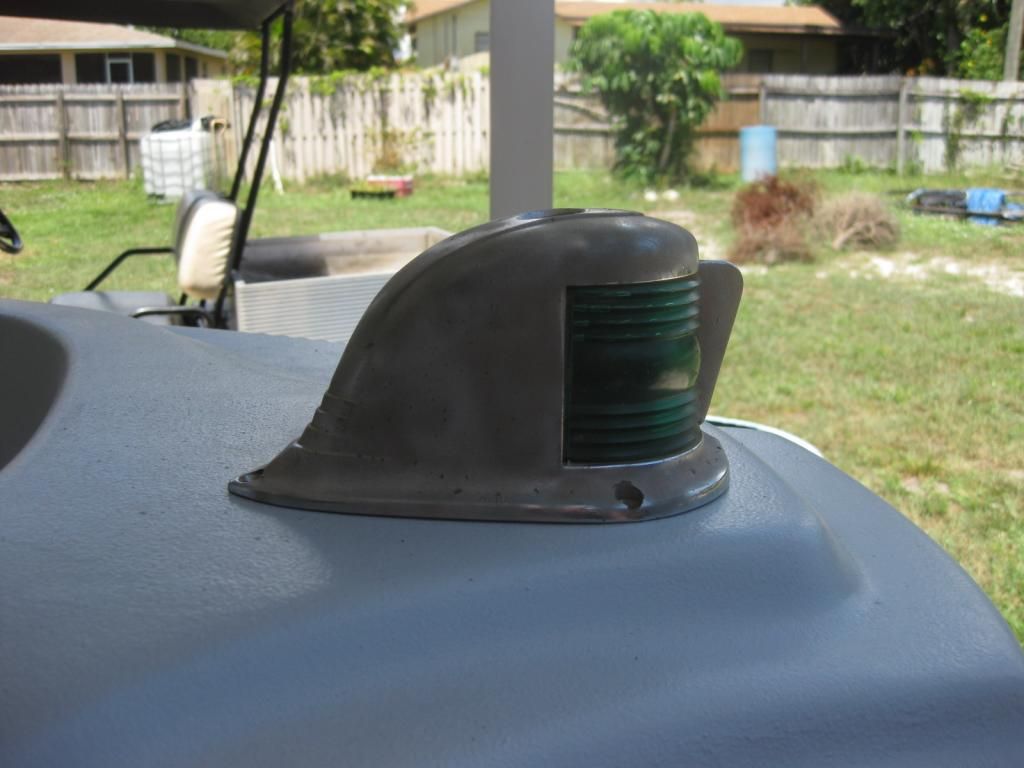
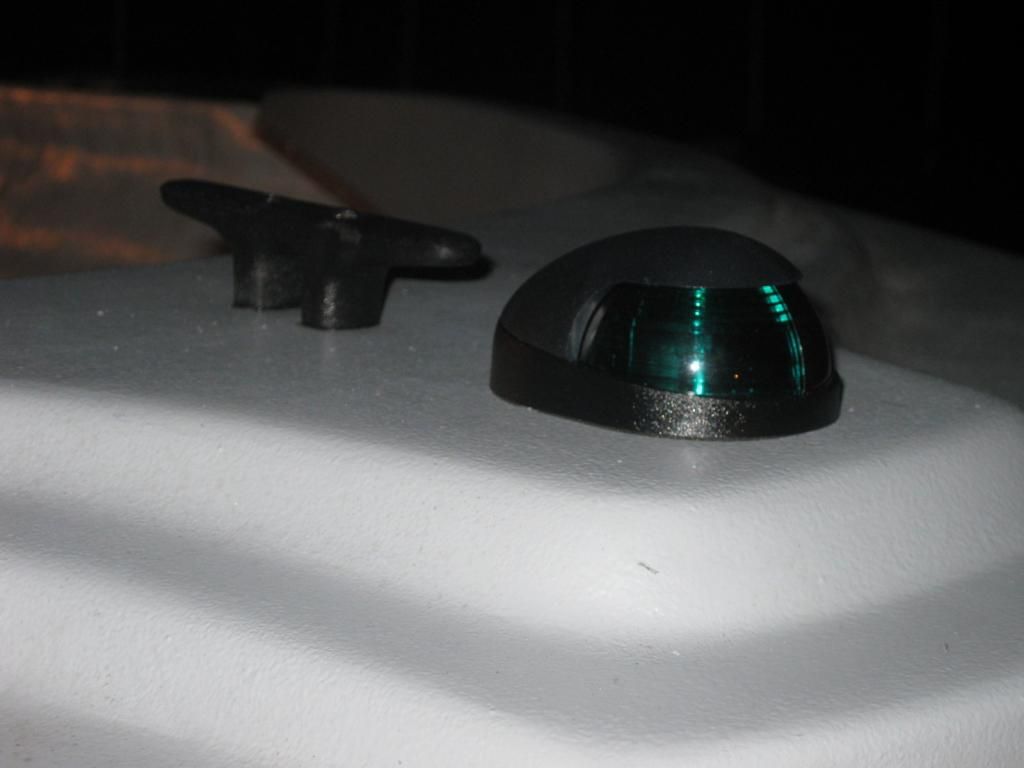
...and one more question..Here is the bow light that minch was nice enough to part with. It is in good shape, with only a small amount of pitting. I have been considering what to do with it: 1)sand & polish it up or 2)sand/scuff, put a light coat of bondo on, hand sand, primer, & paint either white or black? I am not crazy about shiny, never have been. My first thought was to follow in the footsteps of sphelps, as he finished his unique bow light with white appliance paint. But I got this weird thought....how would it look painted flat black? I plan on a pinstripe (adhesive) at the white/gray seam along the sides. It will most likely be black. I could get a black cleat & black pole holders in the back. Thought it might make a pop. My son thinks I'm loco! What do you guys think? I might spray with plastidip just to see what it looks like black, sit it up there, and have a look see. Then peel it off and proceed accordingly. Thoughts, comments, criticisms......
 

sphelps

Supreme Mariner
Joined
Nov 16, 2011
Messages
11,475
Black would look good just don't lay any skin up against it in this Florida heat .. :eek:
 

GT1000000

Rear Admiral
Joined
Jul 13, 2011
Messages
4,916
Rustoleum and Dupli-color both have what are known as temporary paints that can be applied to all kinds of surfaces and will only come off when you want it to...
I have seen it used by many on their cars to create the "blacked out" look on emblems and trim and it stays on well for a very long time...
You could try one of the many colors offered, including flat black and stare at it until you decide what you like...
Couldn't find a ton of info right off, but here are a couple of links...
http://www.amazon.com/Dupli-Color-CA300-Red-Temporary-Paint/dp/B000FNAEJO
http://www.rustoleum.com/en/product-catalog/consumer-brands/auto/specialty-paints/peel-coat

Luvin the progress...:D
 

GT1000000

Rear Admiral
Joined
Jul 13, 2011
Messages
4,916
Oh yeah, and as to the rub rail, one piece, rubber, thicker...
You might want to look into the stuff that gets stuck to the sides of cars...lots of decent styles, fairly decent prices, and properly adhered they seem to last for many years on our cars...basically get stuck on the same way as the Keel Guard...the good stuff uses 3M double stick tape...
Just a thought...:)
 

friderday

Chief Petty Officer
Joined
Apr 1, 2012
Messages
463
How can you go wrong with the Stones, Jig? I'm with you. I agree, Sam, to watch black in the hot sun, but there is TRULY no body part on me that will fit on that light with the possibility of burnage! LOL! Gus-I have a left-over can of plastidip($4 at Home Depot) from when I sprayed my rims on the new truck almost a year ago. I think I might give it a spray this wk, set it up there, & see if it grows on me. If so, I'll peel it off, prep as mentioned, & give it a more permanent glow. Speaking of glow, anybody no where to locate the lenses for these lights? I need to call Perko & ask them. These are in good shape, but always like to know where to get backups. That other marine store, not north, south, or east, lists replacement lenses for Perko lights but they don't know which one of their 20 or so lenses might fit this one. No biggie. I'll post a pic of the "dipped" light so we can all rest our chins in our palms and go, "hmmmm?"
 

friderday

Chief Petty Officer
Joined
Apr 1, 2012
Messages
463
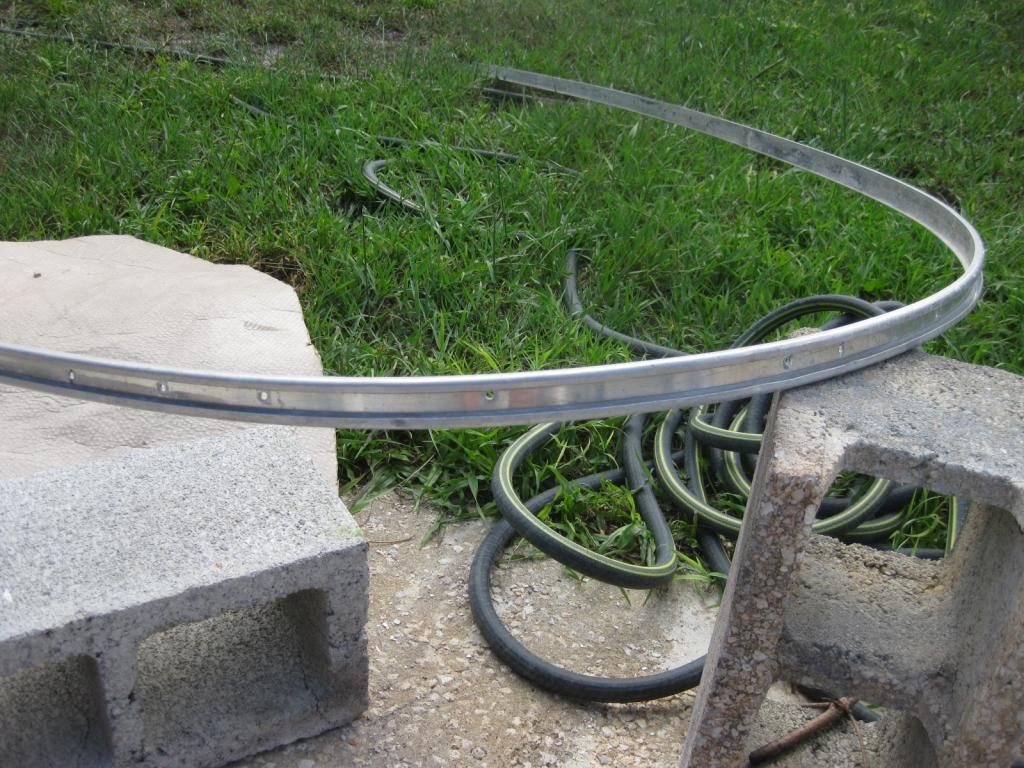
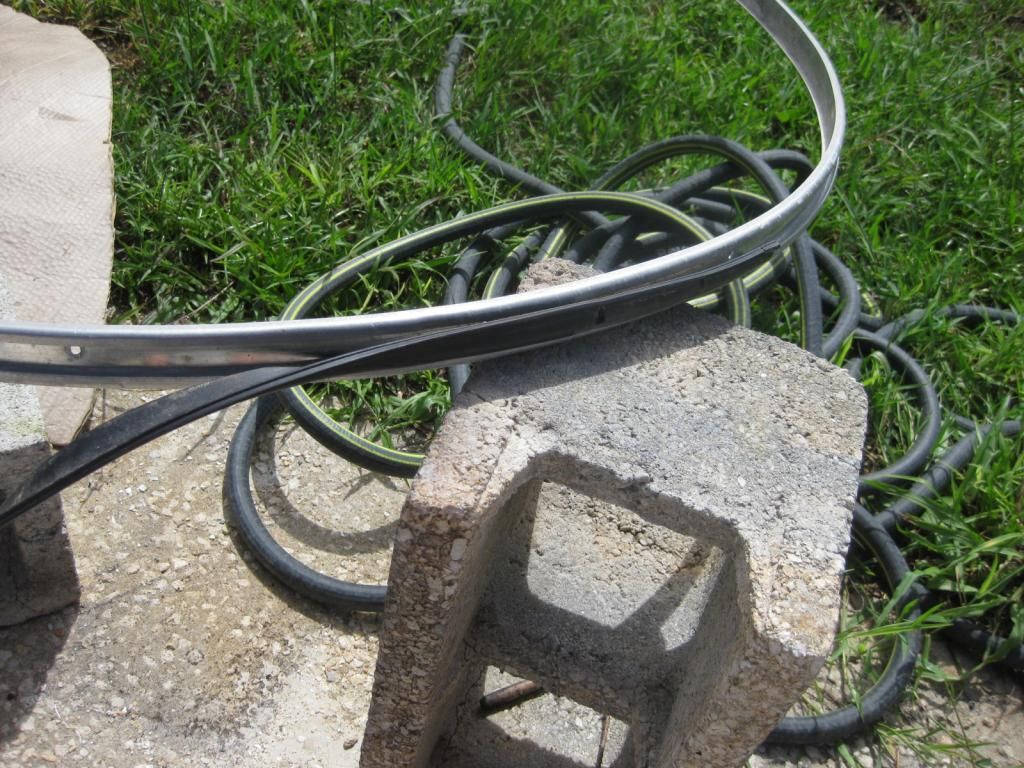
Ok...so if all else fails, check iboats.com....duh!! I found the idea/style of the rub rail I was thinking about. Now if I was computer literate, I'd be able to copy or paste or staple or play dough the info here, BUT.....since I is be computer stoopid...I'll just have to give you the Taco Marine #V21-0460 number & I'm sure one of you brilliant computer boys will not only look at it, but probably post a pic of it up here for me....Let me say in advance, I Heart You! (cause ya know I can't do that either with the little jumpy hearty/smiley things). They have it here on iboats, but it seems to only come in 12' sections. Hmmmm??? Now it has pre-drilled countersunk screwholes but I'm not sure how a "joint"/"seam on this would work. I would buy it tonight if I could buy a continuous 30' piece. Any thoughts? Might call Taco Marine directly this wk.
 

friderday

Chief Petty Officer
Joined
Apr 1, 2012
Messages
463
Yup...that's it Sam. So does anybody have any experience on the "joints" of this rubrail? (and no...not the Mary Jane!) I'm not sure how this would work. Perhaps, it's rigidity plus a screw at the ends where they meet are enough. Looked at the Taco website. They too only sell in 12' sections. I will call them this wk & pick their brains. I thought about using the original trim, & still might, but it's a bit rough in some places & it would require a pretty wide rope, that would get very bloody and slimy due to my fishing expertise! (I have fished maybe 4 times in the last yr which is unheard of in my house. I do have an annual snook outing planned for first wk in Sept.) I don't care if I have to use my elbow to reel them in...I'm goin' fishin'. Thanks for showing off your nerd...I mean computer skills old man! I HEART you!
 

jigngrub

Fleet Admiral
Joined
Mar 19, 2011
Messages
8,155
Yup...that's it Sam. So does anybody have any experience on the "joints" of this rubrail?

Looks to me like that rr just screws onto the hull without an insert and with exposed fasteners so you can just miter the joints, glue and screw the joint and done! Just like running base shoe molding in a house... or any other trim on a house, except it's not a house... it's a boat.

... you did notice that rr requires heat to form a radius, right?
 
Last edited:

friderday

Chief Petty Officer
Joined
Apr 1, 2012
Messages
463
So I just found a you tube video on these rigid taco rub rails. It's an old ship shape video when he was really thin & his beard was not gray. Anyway, they install a few different rails. The second one in on the video is this one/style, just a little wider. They address adding the heat, via heat gun or hair dryer for bends. They also show how to address the joints...it's pretty cool...they overlap the joint about an 1/8" and leave a couple screws out on each piece. They pull out enough for the 2 ends to meet, then push, snap them back towards the boat, hold in place, and add screw. Looks pretty simple. Giving this serious thought (smell the burn)!! I think I searched on youtube, "installing rigid rub rail". Very good, albeit old, video.
 

friderday

Chief Petty Officer
Joined
Apr 1, 2012
Messages
463
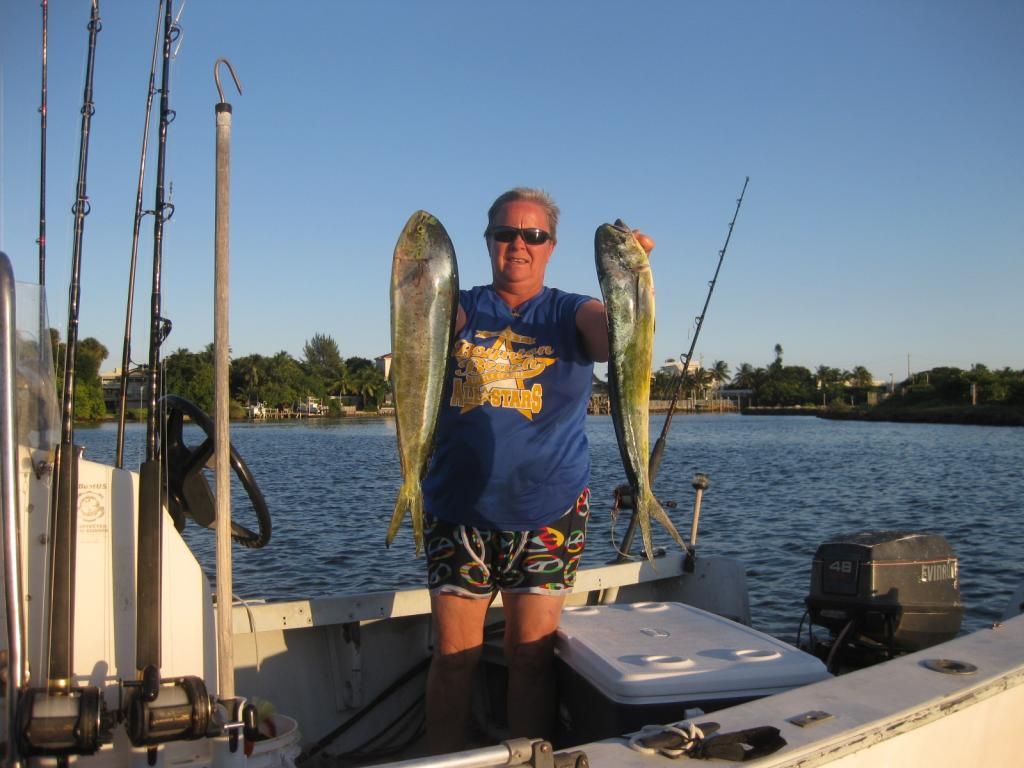
Well, look what crawled out from under her rock!! Hello to all my friends...I have missed you terribly. I've been lurking around, but since nurseman stopped using so many clamps, I've had nothing to motivate me to comment. I have a few updates and pics will have to wait for tomorrow, as I don't think I have the "proof" right now. Despite my continued troubles with my thumb, I have managed a few things. I got the rubrail on, without incident..Pretty straightforward stuff. The bend at the transom was uneventful...applied a little heatgun and gently folded right over. I installed my front cleat and bowlight. As some of you know, our good friend, almincha, donated a bowlight for this restore. I went back & forth about how to "restore it", but finally ended up deciding it was too large for this boat. With his permission, I will gladly use it on my next restore, the 17' Seaway. It will fit her perfectly. I put my transom plate on yesterday & the engine is bolted on, albeit, temporarily. I drilled out the 2-5/16 holes for bolts, then ultimately decided to go with Gus' train of thought. I drilled them out 3 times as big, then filled with PB, then re-drilled @ 5/16ths. I decided to temporarily paint my transom plate, as I am still waiting for my seats. I do have good news, I think, about the seats. As you may remember, I wanted bleacher seats, but was unable to find. My fabricating buddy was just gonna bend up some aluminum. I was in contact with him last wk, and it seems he found a 22' length of bleacher. He needs for a swamp buggy & said I can use what I need for boat. Soon....I hope. Anyway, back to transom plate...I have another buddy who is making some side $$ refurbing Jeeps...fixes them up, shoots them with a paint, kinda like Rhinoliner. He's gonna shoot my transom plate next time he's spraying, but for now, I self-etch primed, primed, and just Rustoleumed the plate in black. It looks pretty sweet with the mercury hanging off it. Pics will prove...be patient. So engine is on...I purposely didn't 5200 plate as it will be coming back off soon. Did put a little dab of silicone around the holes just in case, but PB is there anyway. Want to be able to pull it back off with little effort soon, then finish it off properly after he shoots it. Unfortunately, my thumb has not allowed me to do much of anything on this tub without pain. I officially fired my hand surgeon a couple of weeks ago and am waiting for word from work/comp on new dr. It is so obviously not right, but the old doc released me. I am so disgusted! I went fishing last wk(first time in 6 months) and caught 2 dolphin. Trying to clean them that night, pulling off the skin, was like wrestling an eel. I couldn't maintain a grip even to pull the skin off. As the weather cools here, I would normally go spearfishing with a buddy, but was thinking today, as our first serious cold spell came last night, I won't even be able to pull up my wetsuit. Hopefully, new dr will have some answers. Well, I will get some proof up asap...again..I have missed you guys! Lisa
 

sphelps

Supreme Mariner
Joined
Nov 16, 2011
Messages
11,475
Sorry about your thumb problems Lisa ... Hope the new doc can get it worked out .... But I see it hasn't stopped your fishin skills !!
Me and sil wet a line at the creek the other day . Ladyfish , Grunt , just undersized Red Drum , and a catfish ... Had ta give it up because the sand knats were eating us alive ! :eek:
Boats looking just about ready for some fish slime ! Great to here from ya !:)
 
Top