15' Sport-Craft Sprint project

fire7882

Petty Officer 2nd Class
Joined
Jul 15, 2008
Messages
172
Re: 15' Sport-Craft Sprint project

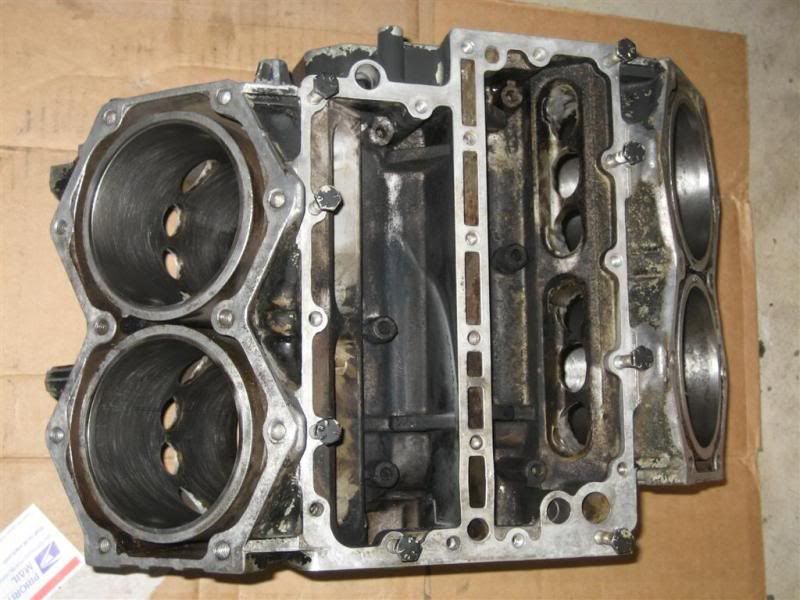
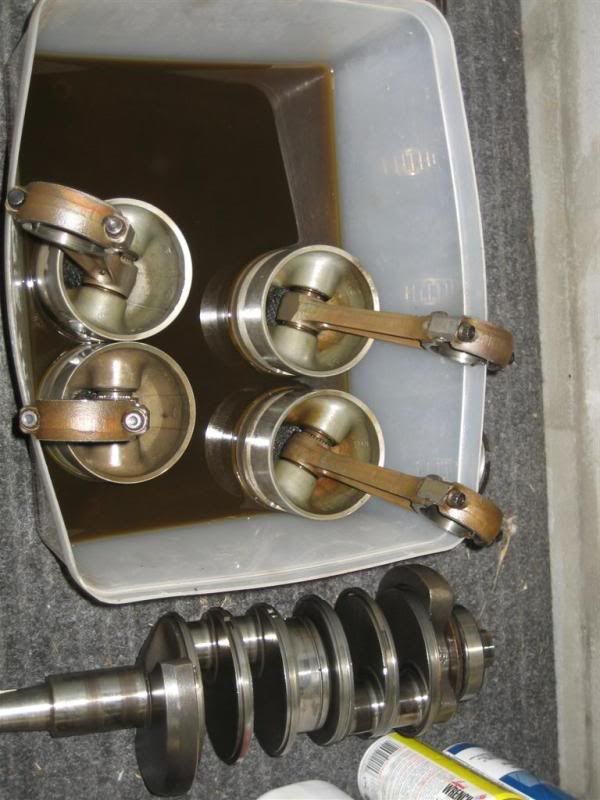
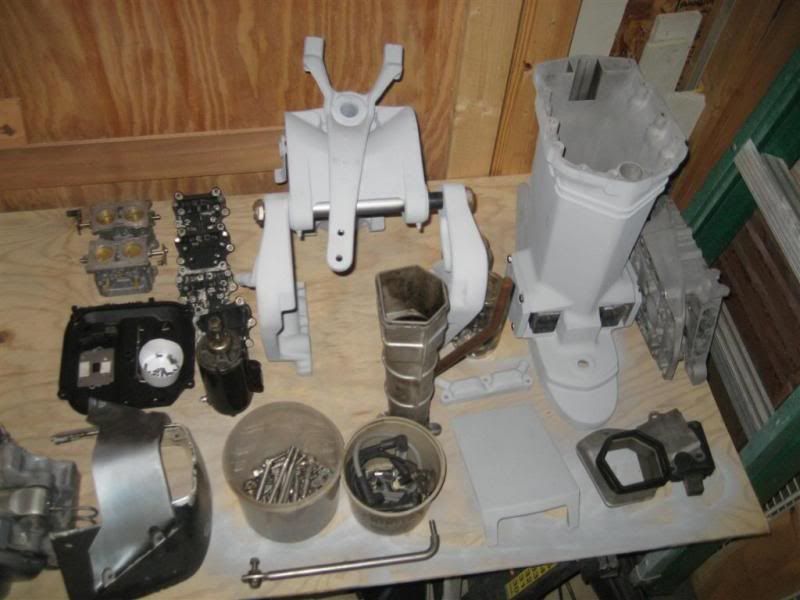
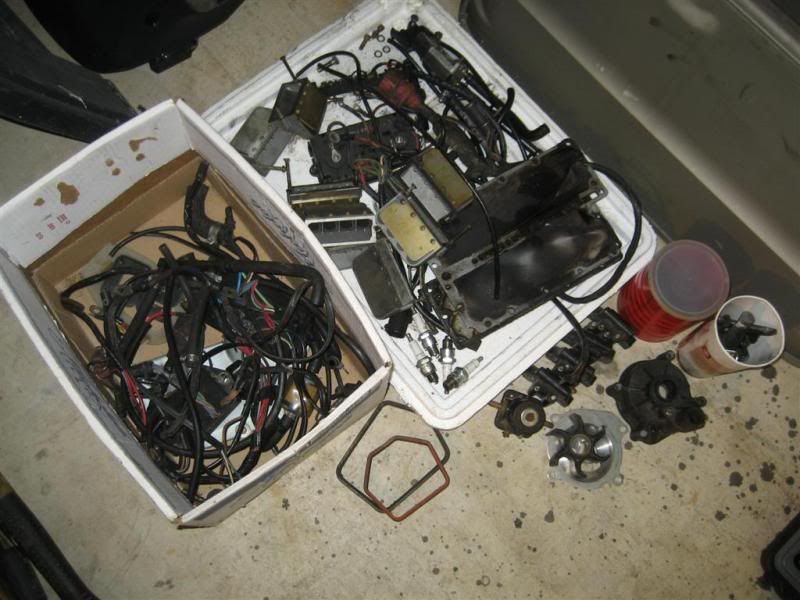
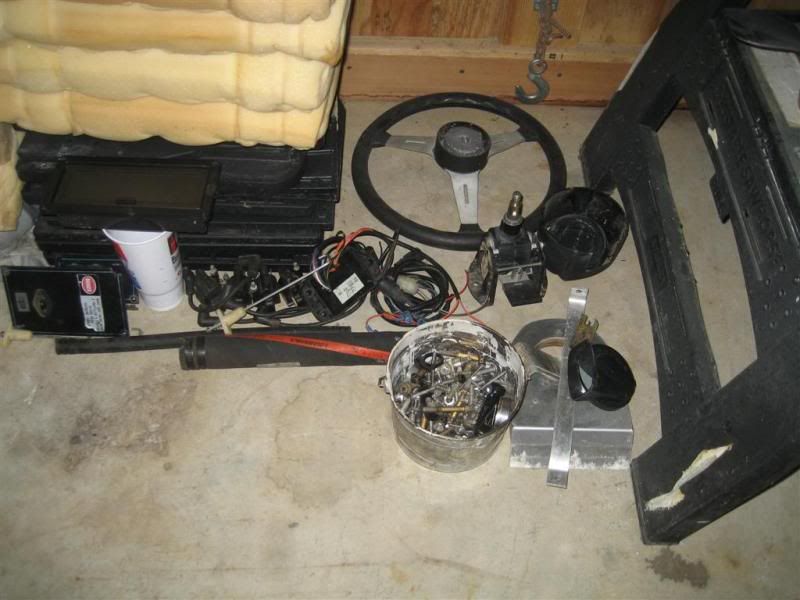
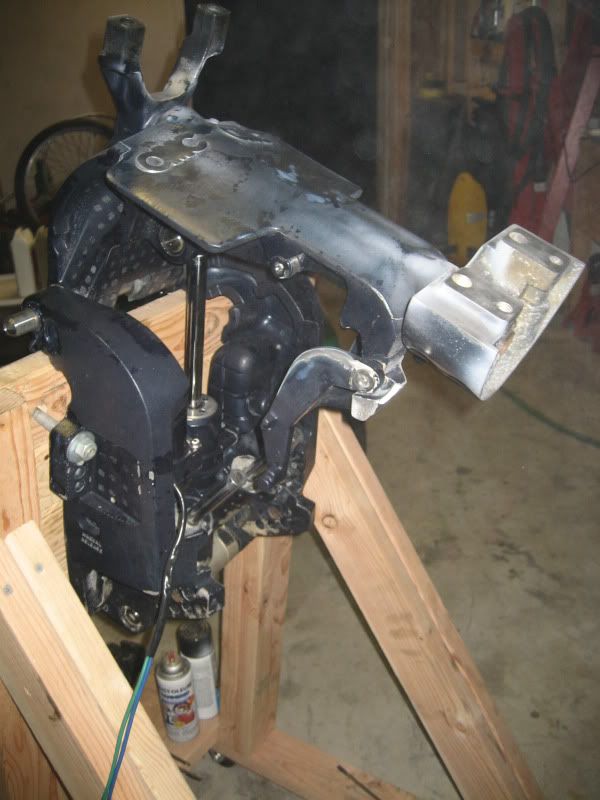
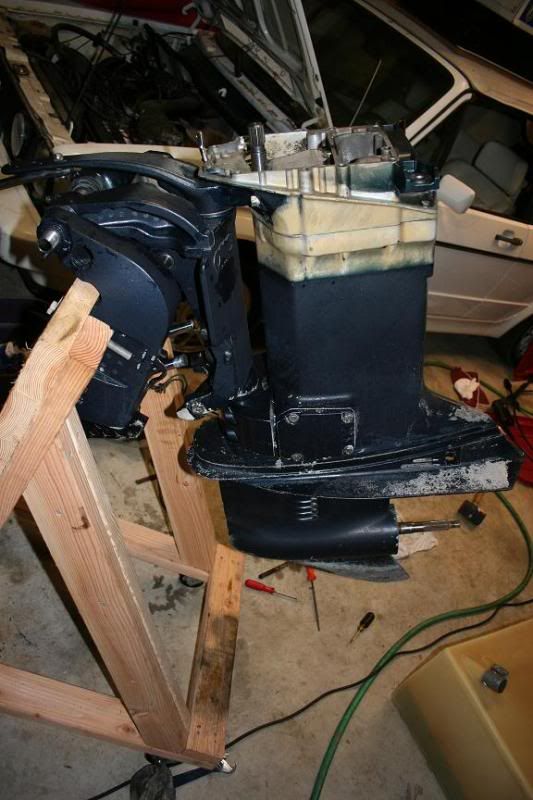
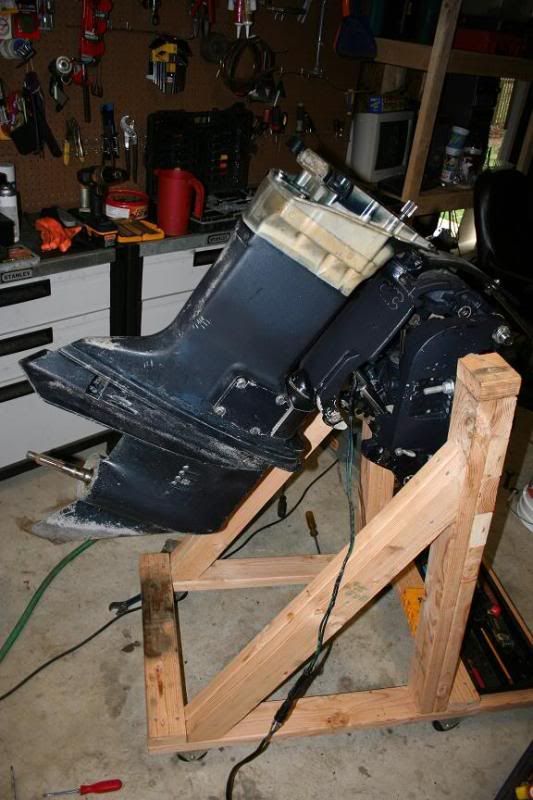
Just got home and started work on the outboard.

One thing I need to figure out is what fuel tank to use. The guy I got the outboard and gauges from gave me the one off of a pontoon boat. It measures 17" by 26" and is 12" tall. I calculate this to be 3.06 cubic feet time 7.48 gallons is about 23 gallons. At about 140 lbs. full, is this to much fuel for the rear of the boat? I also have a 15 gallon tank that is a little shorter i might have to use if this one dosn't fit.
 

mikastorm

Petty Officer 2nd Class
Joined
Aug 16, 2009
Messages
164
Re: 15' Sport-Craft Sprint project

No clue. But I bet the 23 would be ok.
This is a great thred , thanks for sharing.
Nice job.
 

fire7882

Petty Officer 2nd Class
Joined
Jul 15, 2008
Messages
172
Re: 15' Sport-Craft Sprint project

No clue. But I bet the 23 would be ok.
This is a great thred , thanks for sharing.
Nice job.

Thanks, I think the 23 gallon will work as well. I would like to put the tank up front but there isn't much room. I might be able to put 2 tanks, one under each side of the bow, but that would require another purchase. I'll take some measurements this weekend.
 

fire7882

Petty Officer 2nd Class
Joined
Jul 15, 2008
Messages
172
Re: 15' Sport-Craft Sprint project

Two steps forward..........and I fell off a cliff. Its confirmed, the origional OB I bought is possessed (or at least the previous owner was). First the good news.

I got the mid section, tilt/trim unit, and lower unit cleaned up and ready for paint. It just needs a little sanding first.

cleanedOB1.jpg


cleanedOB2.jpg


And the bad news. The previous owner must have gotten really mad at this motor and decided that taking a hammer to it would cure all his frustrations. After cleaning various parts, I got out a razor and started removing the old gaskets from the power head. I soon noticed the starboard side cylinders have dints and gouges everywhere between the head and block mating surfaces. Worst of all, the outer surface of the cylinders are missing a small chunk of metal.

blockdamage1.jpg


blockdamage2.jpg


I'm not sure where to go from here. The PO had the voids filled with JB weld and the compression was fine so I might do the same for the time being. I'll be keeping an eye out for a good yet affordable power head but plan to piece this one back together for the time being. I have a 1964-65 evinrude 90 hp OB that I'm hoping has the same block as this one. Even though I doubt it will work, I'll use the possessed power head until I can get it rebuilt. Below is a picture comparing a 1968 block to a 1992 block. The evinrude parts catalog didn't go back to 1965.

Compare.jpg


Any suggestions or advise is welcome.
 

CN Spots

Lieutenant Commander
Joined
Oct 19, 2005
Messages
1,612
Re: 15' Sport-Craft Sprint project

Someone may have tried to pry off the heads and damaged the deck? Dunno. It looks like the cylinder sleeves are ok though. Did you post this over in the JonnyRude repair forum? You'll have a better chance at an accurate answer over there.

ain't rebuilding old boats fun?;)

spots
 

fire7882

Petty Officer 2nd Class
Joined
Jul 15, 2008
Messages
172
Re: 15' Sport-Craft Sprint project

I did make a post over there and got some help. I'm going to just jb weld the void areas and see what happens. It should wok fine but I will look for another power head to rebuild or use down the road.

Working on old boats is definitely an experience. Its been a lot of fun but the road bumps are to many an to close together. :rolleyes:
 

redfury

Commander
Joined
Jul 16, 2006
Messages
2,657
Re: 15' Sport-Craft Sprint project

As far as the comparison of the two motors goes, I'd check into the part numbers for the replacement gaskets. if they are a match, then you should be good to go, other than comparing spline counts, and water port matching. If it all lines up, I'd think you'd have a good chance at it, though it's definitely a crap shoot.
 

fire7882

Petty Officer 2nd Class
Joined
Jul 15, 2008
Messages
172
Re: 15' Sport-Craft Sprint project

As far as the comparison of the two motors goes, I'd check into the part numbers for the replacement gaskets. if they are a match, then you should be good to go, other than comparing spline counts, and water port matching. If it all lines up, I'd think you'd have a good chance at it, though it's definitely a crap shoot.

I pulled the heads on the early 60s motor and it would need to be bored over even if it would work. It had some scratches in the wall of 3 cylinders.

Also, the lower starboard cylinder had a broken ring, causing damage to the head. The exact same cylinder was damaged on BOTH of the newer motors I have(1988 and 1992). Could this be a coincidence or could it have something to do with the design of this particular power head?

Per our discussion in the Jonny/Evinrude forum, I have decided to try an aluminum brazing rod to fill the void areas. If that doesn't work, I'll use some sort of epoxy. The link to our discussion is below.

http://forums.iboats.com/showthread.php?t=346743
 

fire7882

Petty Officer 2nd Class
Joined
Jul 15, 2008
Messages
172
Re: 15' Sport-Craft Sprint project

I decided to pull the powerhead apart. The two cylinders with lower compression were honed wrong as if the honing tool was held stationary. I honed everything out and took ring gap and thickness measurements. They were within specs so I'll be reusing them. I ordered new rod bolts and already have the overhaul gasket kit. I also started cleaning the many parts I'll be using. Here are a few pics untill I get a little more done.

cleanedparts10.jpg


cleanedparts9.jpg


cleanedparts.jpg


cleanedparts1.jpg


cleanedparts3.jpg
 

fire7882

Petty Officer 2nd Class
Joined
Jul 15, 2008
Messages
172
Re: 15' Sport-Craft Sprint project

A few more random pics of parts.

cleanedparts4.jpg


cleanedparts5.jpg


cleanedparts6.jpg


cleanedparts8.jpg


cleanedparts7.jpg
 

redfury

Commander
Joined
Jul 16, 2006
Messages
2,657
Re: 15' Sport-Craft Sprint project

my god there are a lot of parts there! I hope that's for both motors! :eek:

Okay, since you've done this to this point, how hard are the needle bearings to deal with? They are the only thing that keeps me from finding a motor that "needs a cylinder fixed" and doing it. I've got the time to rebuild a motor, but the disassembly/reassembly scares me a bit in the fact that I've never cared to work with needle bearings....I always seem to have them fall apart and go everywhere on me.:rolleyes:
 

fire7882

Petty Officer 2nd Class
Joined
Jul 15, 2008
Messages
172
Re: 15' Sport-Craft Sprint project

my god there are a lot of parts there! I hope that's for both motors! :eek:
Yea, the parts are for two different outboards. Most if not all of the parts are interchangeable.

Okay, since you've done this to this point, how hard are the needle bearings to deal with?

I havn't really messed with them much. They are only used at the piston pin/conecting rod. I don't plan to pull the pistons from the rods so I shouldn't have to mess with them. I'll take apart a piston from the blown motor and get you some detailed pictured on monday.
 

fire7882

Petty Officer 2nd Class
Joined
Jul 15, 2008
Messages
172
Re: 15' Sport-Craft Sprint project

I finally got the brazing rods today but couldn't get the block hot enough with mapp gas. I'm going to try putting the block in the oven, then pulling it out and heating with the mapp torch. If that doesn't work, I've always wanted a portable oxy/ace torch kit. I did use the rods on a smaller piece of metal and it worked fine. The large block just absorbed and dissipated the heat to fast.

redfury, I'm a little later than promised but below are the needle pin pictures. Overall, it wasn't hard. Just a little aggravating.

First, remove the retaining clip from one or both sides.
needlepins1.jpg


Push out pin with a properly sized socket and rubber mallet if necessary.
needlepins2.jpg


Everything falls apart.
needlepins3.jpg


Installing the pins. Realized than I would have to remove the pin in order to install the rod.
needlepins4.jpg


I found a socket a little smaller than the pin and added a little aluminum tape to make up the difference.
needlepins5.jpg


Pins installed. It is a little tricky to get the piston pin installed while keeping everything together. It took me 2 tries but overall, not a very difficult task. It is key to have the pins held tightly against the rod with the socket. They are to loose in this picture so I had to add a little more tape. I also rocked the rod back and forth with a little wd-40 to keep the needle bearings straight while inserting the piston pin.
needlepins6.jpg
 

redfury

Commander
Joined
Jul 16, 2006
Messages
2,657
Re: 15' Sport-Craft Sprint project

I don't think I would have come up with that solution on my own....thanks for the little tutorial...that nugget of info has been secured in my brain for future reference! :D
 

fire7882

Petty Officer 2nd Class
Joined
Jul 15, 2008
Messages
172
Re: 15' Sport-Craft Sprint project

Your welcome redfury. With all the help I've gotten from this site, I'm more than happy to help when I can.

I did a little work on the hull this weekend. I smoothed out the interior edges of the cap. I think I'm only going to have seats and the dash panels on each side with no other interior pieces and I'll just fill in the holes left from the previous interior. If I don't the look, I'll just fab up the interior at another time.
 

fire7882

Petty Officer 2nd Class
Joined
Jul 15, 2008
Messages
172
Re: 15' Sport-Craft Sprint project

Still couldn't get the brazing rods to take even after putting the block in the oven. I decide to go ahead and try the JB Weld repair and hope for the best.

This is a picture of the port side(the good side) after a little resurfacing. I cover the entire gasket surface area with JB Weld and let it harden for about 4 hours. Since it was warm here today, that was long enough for it to get hard enough to sand. I placed a piece of 220 grit sand paper on a marble tile and sanded in a figure 8 pattern until the inner steel sleeve was exposed. The remaining material(dark areas) filled the low areas.

JBBlock3.jpg


This is a picture of the second application on the starboard side(bad side). I was still a little low in a few places after the initial try but this side should be done tomorrow. As you can see, the missing pieces from the outer cylinder sleeves filled in nicely.

JBBlock.jpg


I also got the midsection/ lower unit primed again. The skeg was bent and nicked up a bit so I straightened it up and ground down the bad spots.

JBBlock2.jpg


The tilt trim unit is all cleaned up and I'll prime it tomorrow.

JBBlock1.jpg
 

berry79

Petty Officer 2nd Class
Joined
Jul 5, 2009
Messages
109
Re: 15' Sport-Craft Sprint project

Looks like that JB weld worked out pretty good.
 

fire7882

Petty Officer 2nd Class
Joined
Jul 15, 2008
Messages
172
Re: 15' Sport-Craft Sprint project

Looks like that JB weld worked out pretty good.

I think it will. As long as the bond to the metal is good, I have good faith that it will hold up fairly reasonably. When sanding the deck, I didn't have any problems with pieces chipping off or coming loose, reguardless of how thin the material was.
 

fire7882

Petty Officer 2nd Class
Joined
Jul 15, 2008
Messages
172
Re: 15' Sport-Craft Sprint project

I got the powerhead back together tonight. I still need to install the heads because the gasket kit I got was missing one of the head gaskets. It should be here this week. Everything went together well and I'm more confident now that it will perform well. I'll try to finish up the cosmetic stuff while I wait on the head gasket.
 

fire7882

Petty Officer 2nd Class
Joined
Jul 15, 2008
Messages
172
Re: 15' Sport-Craft Sprint project

I couldn't wait. I went ahead and installed the heads. I used the head gasket on the good side and made up another from some gasket material for the other side. It is only temporary and I will replace it Friday or Saturday when the other one comes in.

I did this so I could go ahead and clean the engine and get everything painted. While it was together, I decided to throw on the flywheel and starter to check compression. Without even being broken in, I got about 110 on two cylinders and 107 on the other two. The side with 110 had the homemade gasket that is a little thinner. When I install the real head gasket, they should be even closer if not the same. Much better results than I was expecting without being broken in. :) Now if the JB weld holds up, I'll be in great shape.
 
Top