19 Foot MFG Boat Restoration

sphelps

Supreme Mariner
Joined
Nov 16, 2011
Messages
11,475
You can just sand then prime and paint the inside sides if you want .... You should start a thread over in the J/E section forum on your motor .... The pro's over there can walk ya through most anything on your motor .. ;)
 

Shakedownscott

Petty Officer 2nd Class
Joined
Jul 12, 2011
Messages
179
Looking good Chrismas, you are making good progress.

Just want to caution you to take measurements and think about building a cradle or support for your hull some how. The more you remove from the hull like the cap, deck, stringers etc the hull will start to flex and move. This makes it hard to put together and get the cap back on. I braced mine to the trailer to keep its shape, probably could have done better on this but seems ok. I also put the cap back on before re-installing the stringers and deck to make sure it would fit.

There are a lot of options to cover the inside of the hull that is visible. You could just sand off the loose paint and re-paint it. A lot of boats have carpet or wood panels covered in vinyl or other fabric to hide the inside of the hull on the sides. Just depends on how much time and money you want to spend on it.

When you are putting the cap back, after its fiberglassed together you can use filler and fine sand paper to make it as smooth as you want it. The either paint it or gel coat it.

If you can get the boat all put back together, fixing the steering etc, should be pretty easy in comparison. I would try and save/re-use what you have, at least until you can figure out what is good and bad. How long has the motor been sitting, does it turn over freely by hand?

I really love the older Johnson/evinrude motors, always have been reliable and easy to get parts for. Like sphelps suggested the guys on the engine repair forums are a huge help and very knowledgeable. If you are going to work on the motor a proper manual and wiring diagram are very helpful and save a ton of time.
 

Woodonglass

Supreme Mariner
Joined
Dec 29, 2009
Messages
25,929
Uhmmm the way to cut the cap is not really what I had in mind. You still have to cut the splash well off in order to gain full access to the transom. You'll just have some extra glassing to do on the go back.
 

Chrismas Sko

Seaman
Joined
Jul 23, 2016
Messages
65
Hey Guys. Yes WOG, I tried my best to do what you said but it turns out the whole back is glued to the back of the transom. Everything i tried would not work to seperate the splash well so I decided to make another two cuts to expose it more. I know it will take more glassing later but it is so in there. I tried chissling it out, lifting it with the hoist. It wont budge.

Thank you SDS! I will make sure to put the cap back on when doing the stringers and make sure I have all the initial measurments. I think i will try to just cover the inside to save money with wood I think!

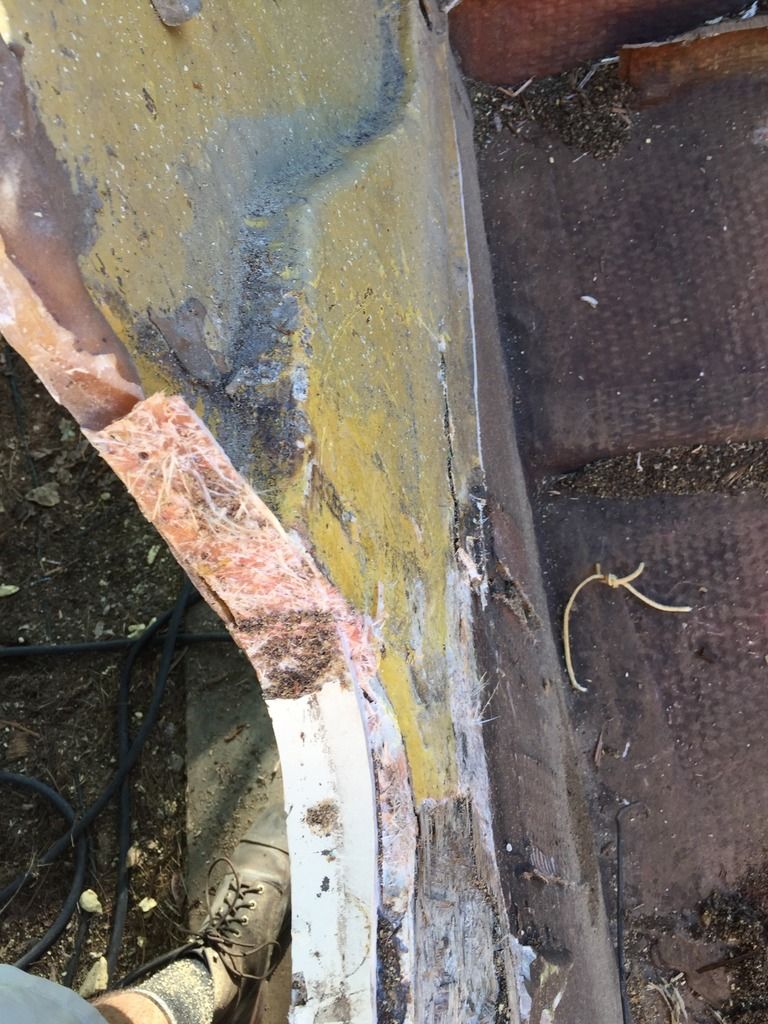
These are the pics from today. I am at a complete stand still. Even with the new cuts WOG i cant get it sperated. I think at the end I will just use wood to refabricate the parts I cut out, and id there is any way to preserve the splash well I will. This pictures show the amount of glue or epoxy that was used. Is there any way to seperate the splash well without ruining it??

I cant get pics up rn on my phone but I will asap!
 

Chrismas Sko

Seaman
Joined
Jul 23, 2016
Messages
65
Ooo WOG I didnt realize you wanted me to cut off the splash well! I see now. How do yo usuggest cutting it out? I didnt realize that was in the plans haha!
 

Shakedownscott

Petty Officer 2nd Class
Joined
Jul 12, 2011
Messages
179
It took a lot of effort but I was able to get various pry bars and chisels between the wood of the transom and the fiberglass splash well. The longest one I had was 4' long, still took a lot of muscle to separate. Started with a smaller chisel to start, just hammered it in the seam.

Mine was all cracked where the motor bolted to it, so I started there and worked out. You may have to cut along the top edge of the transom to get access between the fiberglass and wood. Transom wood should be about 1.5" thick.
 

Chrismas Sko

Seaman
Joined
Jul 23, 2016
Messages
65
Ill give that a whirle next SDS! Ill Ill hopfully be able to get that done. Did you relpalce the transom wood on your boat? Mine is all glassed in and looks and feels ok. I cant be sure because I cant see it though. I am not sure how to break the wood away from the hull without cracking the hull. I think if it seems in good enough condition I will just leave it. Does that sound like an ok Idea?

Also, regarding the stringers. When you took the old ones out, did you cut them at the base? If so, how did you wear down the pb base they were in? Did you use a grinder to grind it down?

Thanks!
 

Shakedownscott

Petty Officer 2nd Class
Joined
Jul 12, 2011
Messages
179
The wood in my transom is pretty rotted and needs to be replaced, haven't done it yet. You are right if you try and separate the wood from the hull it could crack. You have to work from the inside. I am going to try and remove some of the wood in 1 piece for a template. But if it is really glued in I will cut a grid on it with a circular saw set at shallow depth and chisel it out in pieces from the inside, being careful not to cut the hull.

You can check the transom by taking a core sample with a small drill, search this site for the proper way to do it. Check in the holes where the motor is bolted any soft or dark wood is a bad sign. If the stringers are rotted I would think the transom is too. My rot was really obvious, didn't need core samples.

Stringers were only glued to the boat in 4 small spots at each corner. The rest were just floating about 3/8" off the hull. I cut through the fiberglass at the base of the stringer and they just cam out. I had to cut through the tabbing on the bulkheads the same way, sometimes I used a sawzall.
 

Chrismas Sko

Seaman
Joined
Jul 23, 2016
Messages
65
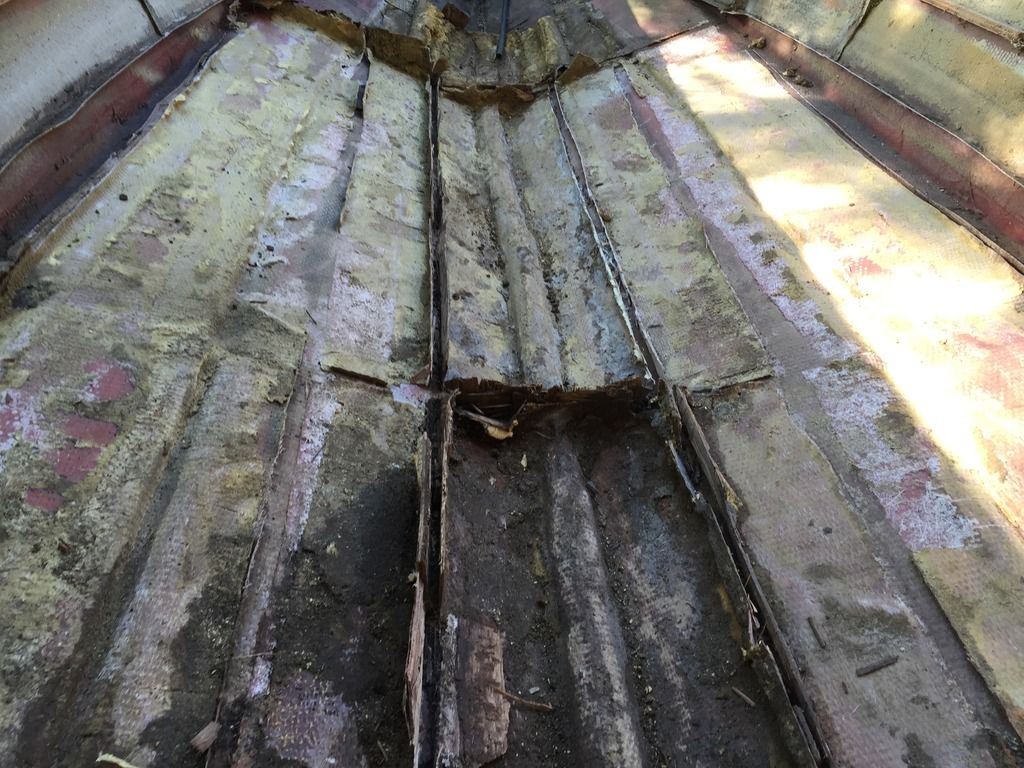
I was able to make a lot of progress today! I got most of the stringers on the right side off. Not really sure if I should pull the tabbing off also. It is difficult and I do not want to damage the hull. Thank you SDS for the advise, I will do a core sample today. Today I am going to atack the left side of the boat.\

After I complete that I will try to pry off the splash well like you said SDS. I have some chisles so I should be able to get in and under it.
Here are some pictures of my progress. Best!
 

Chrismas Sko

Seaman
Joined
Jul 23, 2016
Messages
65
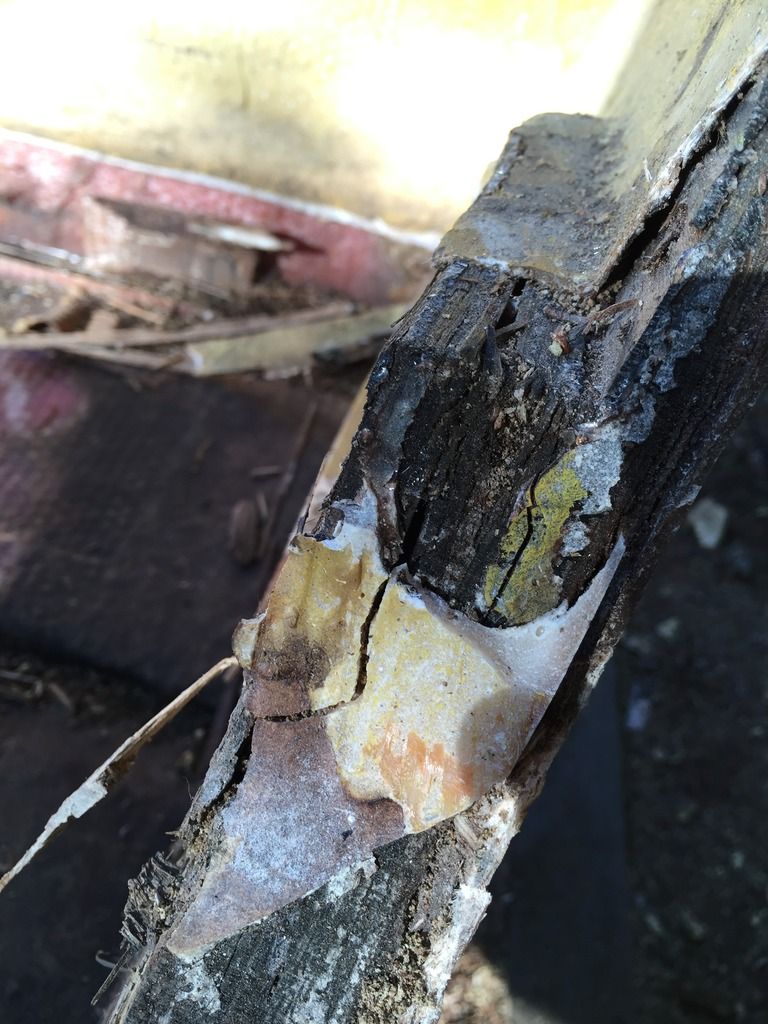
Hey Guys, So I have continued to gut the boat. I am not sure whether to rip out the old tabbing or just cut it down so that it is flush with the boat. Any advice? Also, I have been looking into making stringers, and have read about limber holes. Where is the best place to put them? Are the nesisary, and if so, how do I seal them once they are cut? Also, is it a good idea to have a bilge pump?

I am a little confused when it comes to both lumber holes and pumps because I thought the deck was suposed to be fully sealed to the hull so no water got in. There is a hole in the very bottom of the transom on my boat which I have learned is meant to be pluged when in water and then unplugged to let water out iether during plane or on land. Is there really going to be that much water in the boat?
Thanks!
 

Chrismas Sko

Seaman
Joined
Jul 23, 2016
Messages
65
Also. is it nessisary to seal the inside of the hull. Or is it ok as is? Does it have to be sanded down to original hull? or can I glass over the old tabbing
 
Last edited:

Woodonglass

Supreme Mariner
Joined
Dec 29, 2009
Messages
25,929
Grind the old stringer channels flush with the hull. You are correct about the sealed deck. Water should NOT be able to get below deck once you're done. However if You did get a hole in the hull you'd want the ability to drain any water out that got in. Limber holes are advisable. Best way is to cut them half circles and cut some PVC pipe in half and PB them into the holes you cut. that way any water that gets in wont be absorbed by the limber holes. In the bilge you can make a hole in the side of the bilge that you can plug. If you feel water is under the deck. Tip the bow up and pull the side plug to let water drain out. I'll try and draw a pic for you to illustrate how to configure the bilge to enable water drainage.
 

Chrismas Sko

Seaman
Joined
Jul 23, 2016
Messages
65
Thank you Woodonglass! I see what the point is now. I will make sure to put the holes and pvc into the stringers when I make them. So right now after that I am prepairing for the construction and instalation of the stringers. I was hoping you might be able to suggest a list of what products to buy and the amount needed for my 19 footer. I just do not know that market very well and am trying to save money so a list would be great. Also, I read that using 404 high density from west marine could be used in place of PB or used as PB. Is it better to mix PB my self or just use that?

Lastly, I am woried that there might be a tiny crack or somthing in the hull that I have not seen, and if I do all the stringers and deck that I will not know it exists or will not be able to fix it. Is there a coating that you can put on the inside of the hull to seal it more. If so, do you put it on after or before tabing in the stringers. Thank you guys! All the help you have given me is great and can not wait to progress with my project.
 

Chrismas Sko

Seaman
Joined
Jul 23, 2016
Messages
65
Also, there is a lot of foam still stuck to the hull. I am not sure what the best way to get through it is. Should I grind through it or sand it? If so, I dont have a grinder or sander so which would be the best tool for the job and what grit sandpaper or sander atachment would be best. I saw on your page SDS you had a sander with the metal bristle atachment.
 

Shakedownscott

Petty Officer 2nd Class
Joined
Jul 12, 2011
Messages
179
There is no coating that I am aware of to coat the hull to seal out cracks. Other than coating with resin and fiberglass. I would just inspect the hull really well before going back together inside and especially the outside for damage.

I have two main tools for that I use for grinding a 7" angle grinder and a 4" pneumatic grinder for mall areas. I use them with a backing plate and fiber sanding discs either 24 or 36 grit for heavy grinding.

I would chisel off the big pieces of foam and grind the rest away.
 

Woodonglass

Supreme Mariner
Joined
Dec 29, 2009
Messages
25,929
You need to remove any/all contaminants from the inside of the hull where NEW Resin and Glass will be installed. The stringers will have tabbing 4-6 inches on either side sooo that means a 1 foot area will be covered with new resin and glass. If you want to see if there are cracks and or thin spots, Once you get the hull all prepped on the inside put a shop light inside the hull and throw a tarp over her. When it's good and dark get under the hull You'll be able to quickly "SEE" any problem areas if light is showing.thru.

Here's a list that will get you started. 10 15% more will be required for your boat. I'd use ext. Grade 1/2" plywood Glued together to make it 1" thick for your stringers. By over lapping it @ 4ft intervals you can make any length of stringer required.

Approximately how tall are your stringers??

MaterialsList.pdf
 

Attachments

  • MaterialsList.pdf
    174.2 KB · Views: 0
Last edited:

Chrismas Sko

Seaman
Joined
Jul 23, 2016
Messages
65
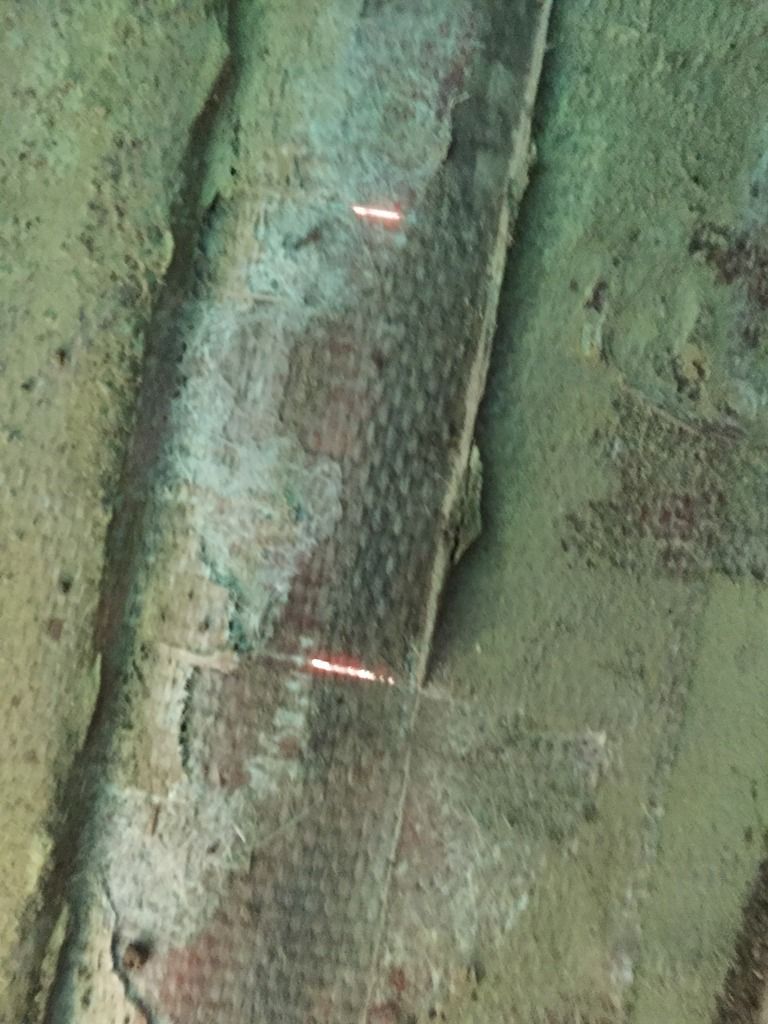
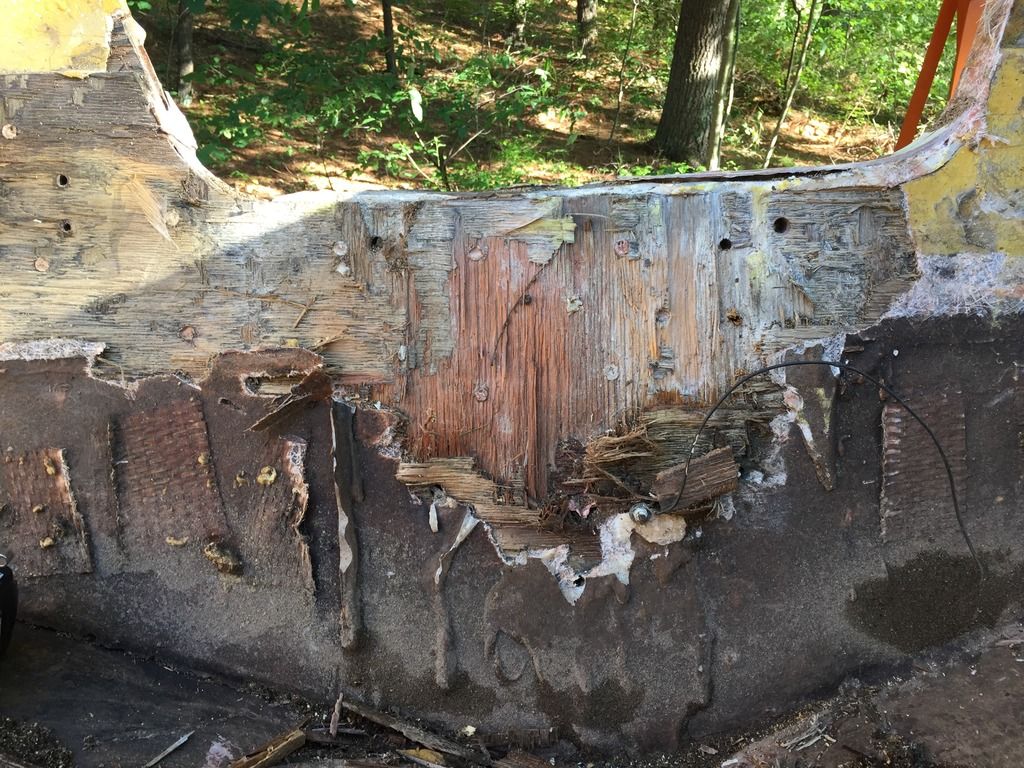
Thank you guys very much for your feedback! I got a grinder today SDS and a wire cup that you sugested in the list WOG and it destroyed the foam which is great. The list you gave me WOG is perfect! Thank you! I made huge progress today and got most of the foam cleared up so that there is just a fine layer I will blow away asap. I will grind down the remaining tabbing and then get the hull sanded down to fresh glass. I was able to seperate the splash well today, and it really did not take much of the transom off but it pulled off the glass covering to reveal the wood. Im not an expert but the wood looks like it is ok. What do you guys think? If it is ok, should I sand it down and re glass it?

I also did what you said to find cracks WOG and discovered two holes I must have made cutting out the stringers. What is the best way to go about filling them? Should I sand the rest of the deck first, or fill the cracks?

Thank you!
 
Top