Re: 1956 Evinrude Fleetwin freshen-up
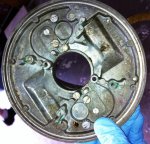
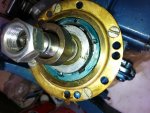
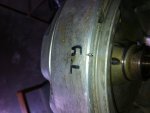
I don't have a lightwin, but it's the same ignition. So following the lead of that site, I started checking to see where my point's are opening in reference to the two notches on the mag plate. This is what it looked like initially;
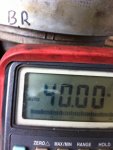
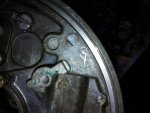
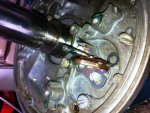
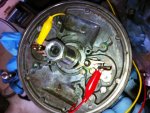
Under that "BR" (for bottom cylinder, red) is the notch on the flywheel to denote where the points open for the bottom cylinder in relation to the mag plate. If you can make it out on my mag plate, there are two raised bars that theoretically the notch on the flywheel should be at when the points start to open, causing the ignition to fire. As you can tell, mine was off a few degrees. Following the information from the above posted web site, I started to adjust the points through the opening in the flywheel, rotating the adjustment screw a little bit at a time. Each time I made a fine adjustment, I would then rotate the flywheel by hand, and observe where my multi-meter would indicate infinity (meaning open points). My multimeter does this by displaying "40.00" with the 4 blinking. Some other meters will display "OL", or "Ouch" when they are indicating resistance is infinite. After a little bit of fiddling, I got it down with-in the two marks on the mag plate;
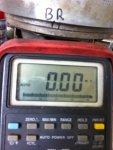
At first glance you may say "but wait a minute, your meter was saying no resistance"! Well when I snapped the picture, the 4 was in mid blink

. The points were then locked down, and checked again, and I repeated this procedure on the on the other side.
At this point, it was time to invite the rest of the ignition back to the party. I removed the mag plate again so that I could install my pretty new wires. I made it a point to put some dielectric grease on the tips of the plug wires where they get inserted into the coils. For anybody who may be following this for info for their rebuild, this link pretty much covers troubleshooting the system, and component locations (a good reference for both);
http://forums.iboats.com/showthread.php?t=531940
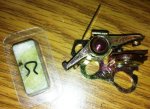
As far as the oiler wick for the mag cam that I asked about in one of my previous posts, I installed it as it was pictured, and it was trimmed a little bit as it seemed to get a bit close to the points at full length.The condensers were installed, and everything was secured. I made it a point to be sure that the laminates of the coils were flush with the bosses on the mag plate. The plug wires were left at full length. I figured it was best to do this to allow all the slack I may need when the power head gets bolted back down to the mid section, and the wires are routed in their final locations. So with everything buttoned up, the flywheel was again loosely tossed on.
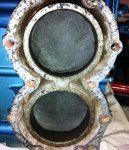
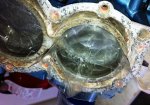
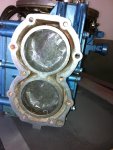
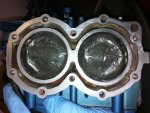
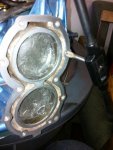
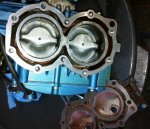
I decided that since I now have a head gasket, and some time, probably best to get the cylinder head back on. The head bolts were run through a die to clean them up, and lightly oiled. There was a skim coat of 2 stroke oil applied to the cylinders, and the gasket surfaces were cleaned up with brake clean. The head was then torqued down with an inch pound torque wrench starting with the center bolts first, and working my way out. Initial torque was 40 inch pounds. Then the bolts were re-torqued to 85 inch pounds following the same working from the center out method. This ensures that that head is evenly torqued to the block.
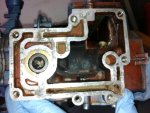
I also installed the transfer port covers with their new gaskets, but before I installed them, I did a little tracing;
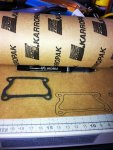
I'm pretty good at cutting gaskets from scratch, but store bought usually look and fit just a little better. I figured I can hold on to this sheet of gasket material, and if for some reason I ever need to remove something from the engine, and the gasket is toast, I should be able to cut one no sweat that's a perfect match. I plan on doing this for all the gaskets so I will have a spare set on one sheet.
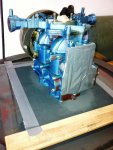
So with that all put together, hey I can check both spark and compression!!!

I pulled out my spark checker, and set it for "SE" (small engine). It was tried on both upper and lower, and I got a nice hot blue spark with little effort spinning the flywheel by hand. I decided to ramp it up a bit to the 20 (20Kv) position, and again two nice hot blue snappy sparks. I decided to really push it, and open it up a full half inch (above and beyond what most people say is required for one of these ignitions to fire across). Top cylinder was able to do it a couple times, not so much on the bottom. Dialing it back in a few threads, and the bottom sparked no problem. I would call this success, considering all this was done while I was flicking the flywheel by hand.
Compression test... The 10,000 dollar question I couldn't answer when this thread started. Again while flicking the flywheel by hand, and holding the power head with the other, this is what I came up with;
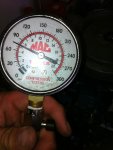
If you can't read that, it's a hair over 75 Psi, and both cylinders were dead nuts the same. Pretty darn respectable for a cold engine that hasn't run in years, and was literally being turned over by hand.

If I have time, I will tackle the carb tomorrow. I don't know if anybody is following this, at times I feel like I'm writing a diary or book report. I just figure this may be useful for someone who is working on one of these engines (as if there aren't enough posts about them), or maybe if someone wants to pass the time reading while on the hopper...


