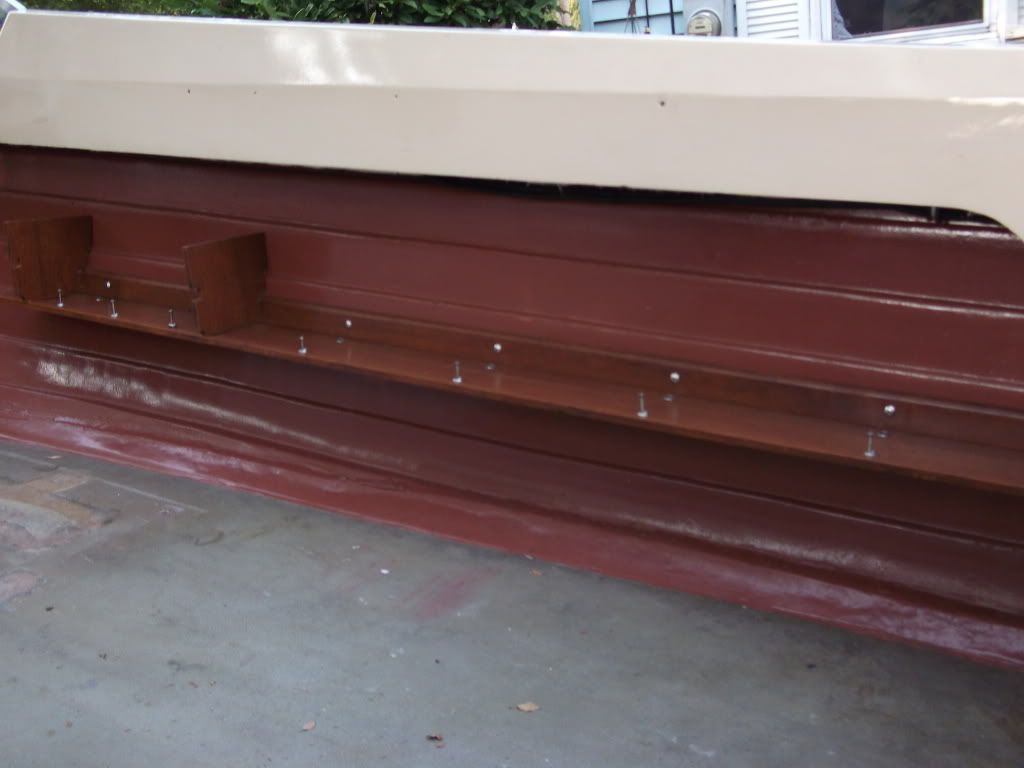
Re: 1961 MFG Oxford Deluxe - Beginning a New Life
Got the Valspar Paint from TSC and used my tint. Even with the
WHOLE TUBE of tint in a quart of white gloss all I got was a baby blue color!
To light. So ... I went to my nearby Sherwin Williams paint store that has the ability to tint oil paint. Working with the specialist, I was able to get pretty close to the '57 Chevy color I originally wanted.
Should look great! Sure hope a quart is enough to spray my little Oxford deck cause I'll never match it!
Reading the paint can label it specifically says to
thin with naphtha. I haven't seen anyone mention using naphtha as a thinner. I have never used naphtha for anything ... I didn't even know it could be used as a paint thinner.
Here are two descriptions of VM&P naphtha as it applies to painting...
VM&P Naphtha stands for “Varnish Makers and Painter,” and is a petroleum solvent similar in strength to mineral spirits (paint thinner), but it is more volatile and has a
faster drying time. It has a pleasant sweet smell and is ideal for most solvent-based finishes, making it popular for lengthy projects.
It behaves much like lighter fluid and is a good solvent for cleaning residues left by tape or labels.
The low flash point of VM&P Naphtha means that it is
highly flammable and must be handled carefully.
This fast drying solvent
replaces paint thinners to accelerate drying time of oil-based paints, enamel and varnish. It is also excellent as a thinner for oil-based coatings, and for cleaning brushes and spray equipment. Often used as a lubricant for rubbing out hardened shellac finishes, and will improve an older shellac coating with a simple rub-down. Do not use to thin lacquers, shellac or latex paints.
Any comments?