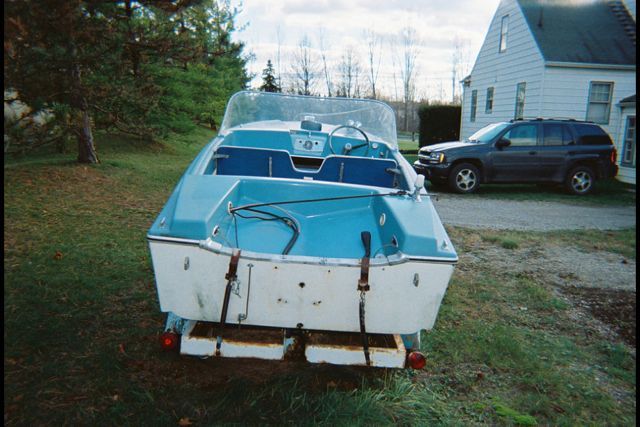
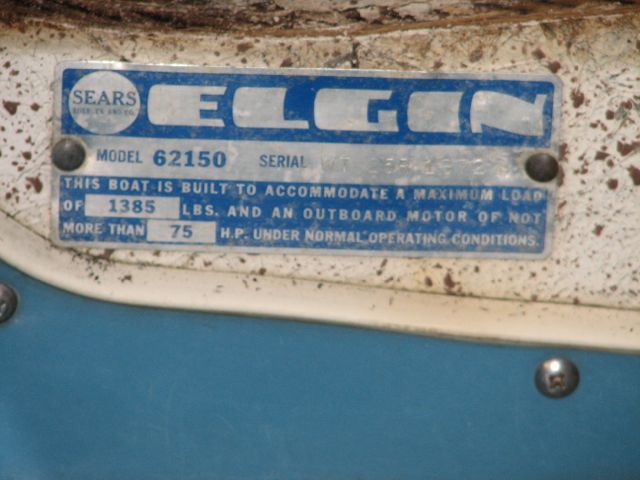
Re: 1963 Elgin Restoration
More demo almost there.
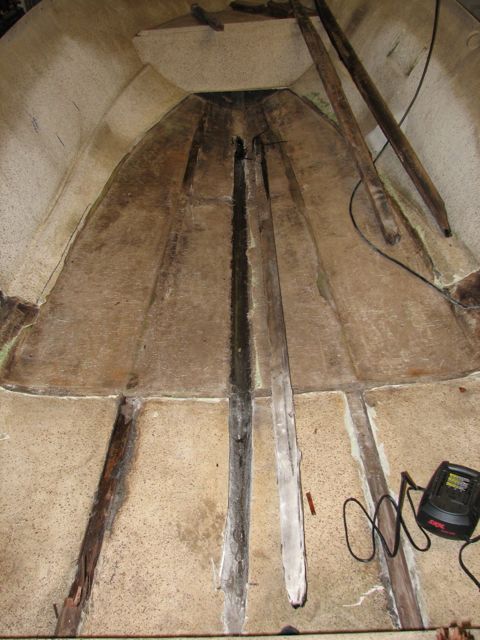
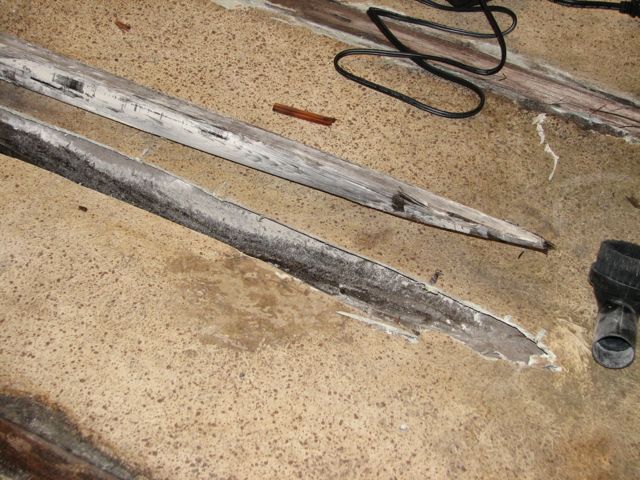
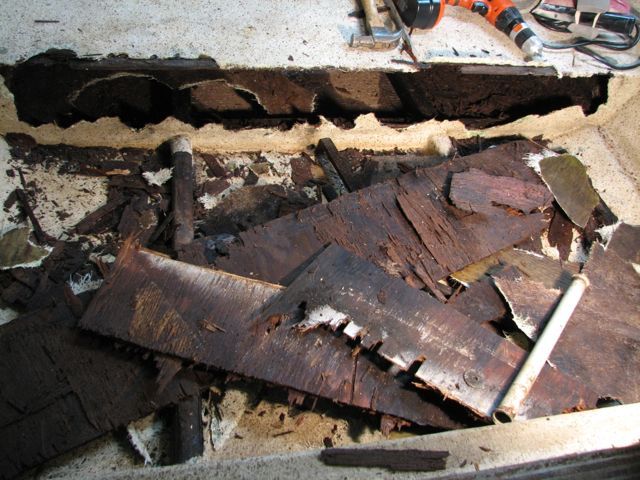
Got the keel out - it was dimensional lumber rounded to fit the figerglass trough. Looks like it could be mahogany but it's hard to tell since it's so wet and blackened. It really wasn't attached to the hull, but was just sort of sitting in there (!), and glassed over. I guess it was glued in at some point in the past, but there was no evidence of any PB of any kind. I cut the glass off the top, and then pretty much just lifted it out! Here are a couple o' pics.
After looking at lots of posts, I'm pretty sure that I want to replace the keel with Seacast. Seems like the best way to get the tightest and strongest fit posible on what is a flimsy-ish hull. Figured that maybe I can knock out the transom and keel in one mix and pour session. Any thoughts on that plan would be appreciated.
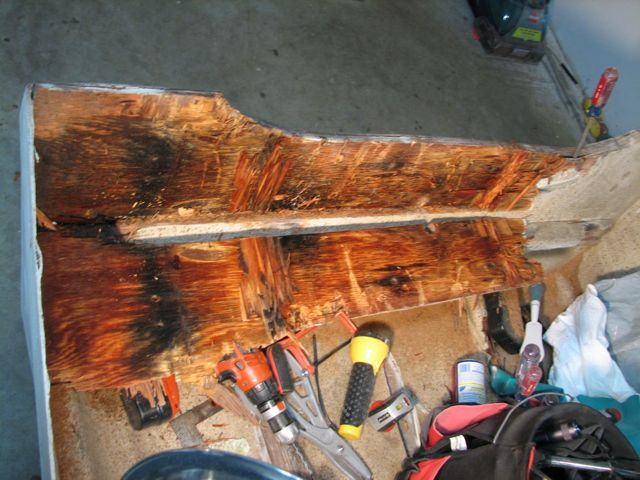
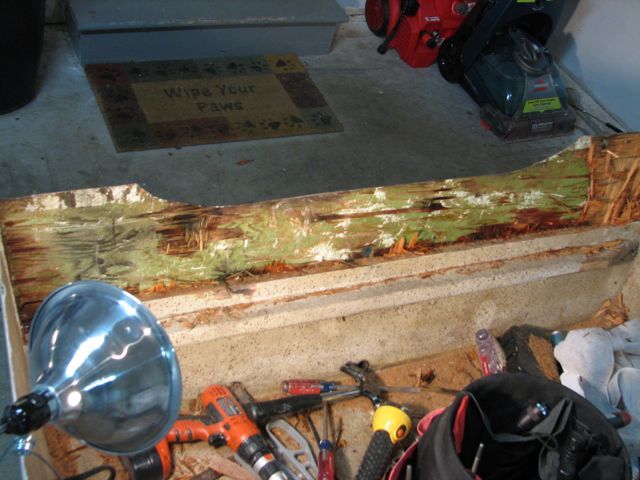
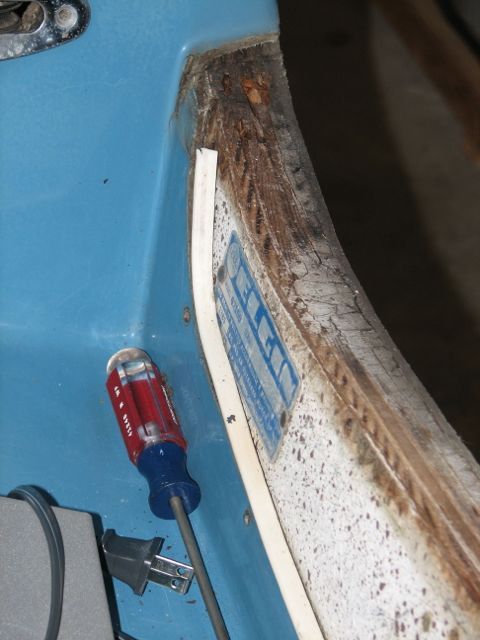
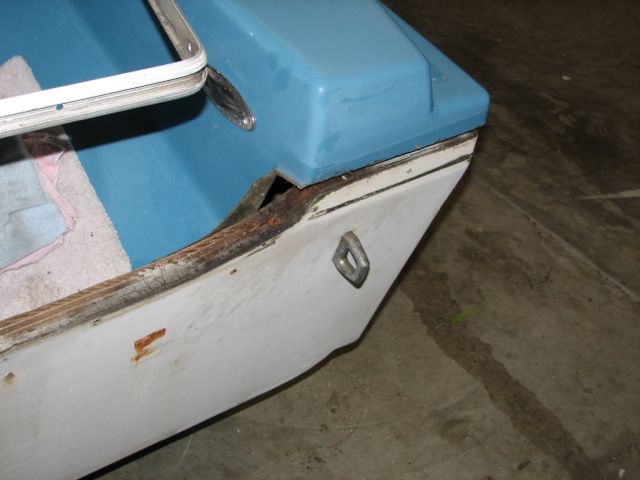
Have also been picking away at the transom. It has spots that are rotted, and others that are still very solid but it's damp all the way through, so it's got to go.
Here's a big chunk. It always feels good when you can pry off a big chunk all at once, doesn't it!! :lol:
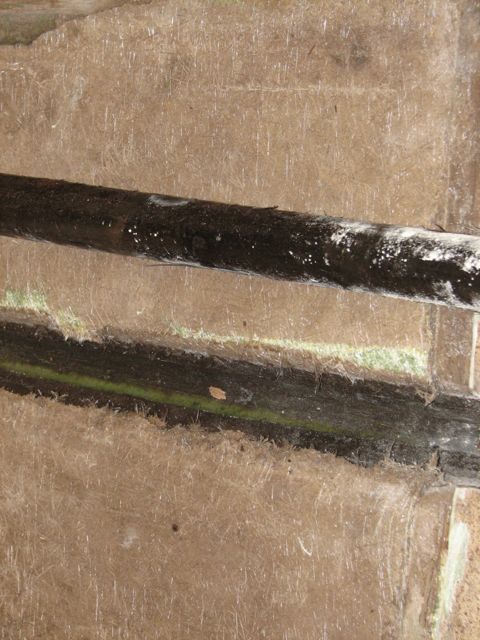
I'm down to the fiberglass in some spots - the green is the original glass. Why it's green I don't know, but it is on this boat. Does anyone know why? I assume it was the resin that was green, yes?
Which brings me to a question: Epoxy vs. Poly. What's the difference? Why one vs. the other? I know epoxy pretty well cuz I've built a cedar strip sailboat - the biggest issue is keeping it from running! I know nothing about poly, so any information is good, no matter how basic!
Much more to come!