kinaiahi61
Petty Officer 1st Class
- Joined
- Nov 10, 2012
- Messages
- 215
Not too sure as the stack was up high and I only lifted the edge. I found on a quick search that the fir and the meranti both weigh 71 lbs. So that makes the decision easier.


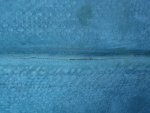
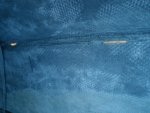
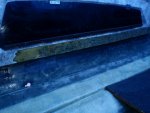
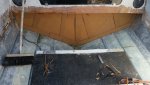
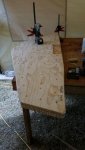
Well got 3-1/2" sheets and 1-3/4" sheet of the douglas fir marine ply. Only thing is that the 1/2" was warped. They stacked the wood poorly on the metal arms. What a PITA this is turning out to be. I got them anyway and was thinking if maybe I can fix them or correct the warp. I took them off the truck and stood them up and clamped them all together in hopes of unwarping them (since the 3/4" is straight). I was thinking that I could attach a ledger when I screw them together, and oppose the warp to make it straight. Anyone try anything like this to rectify warped ply? Is it worth it, or just pay more for the better stuff, and wait for it to come in. I also called Fiberglass Hawaii today, gonna be $3300 in supplies, plus shipping, OUCH!! Oh yeah, the camera is still not reading the card, trying to dry it and clean it now.
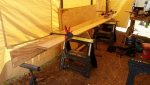
^^^^What kcassells said is the way to do it! Then, when you do your laminating, if there is any warp left in the sheets, just oppose them and the warps will cancel each other out. (use plenty of clamps!)
") I was also reading that they reintroduce moisture to get it right again. Then place flat and let dry watching not to over dry the other side and cause the warp to go the other way. I'm sure I'll figure it out. Mahalo all
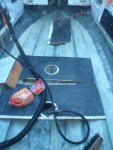
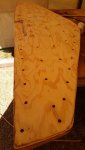
I was also reading that they reintroduce moisture to get it right again. Then place flat and let dry watching not to over dry the other side and cause the warp to go the other way. I'm sure I'll figure it out. Mahalo allLooks real good! K! Now fill the holes and sand and seal surfaces and edges some poxy.
Nice Work!!! Every Little Bit Counts!!!
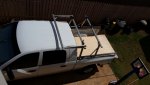
I've updated my link with this NEW picture...