Re: 1973 Winner Bimini 17' Trihull Rebuild
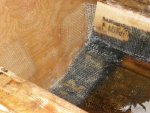
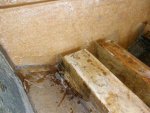
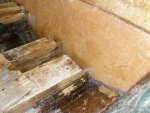
Bondo bad.
You can't really wet-out with bondo. Are you using polyester or epoxy resin?
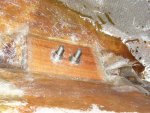
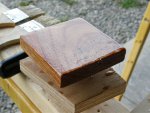
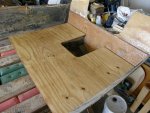
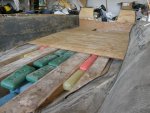
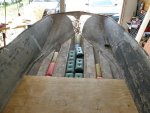
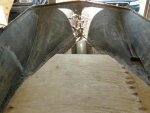
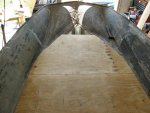
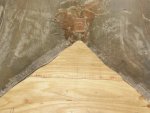
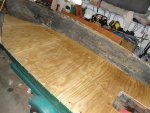
Re: your floor. It will last 304,000 thousand years if you seal the bottom as well as the top, seal any holes you drill, use bronze screws if you're sinking them and use marine ply (no voids, and really strong).